Wtorkowy trening - zdjęcia
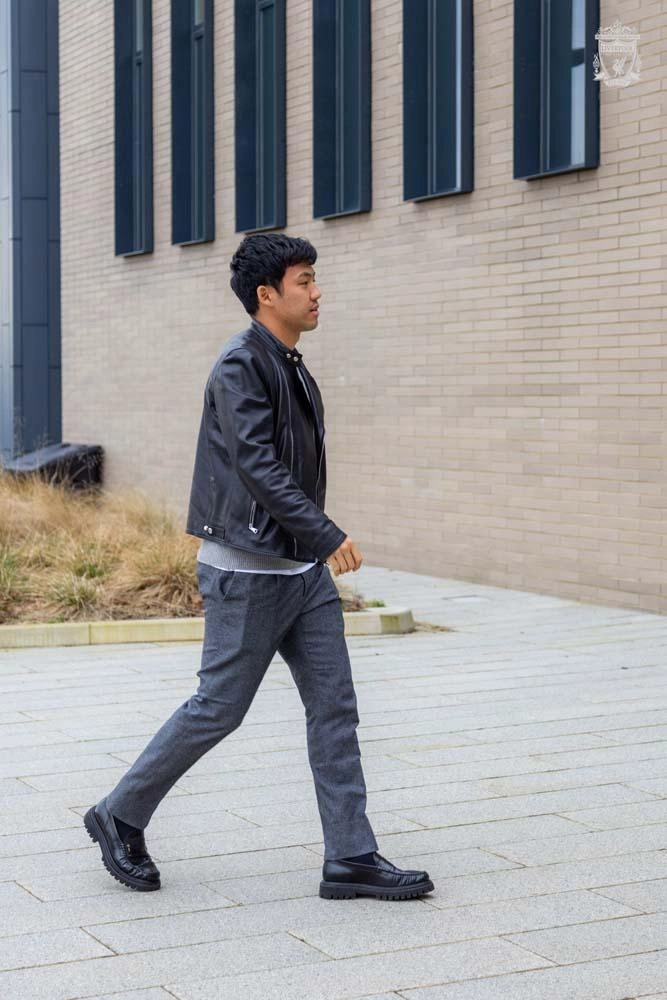
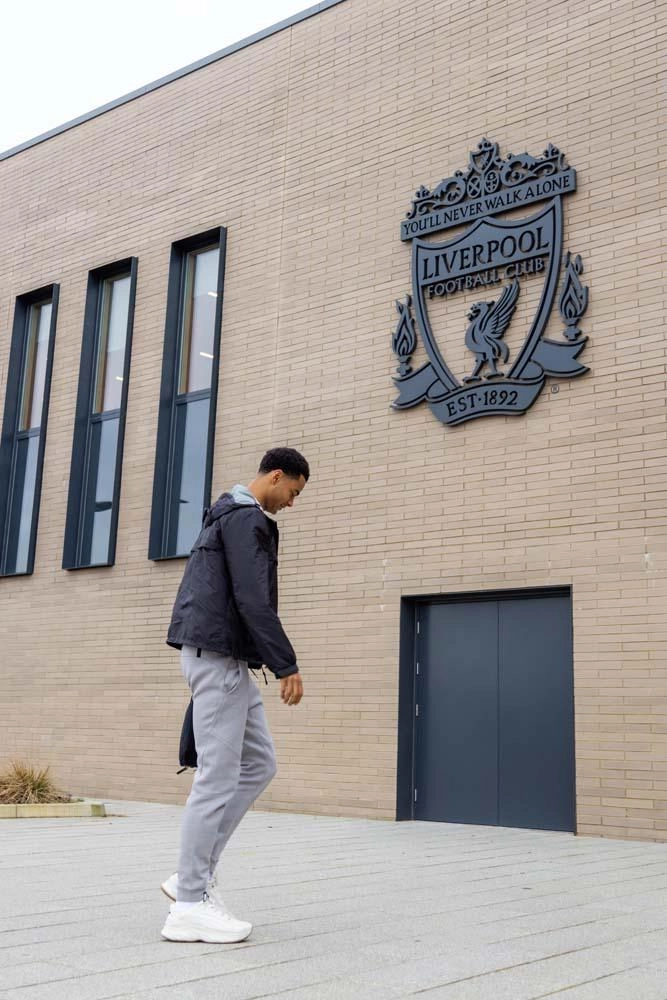
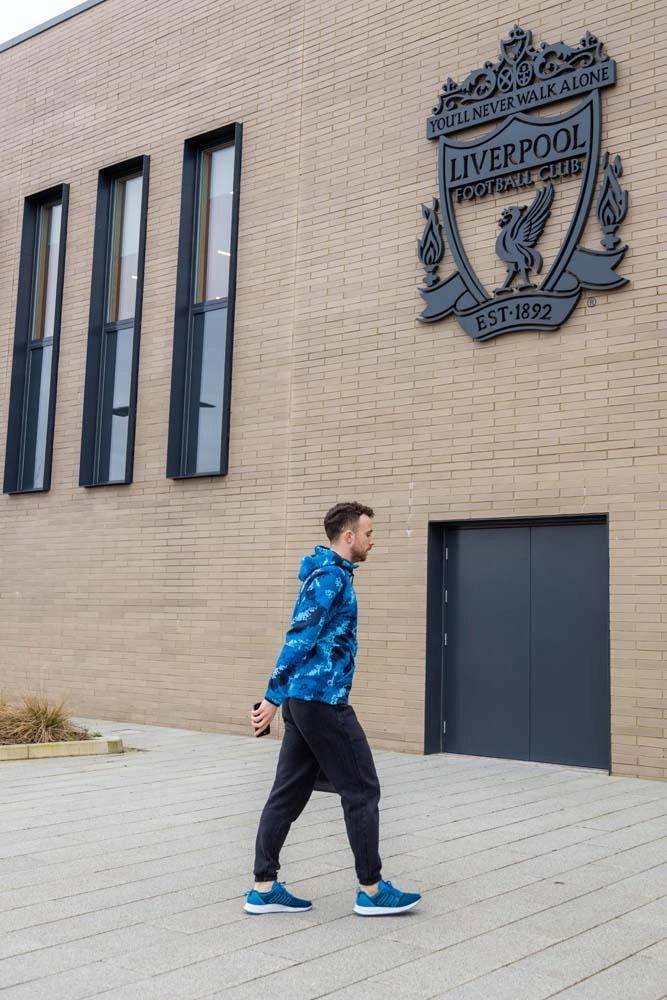
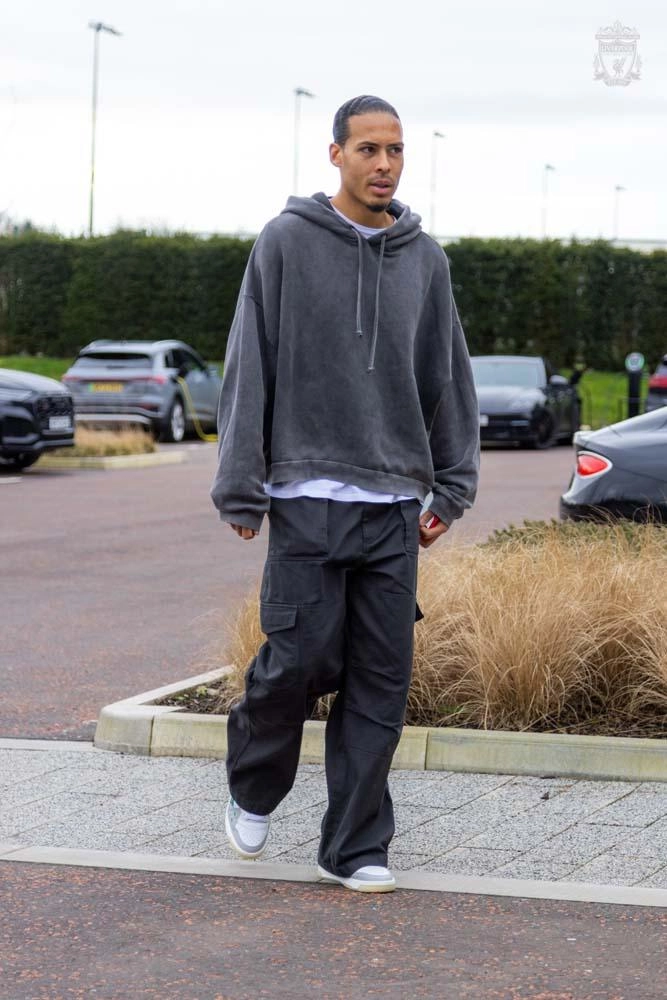
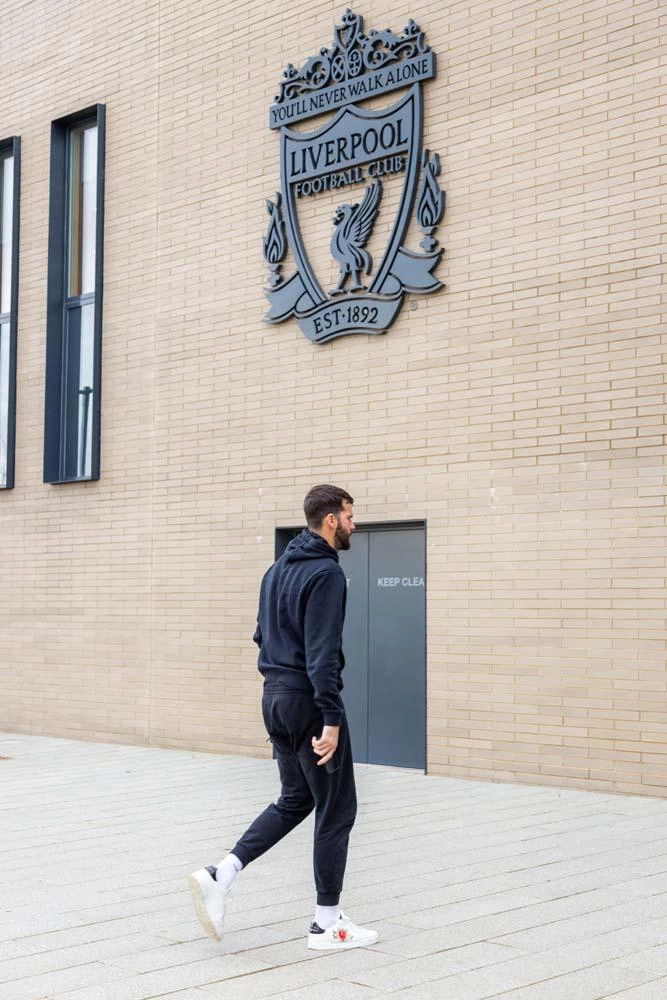
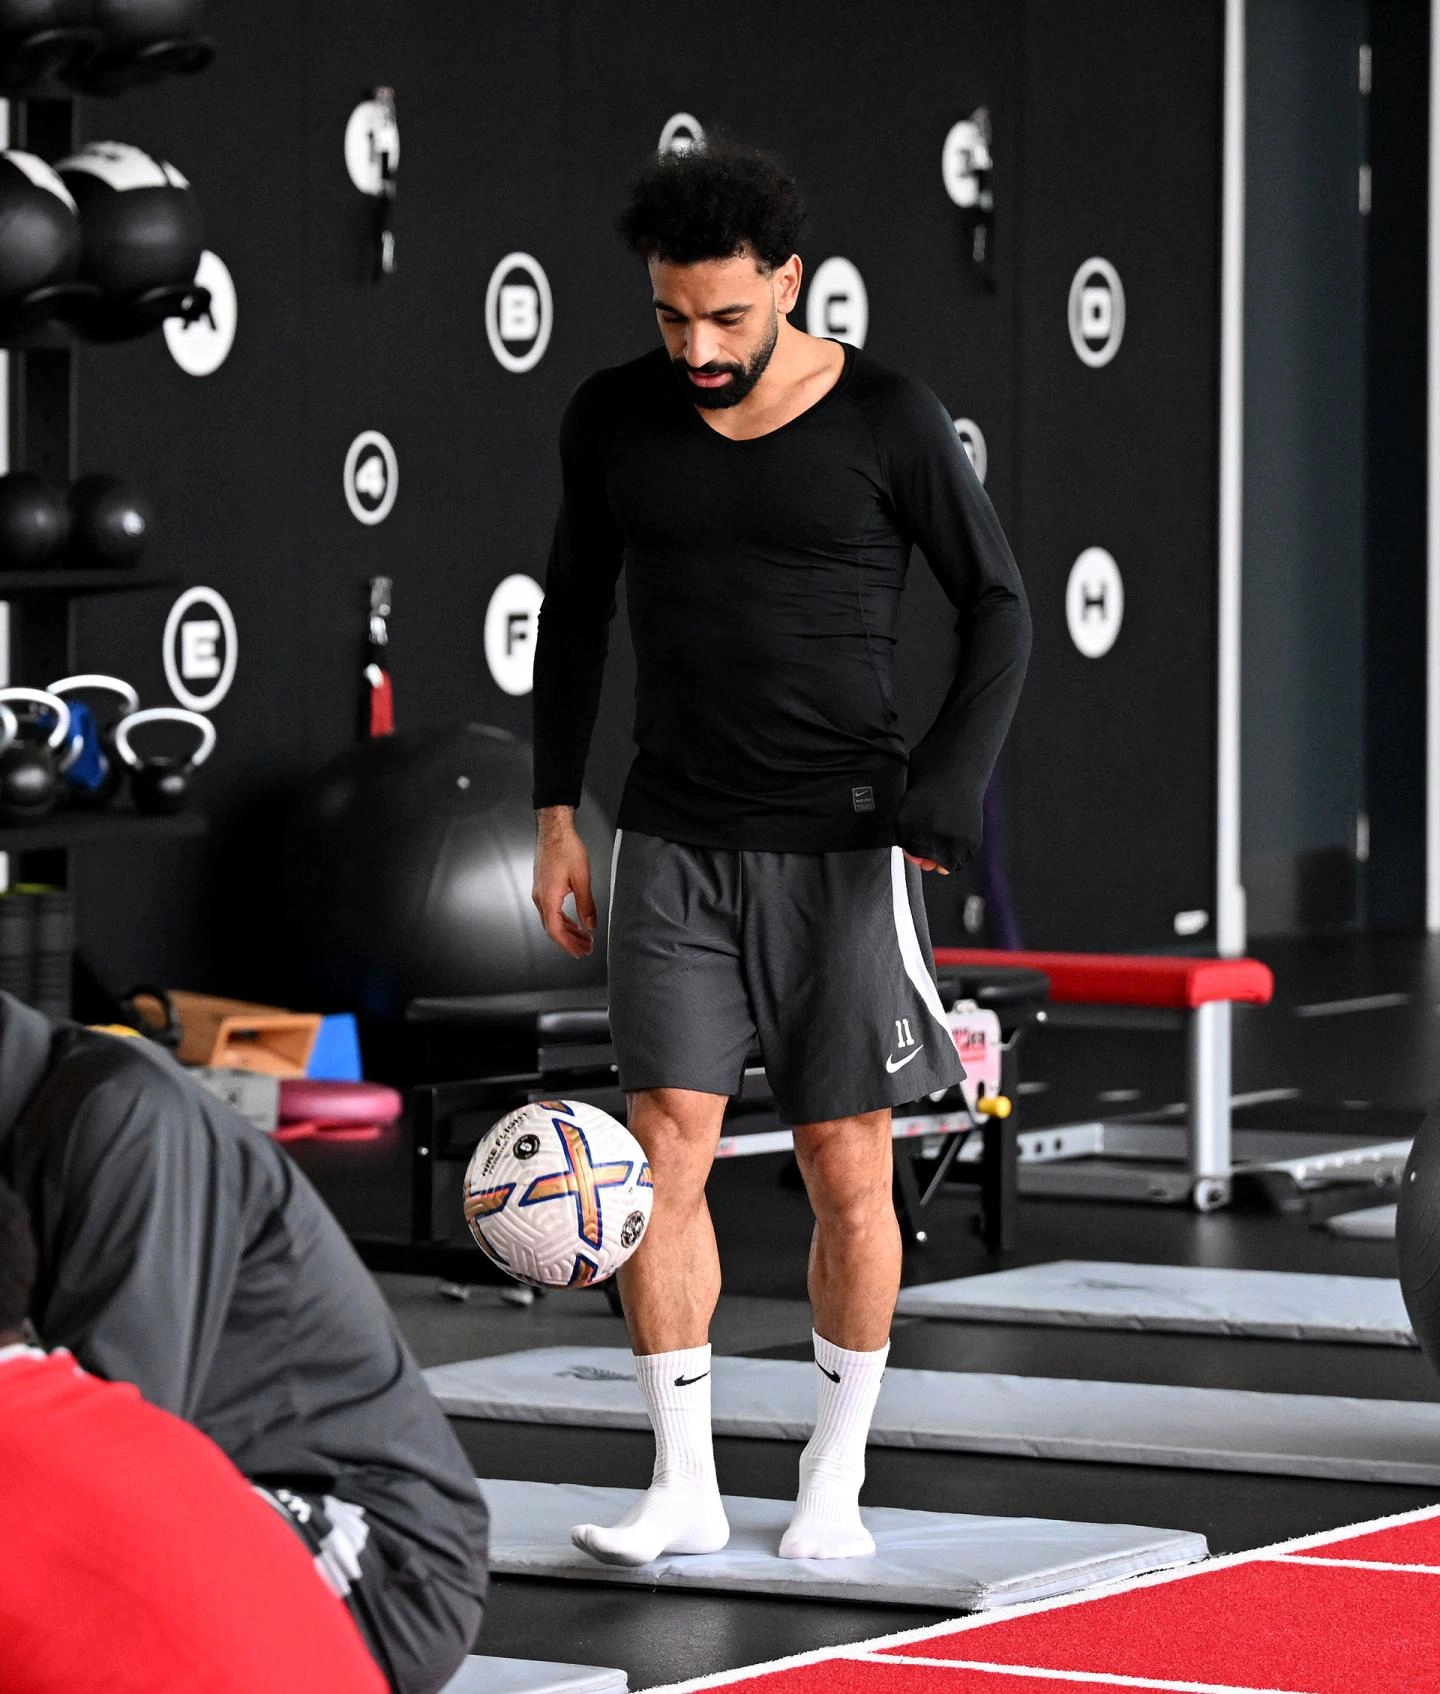
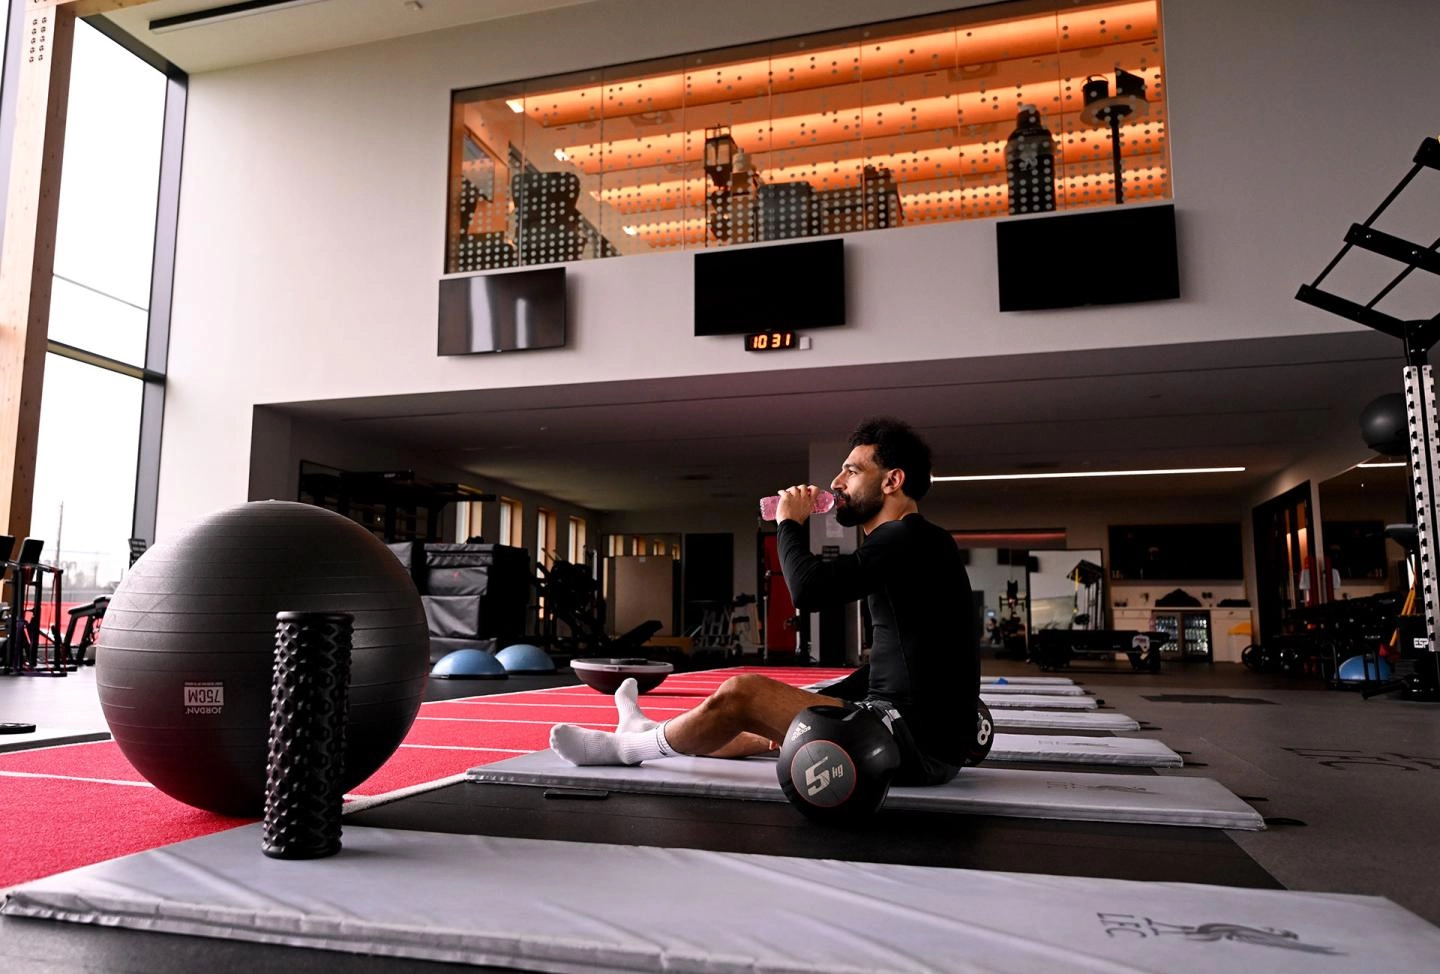
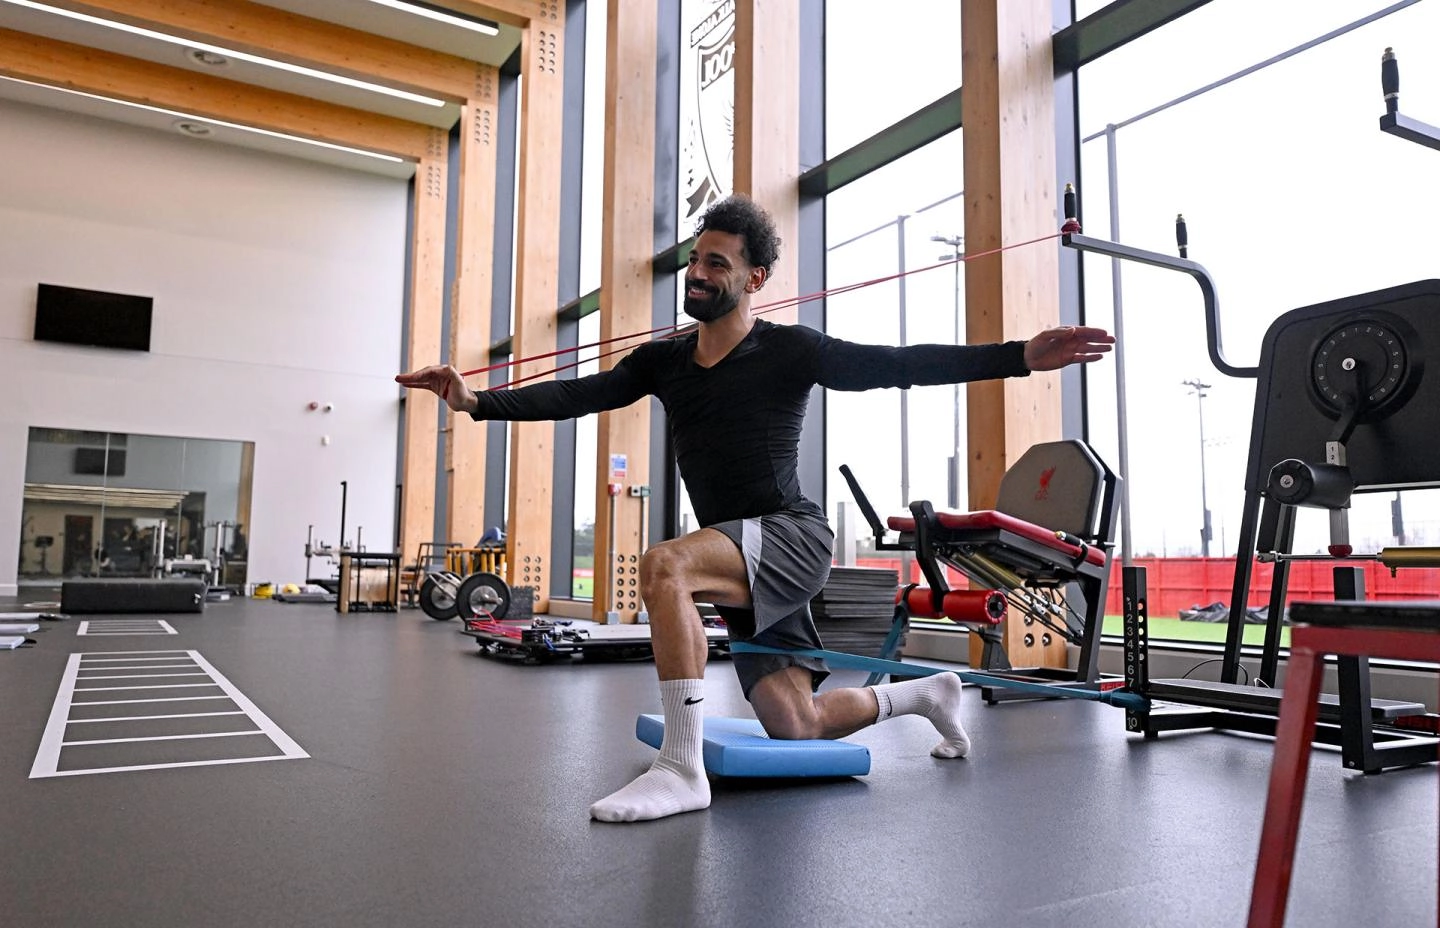
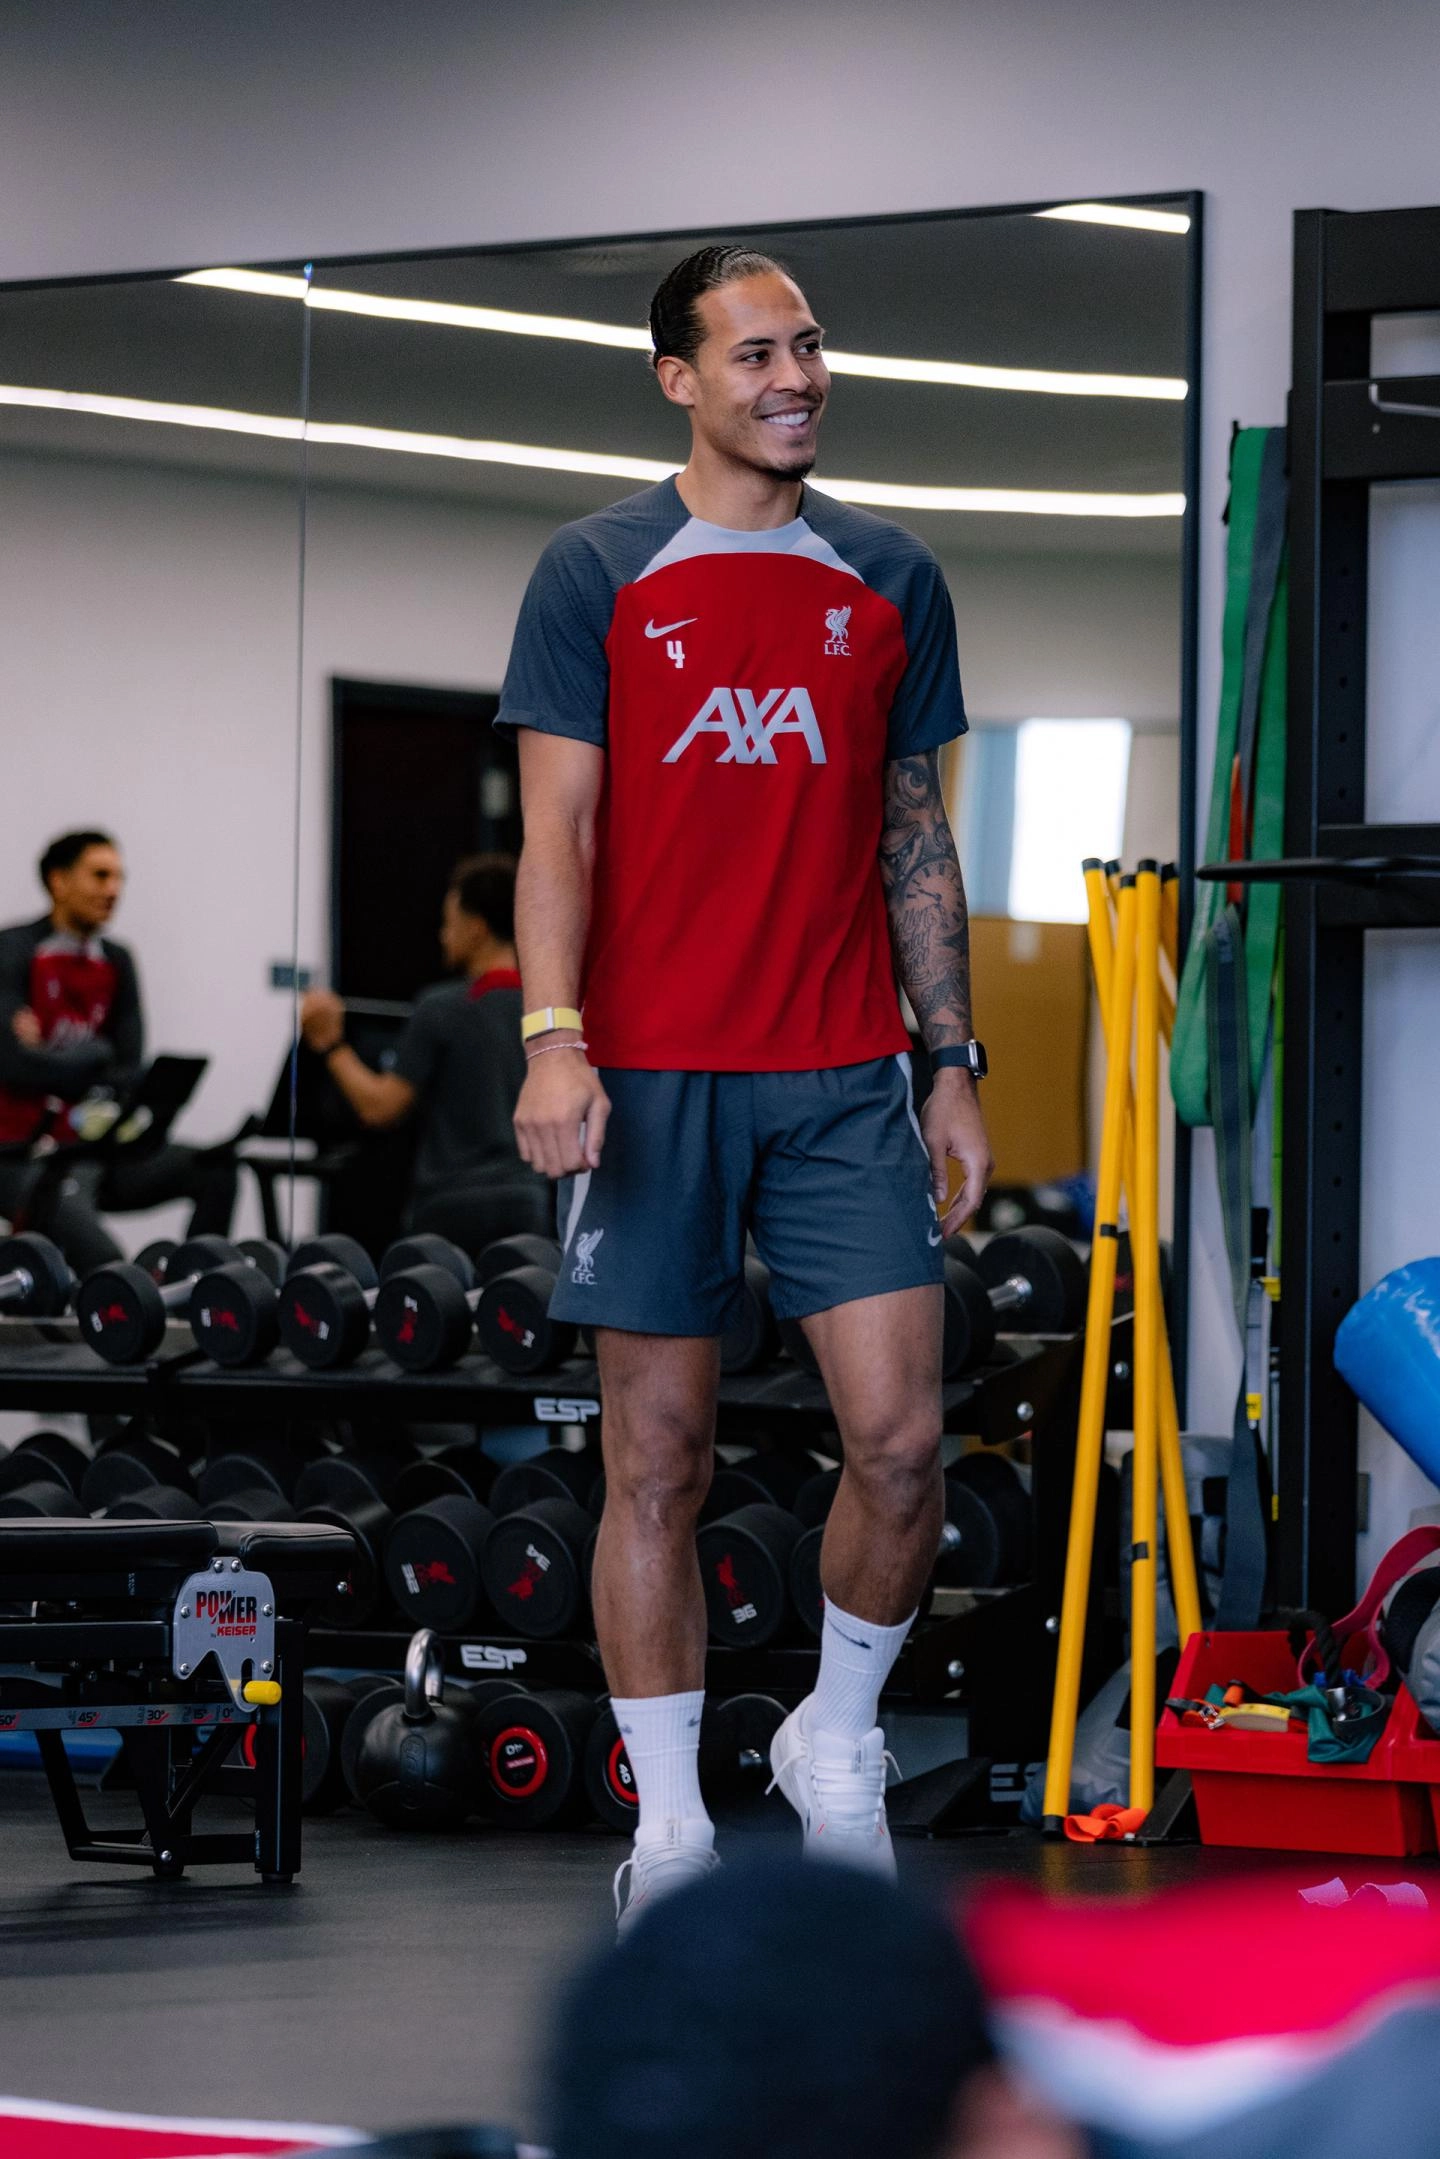
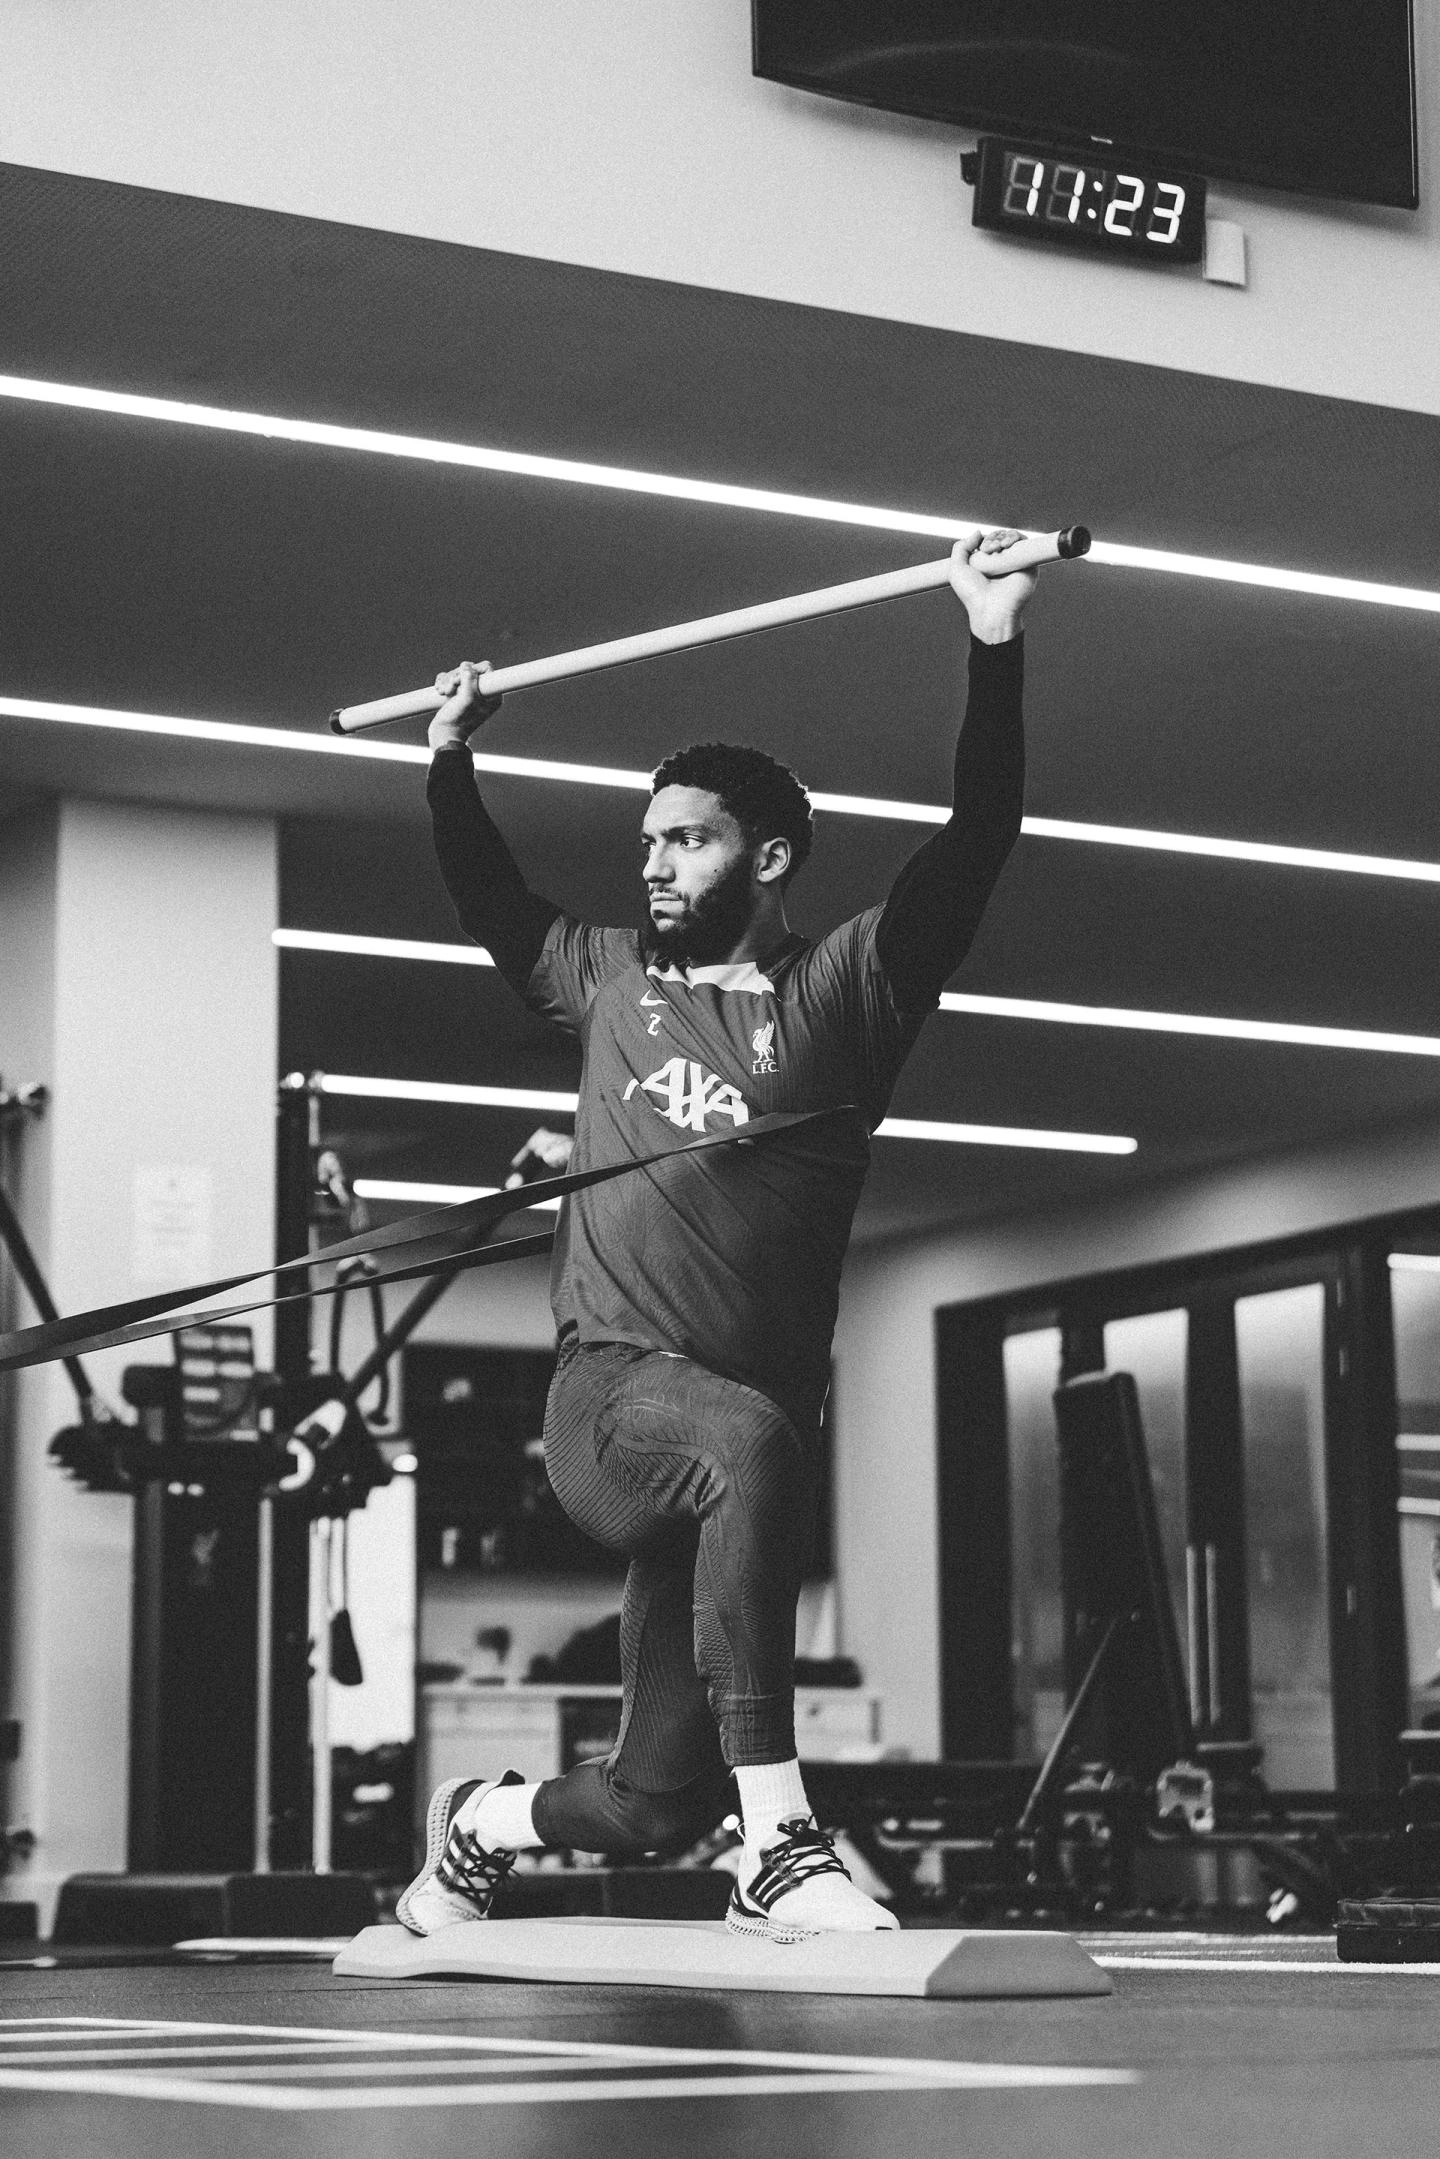
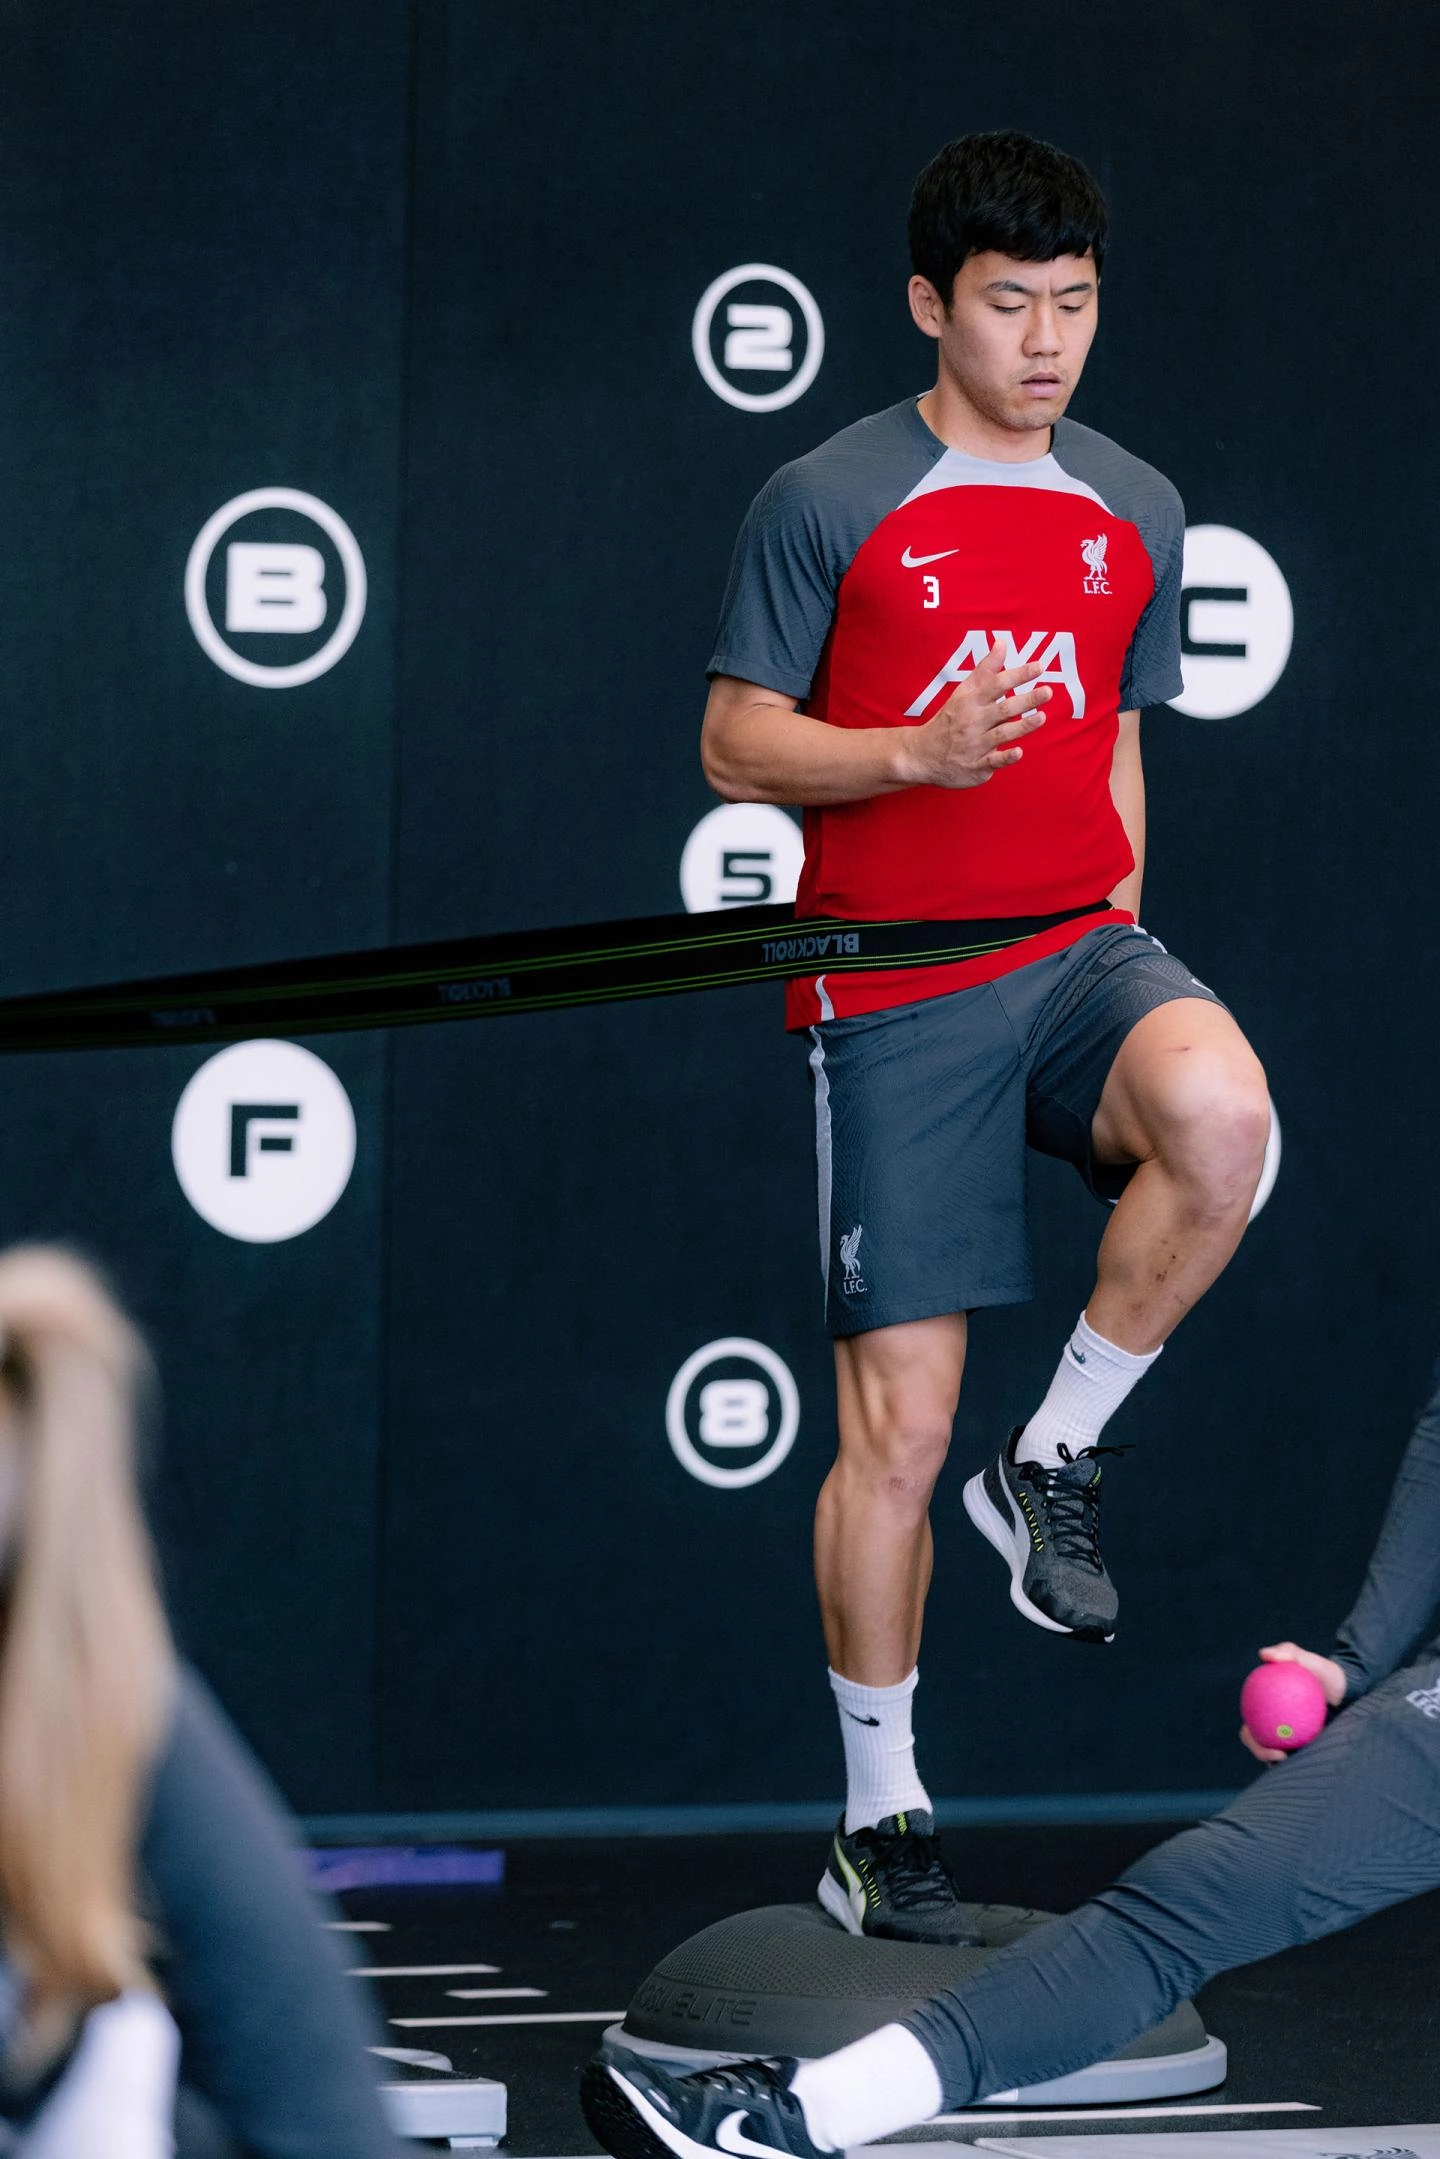
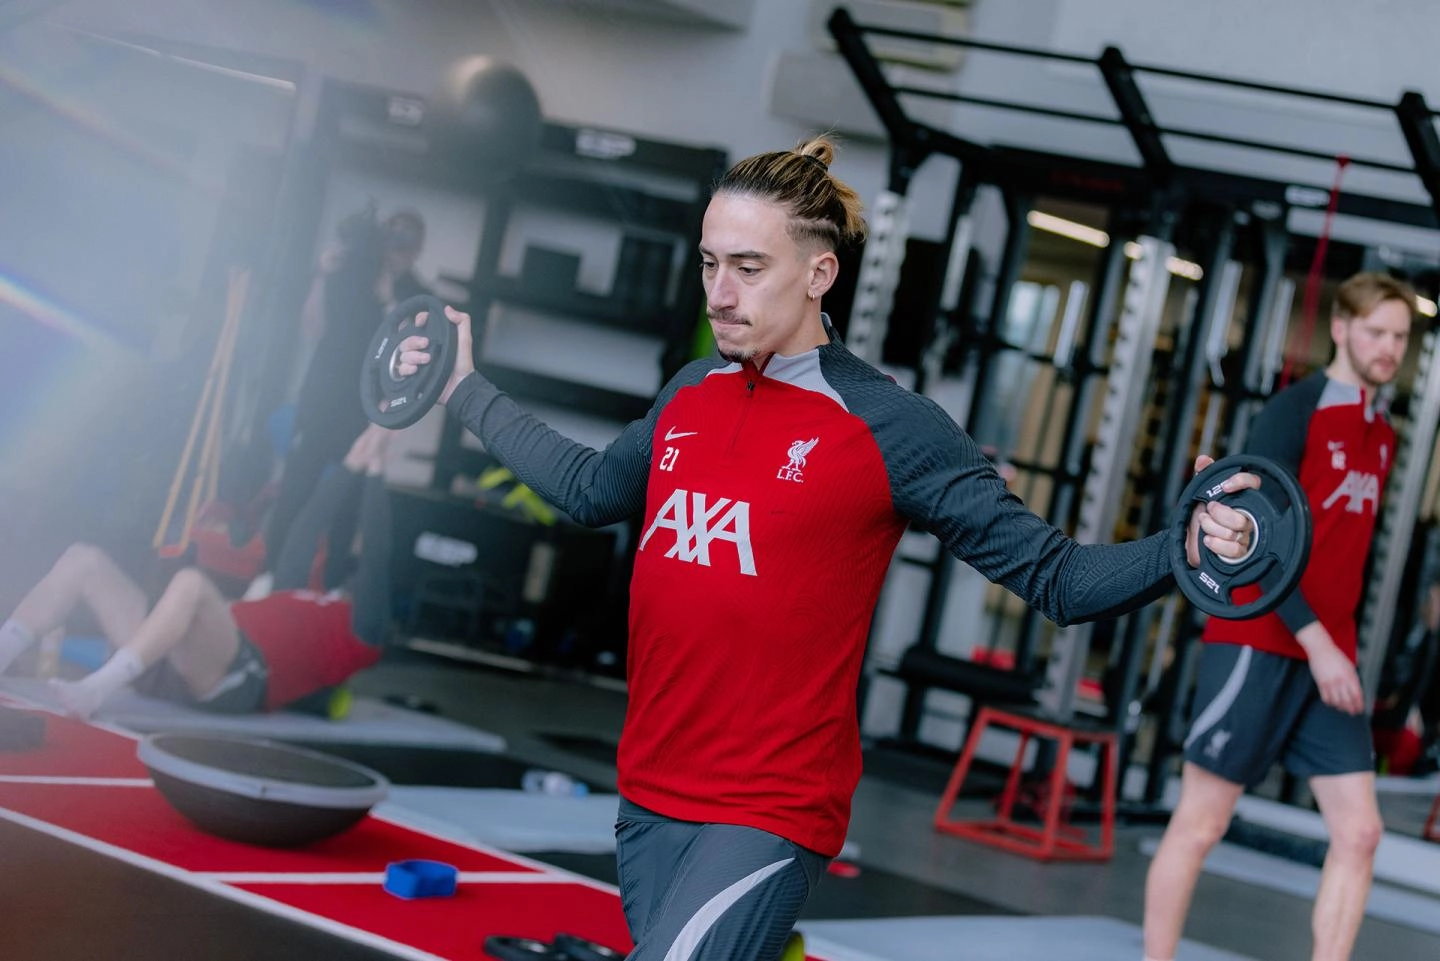
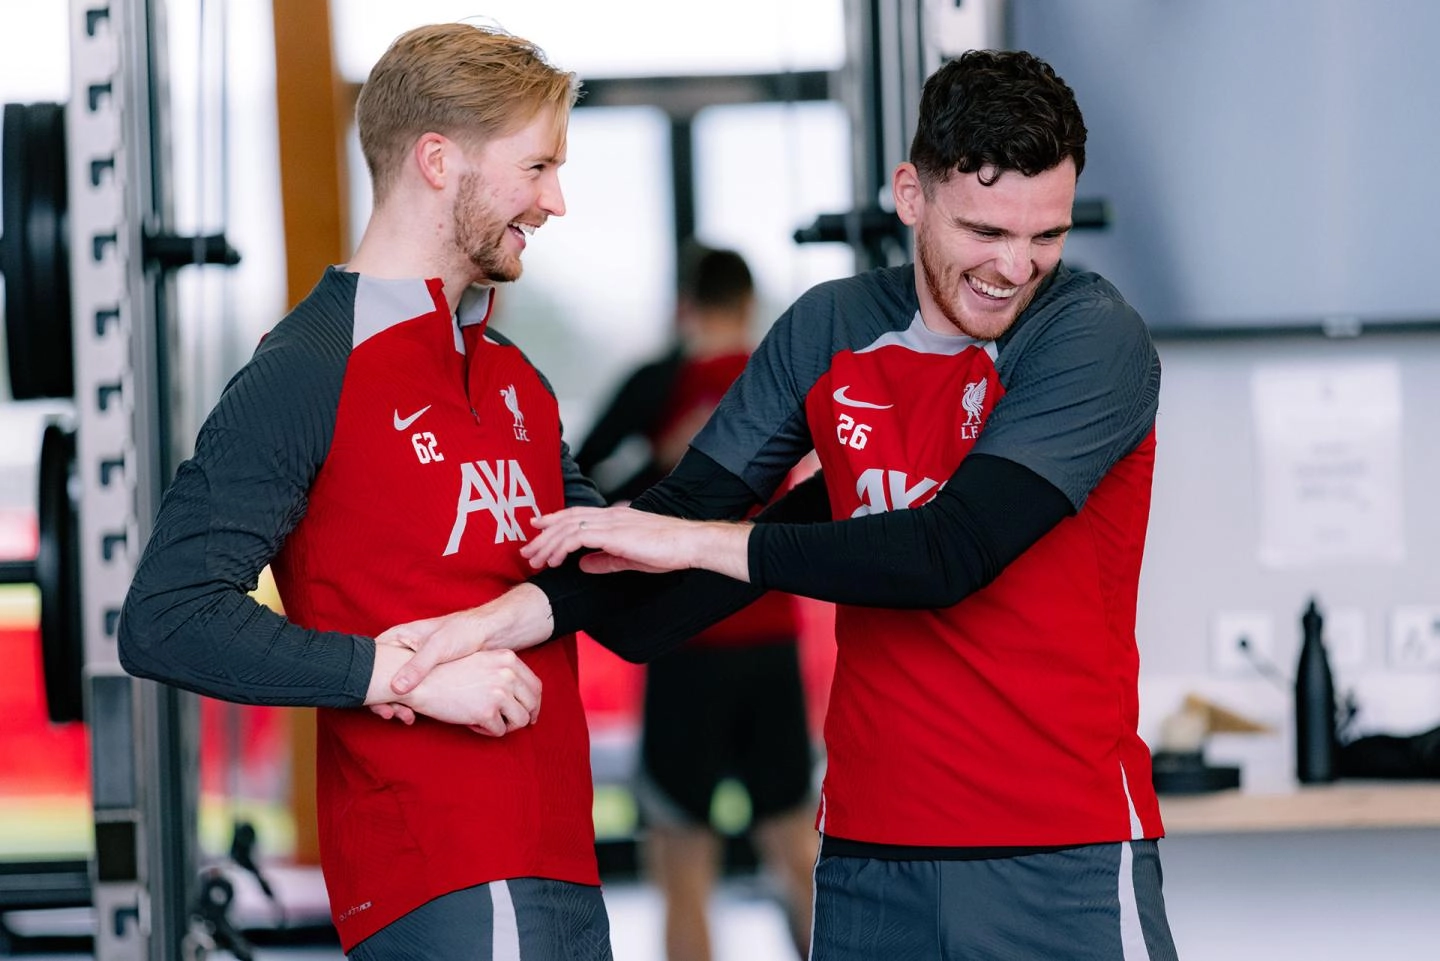
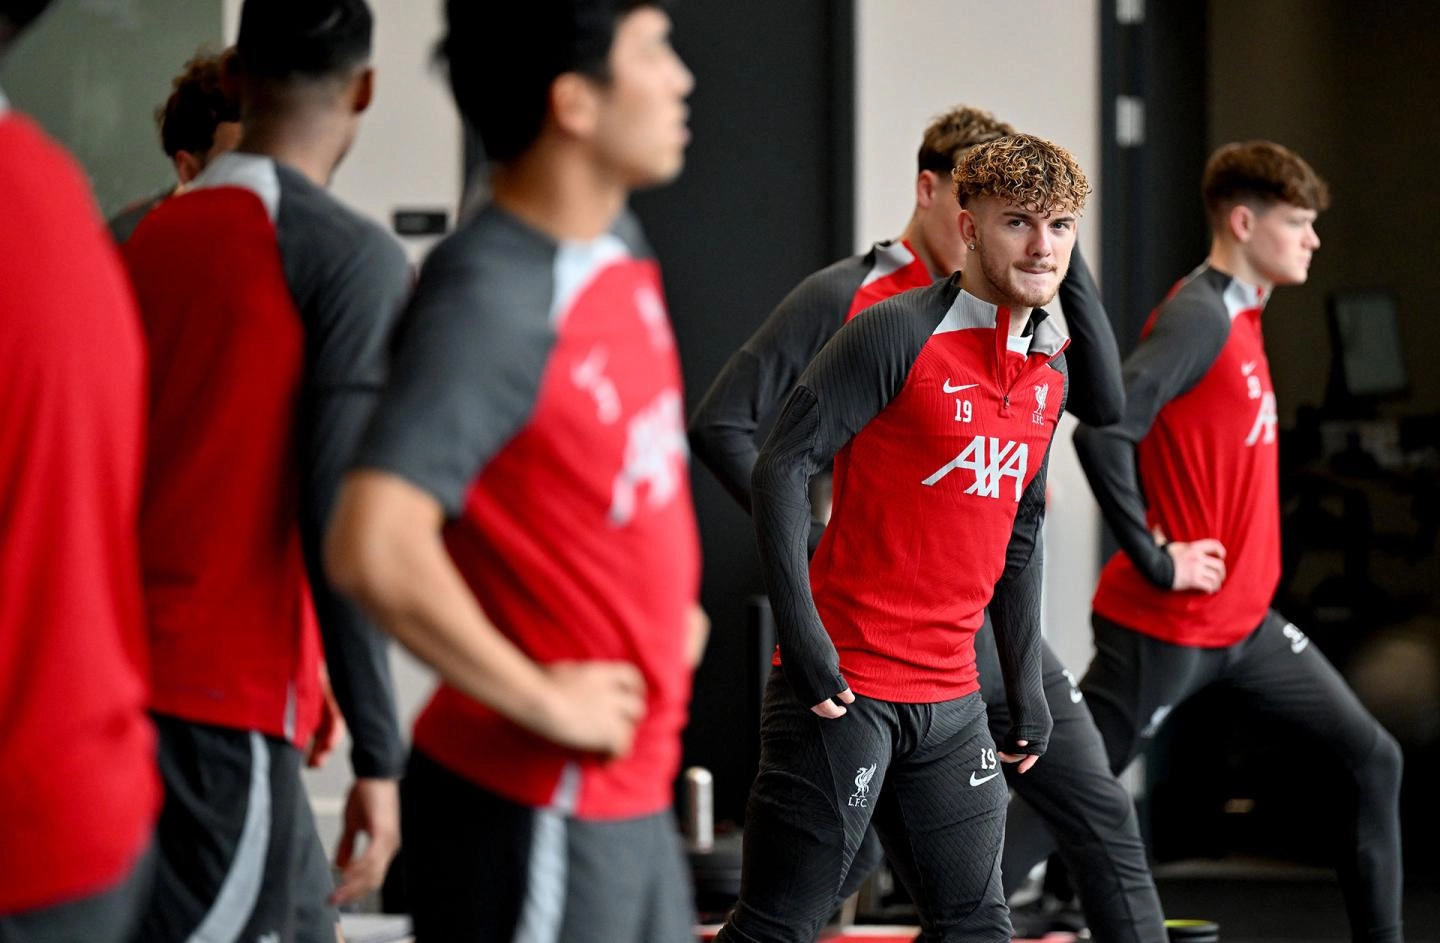
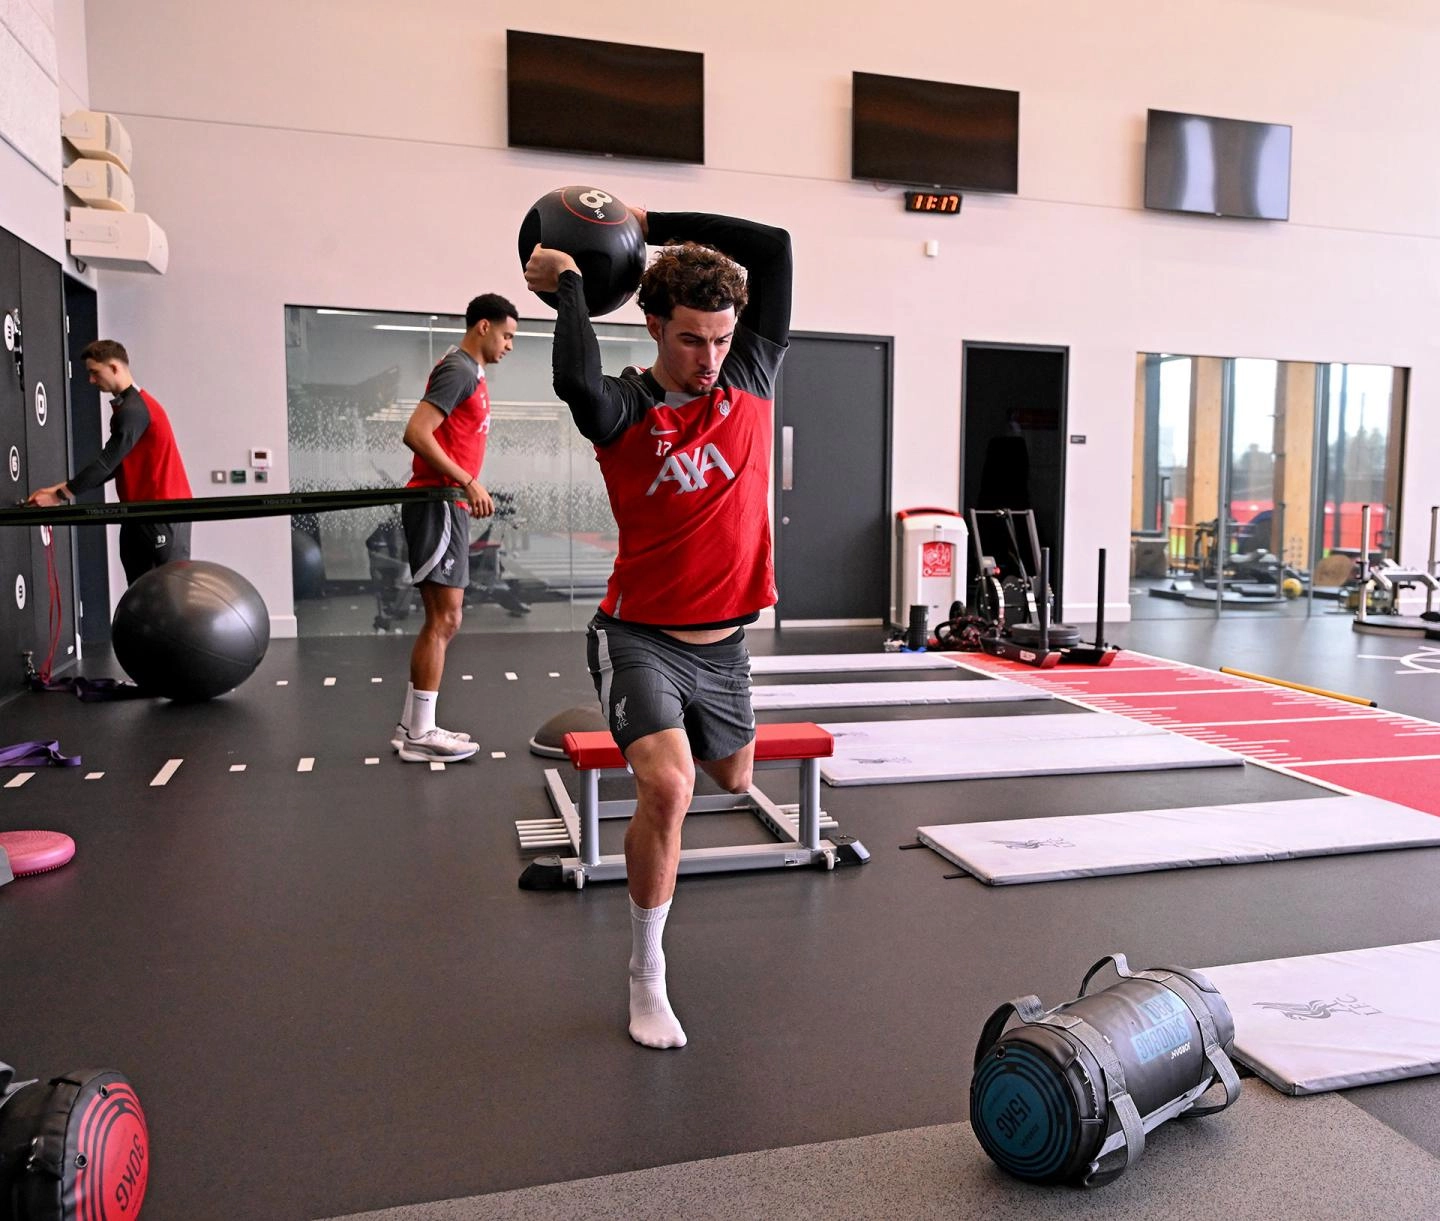
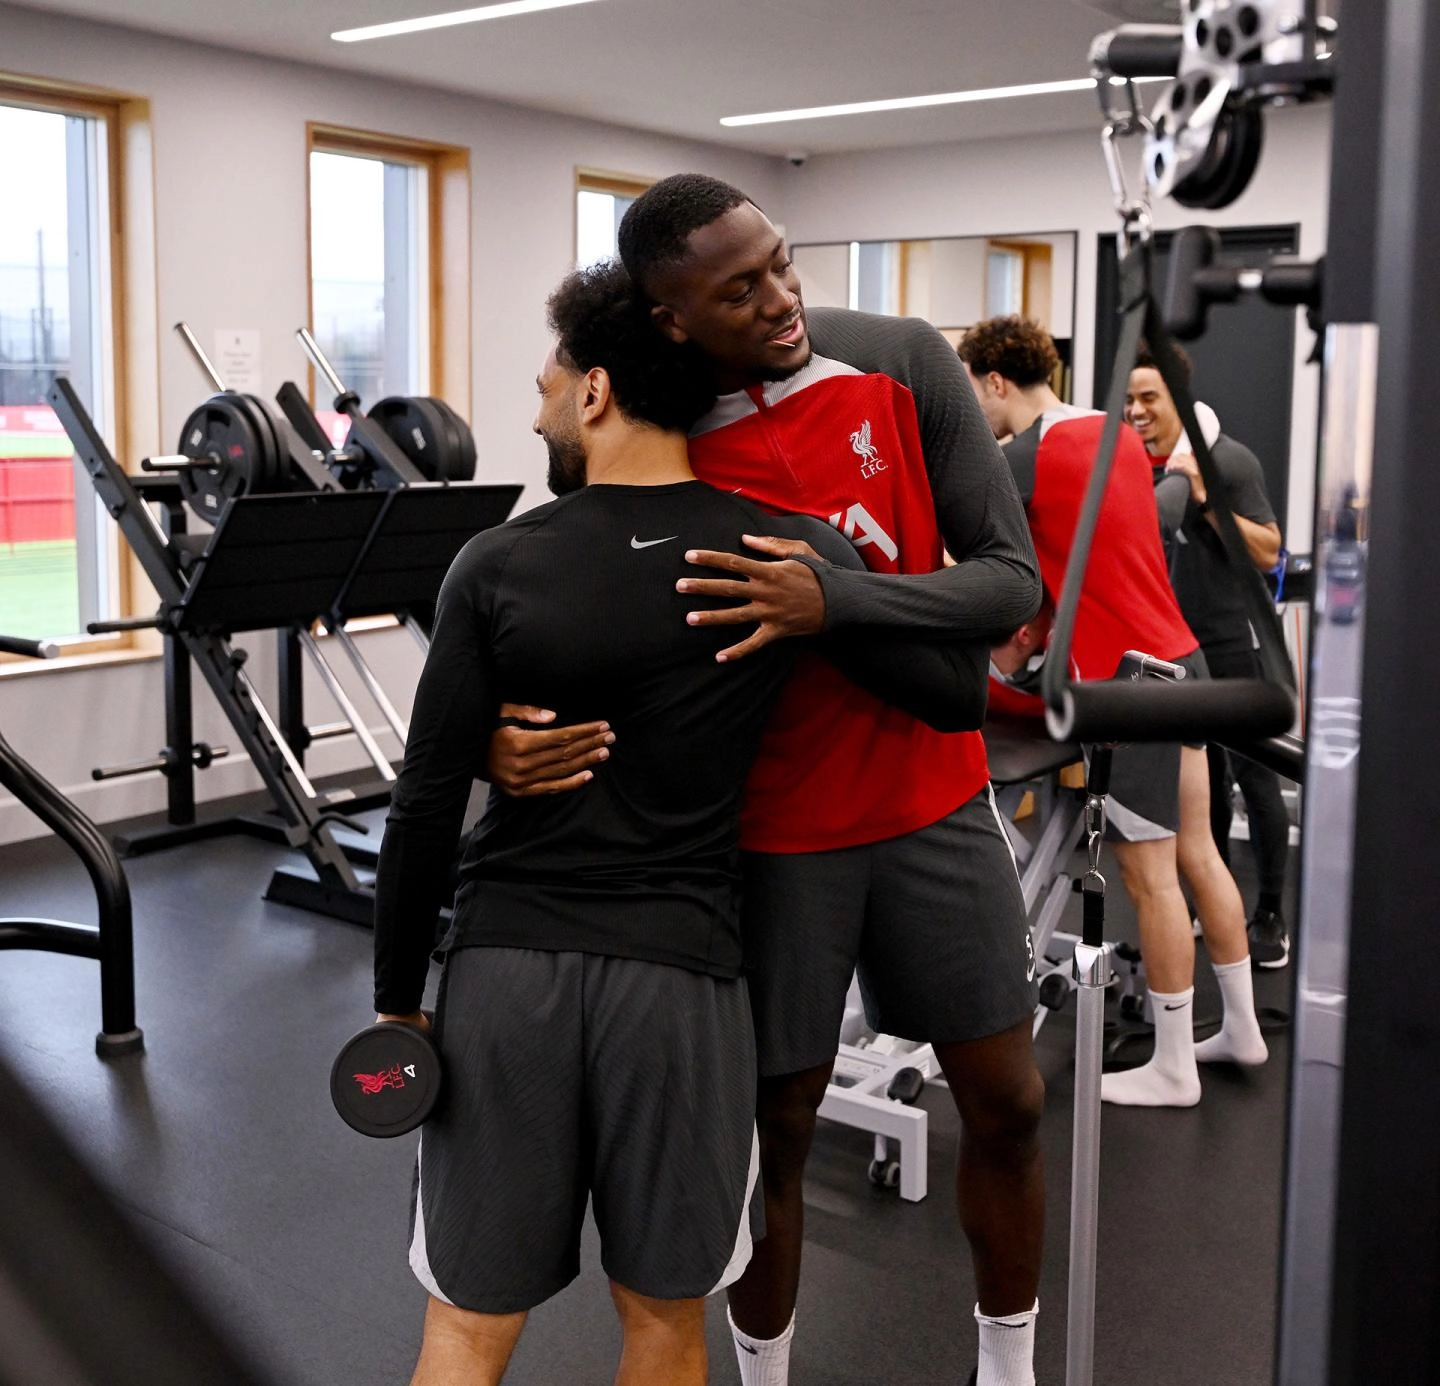
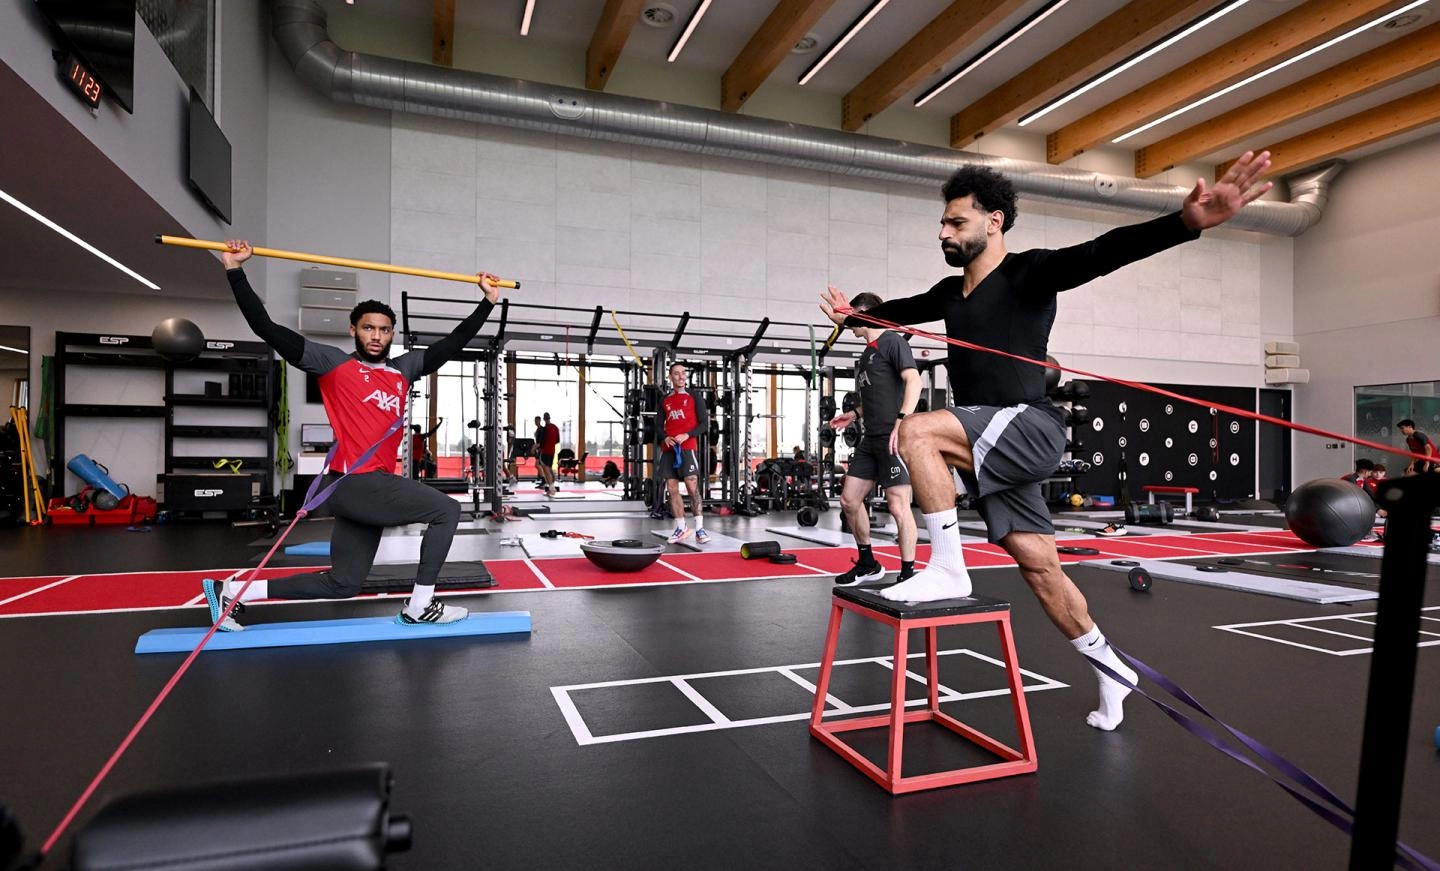
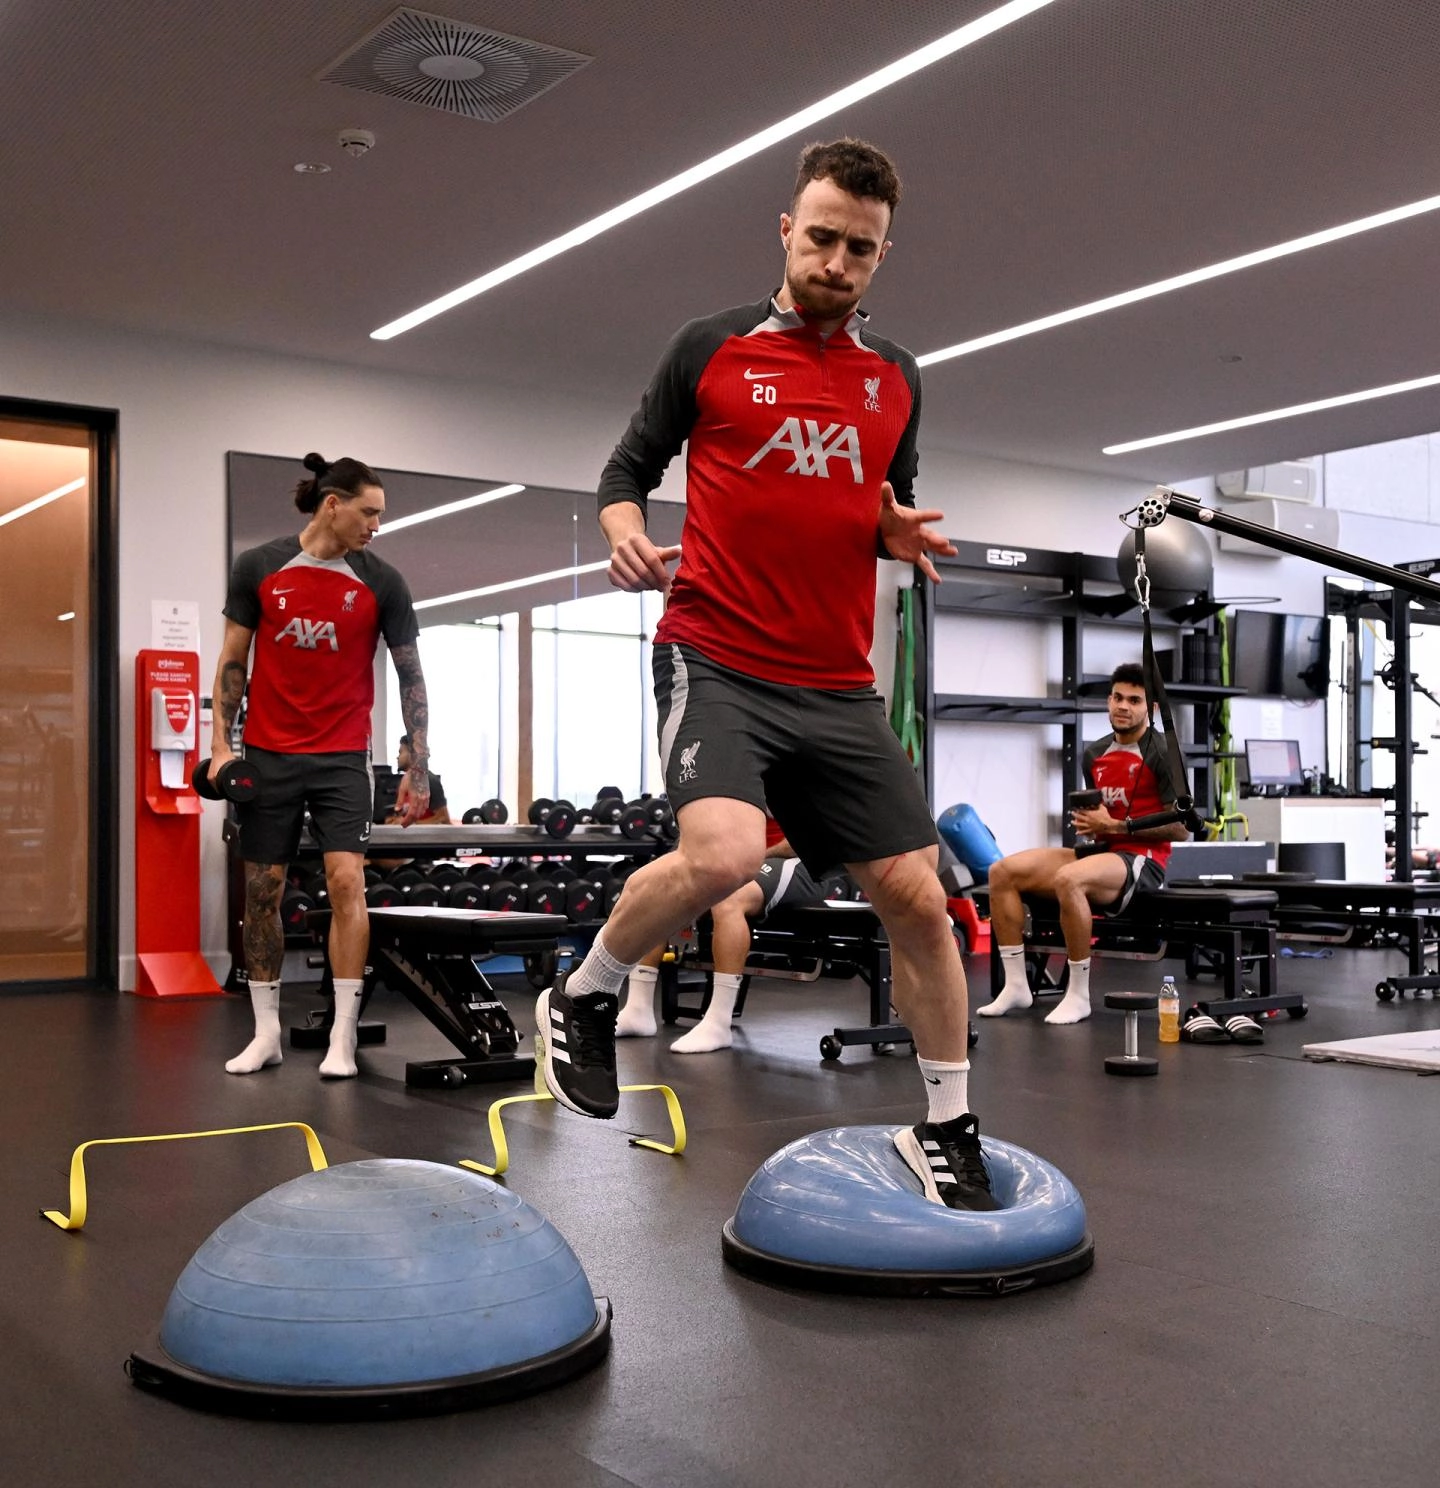
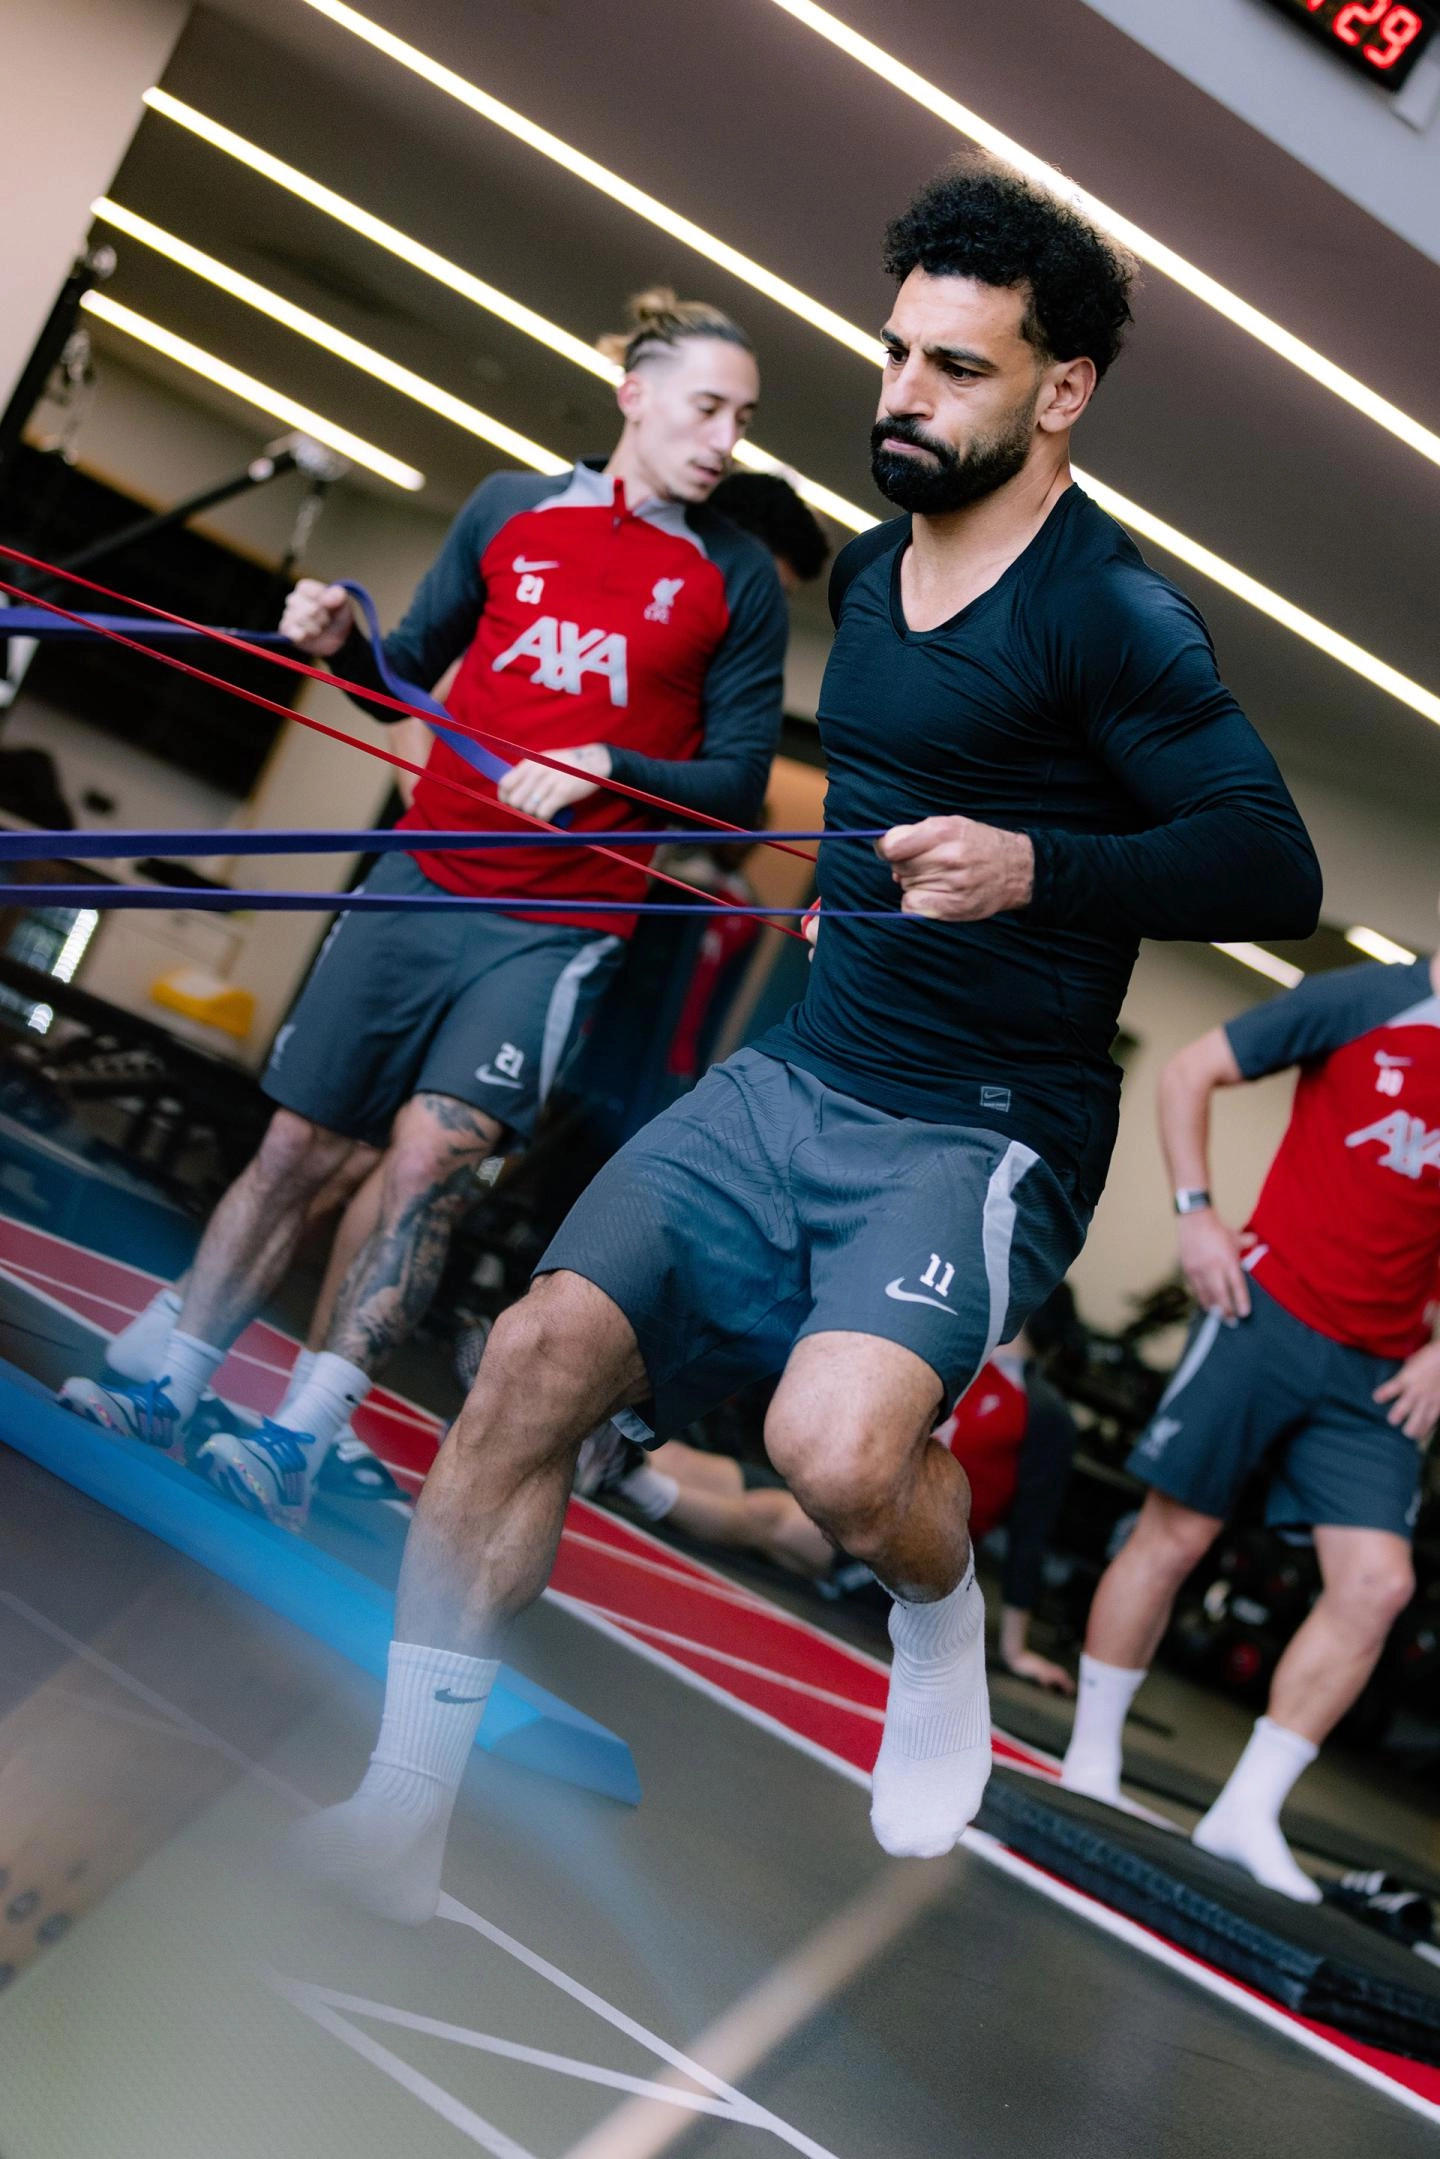
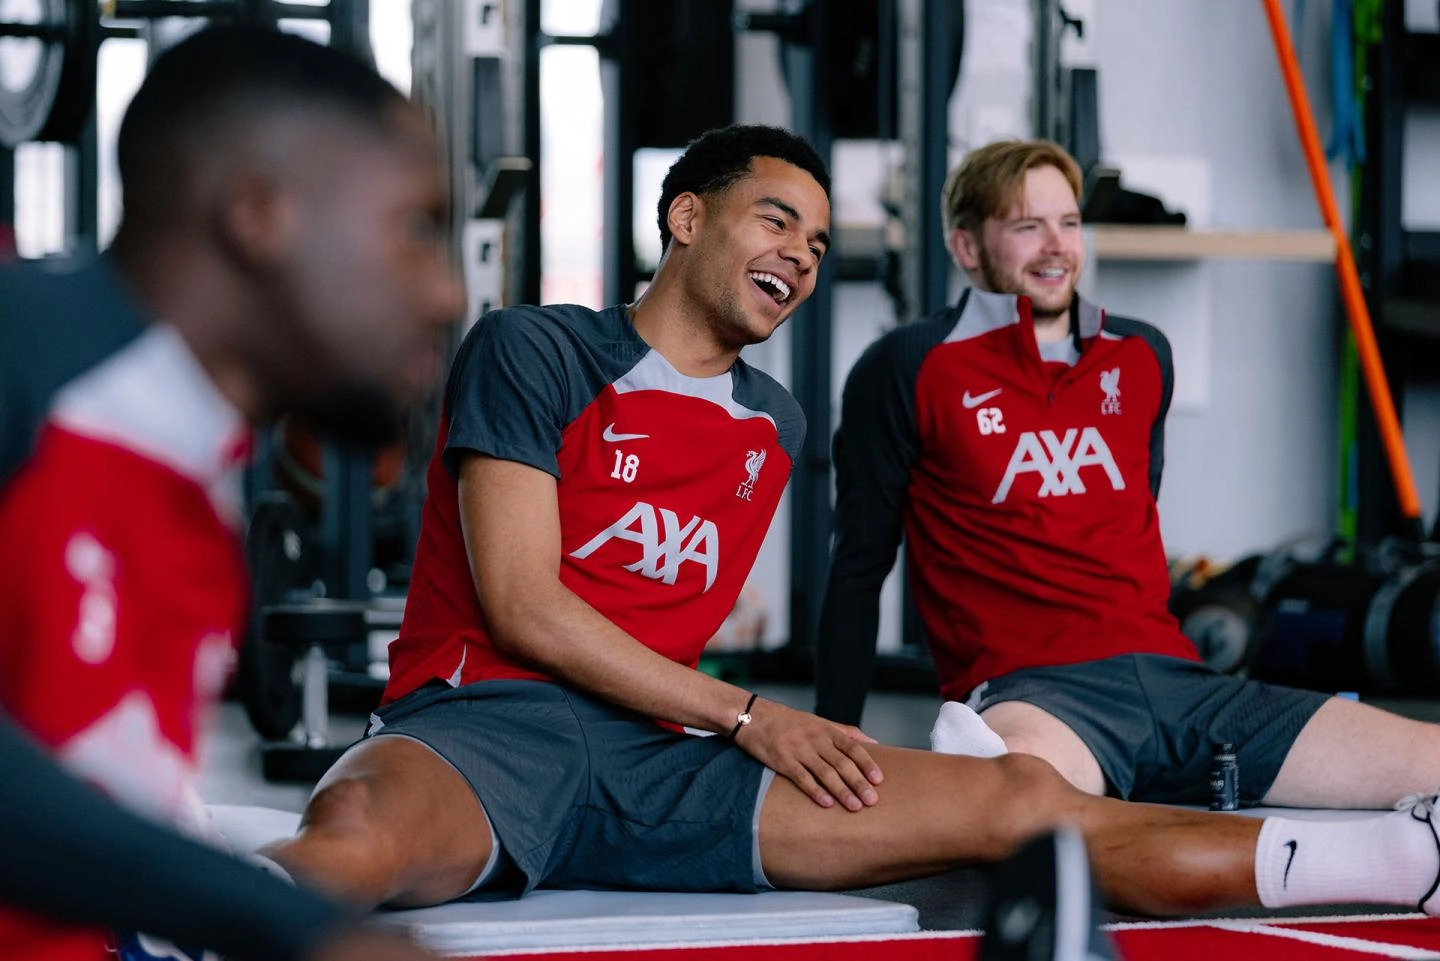
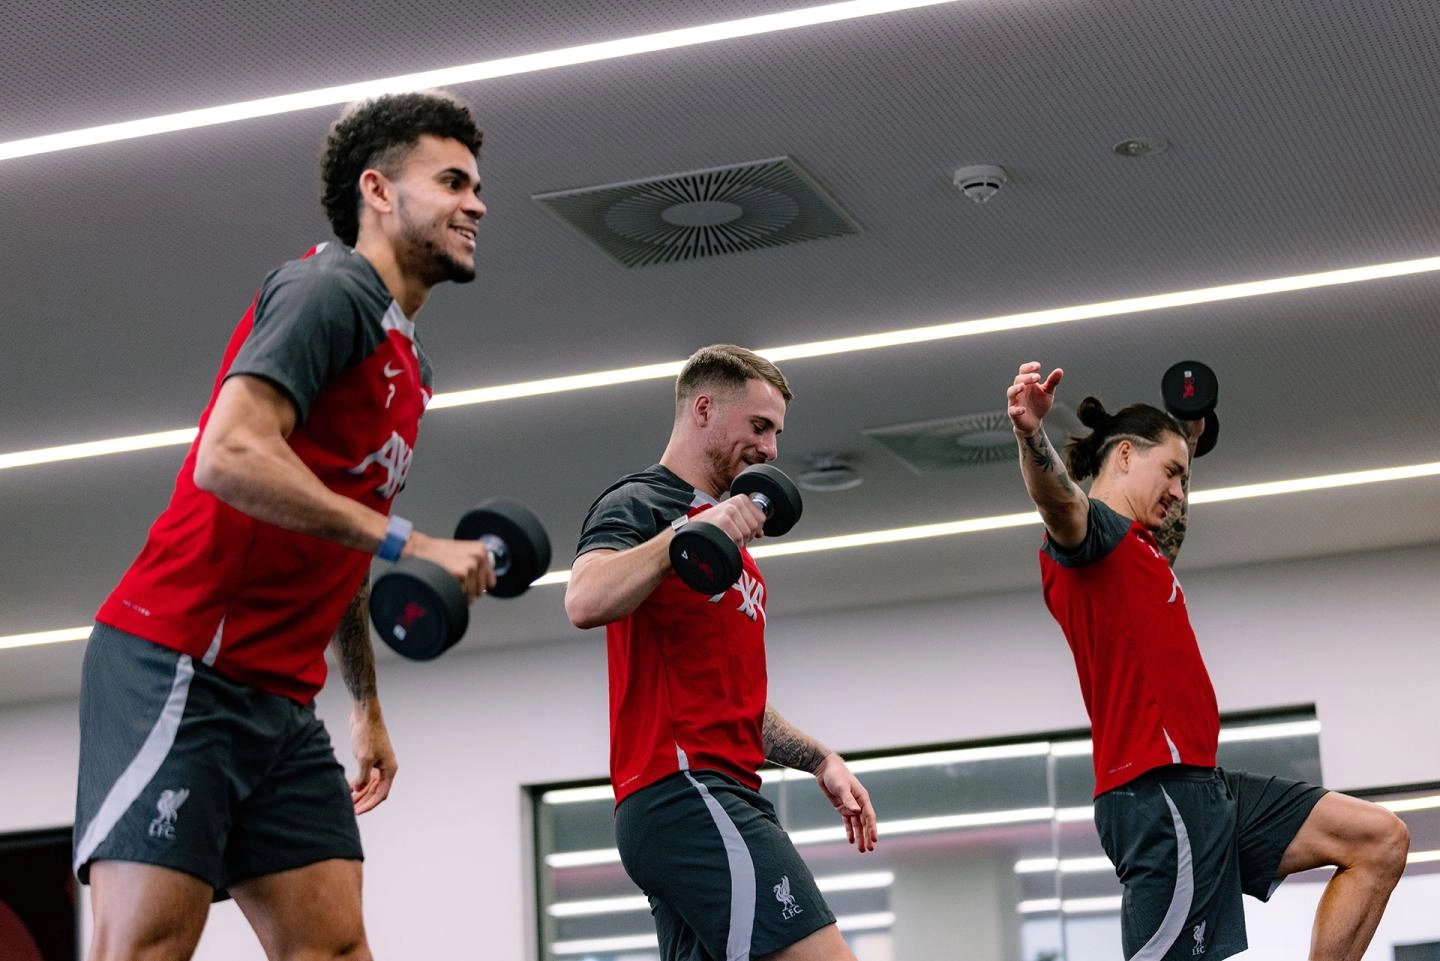
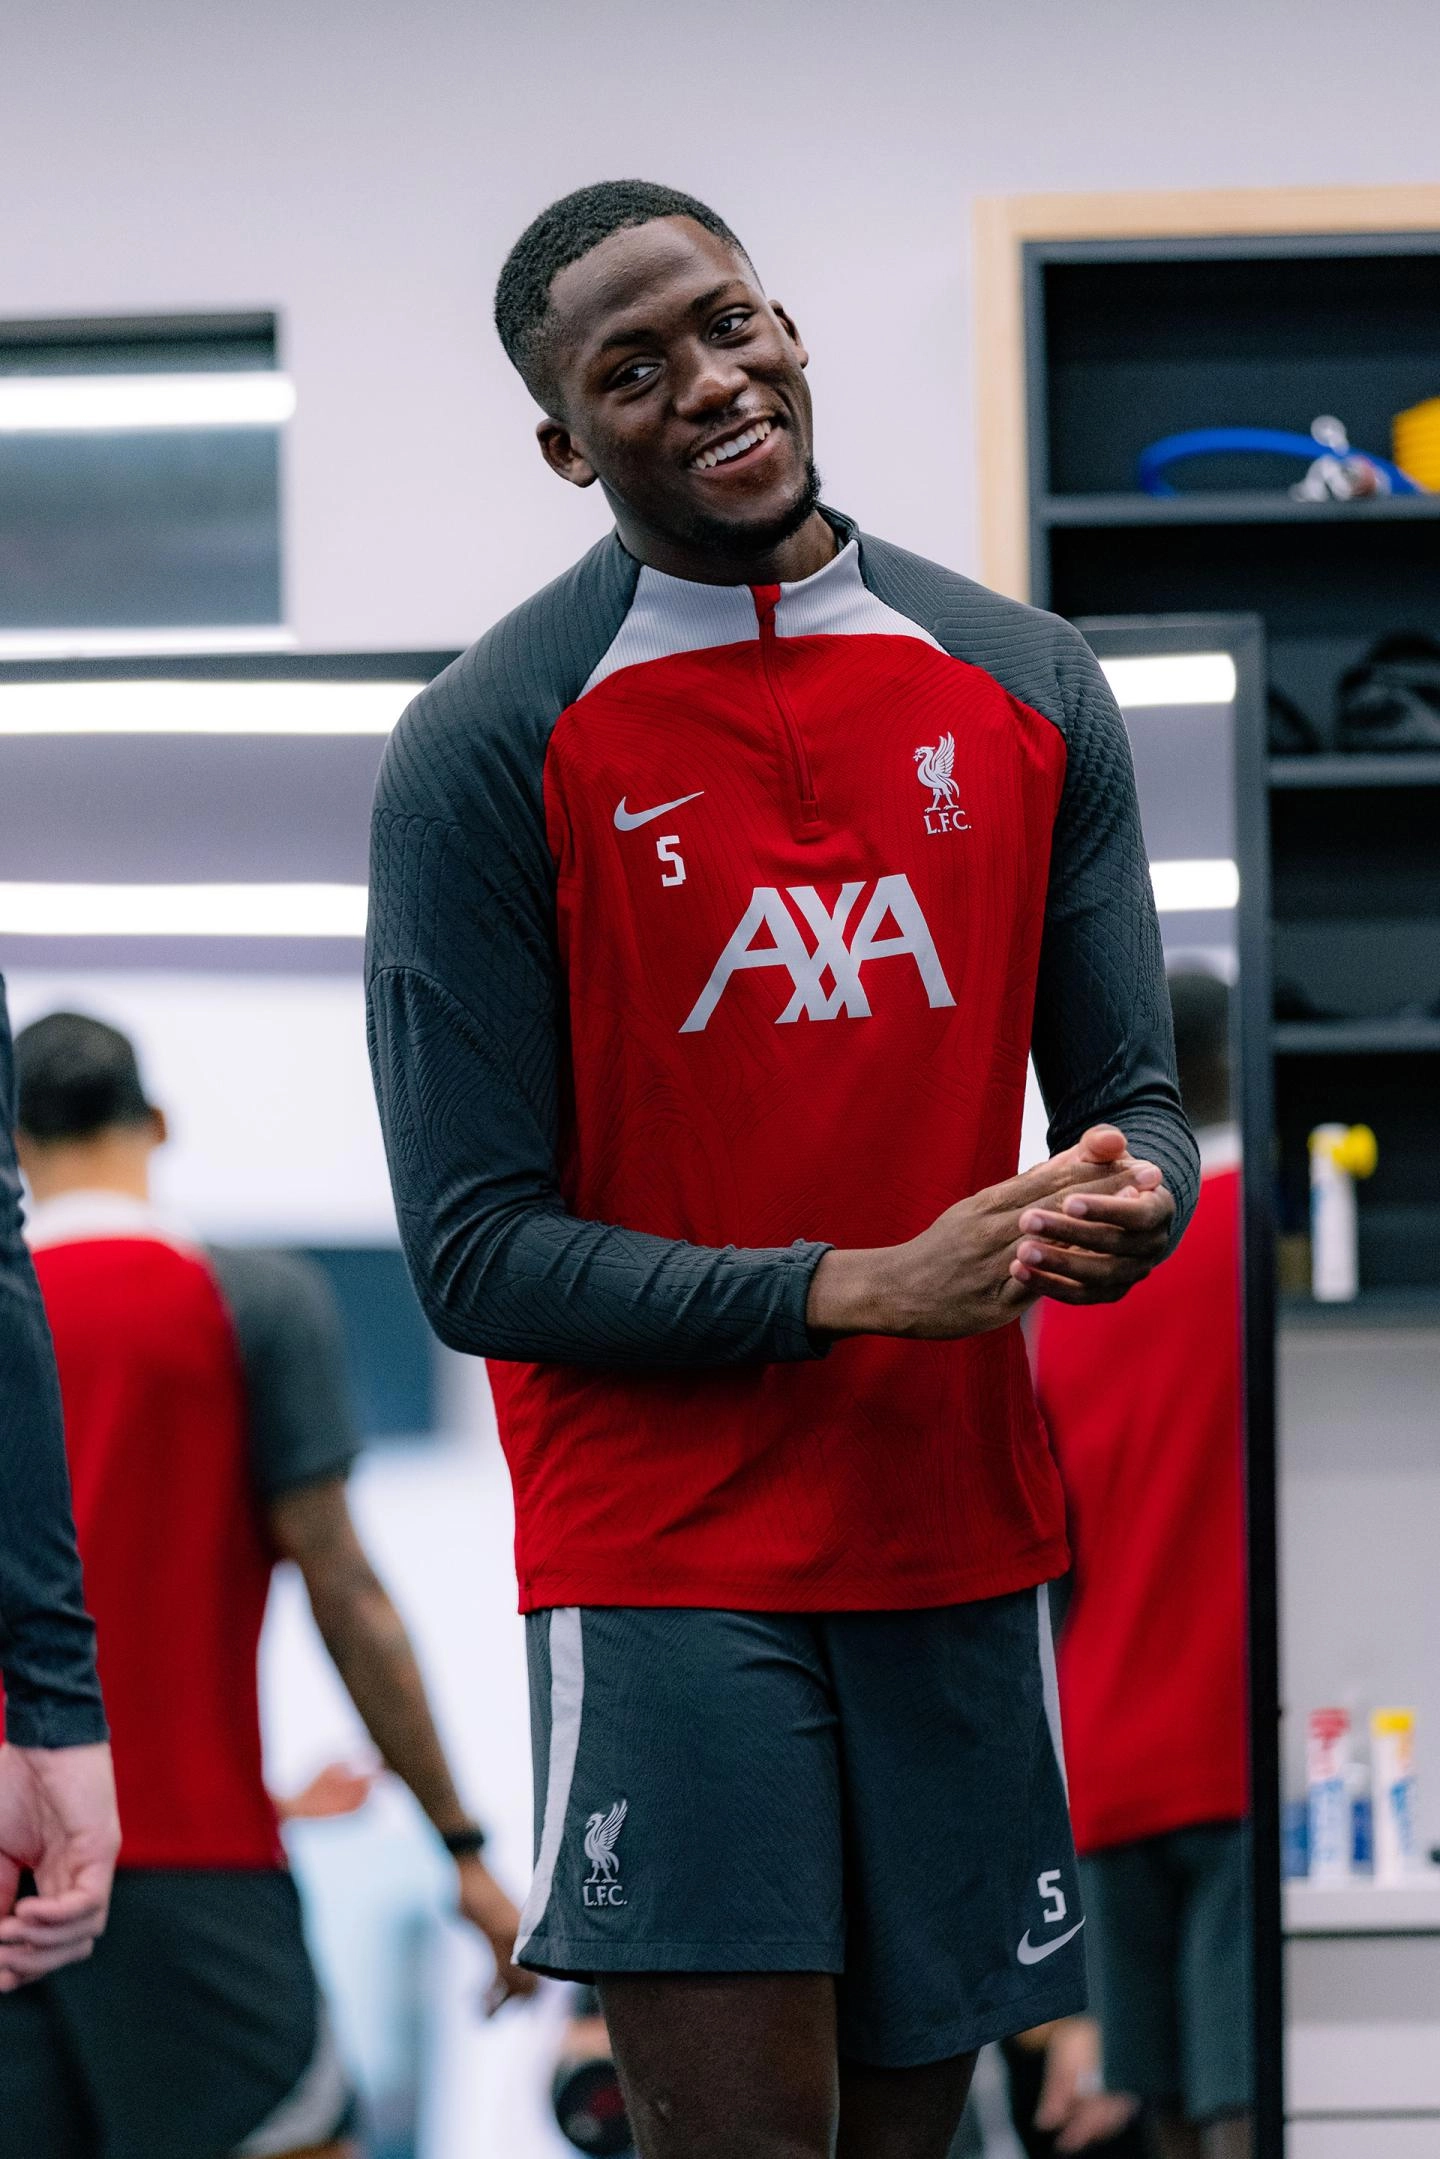
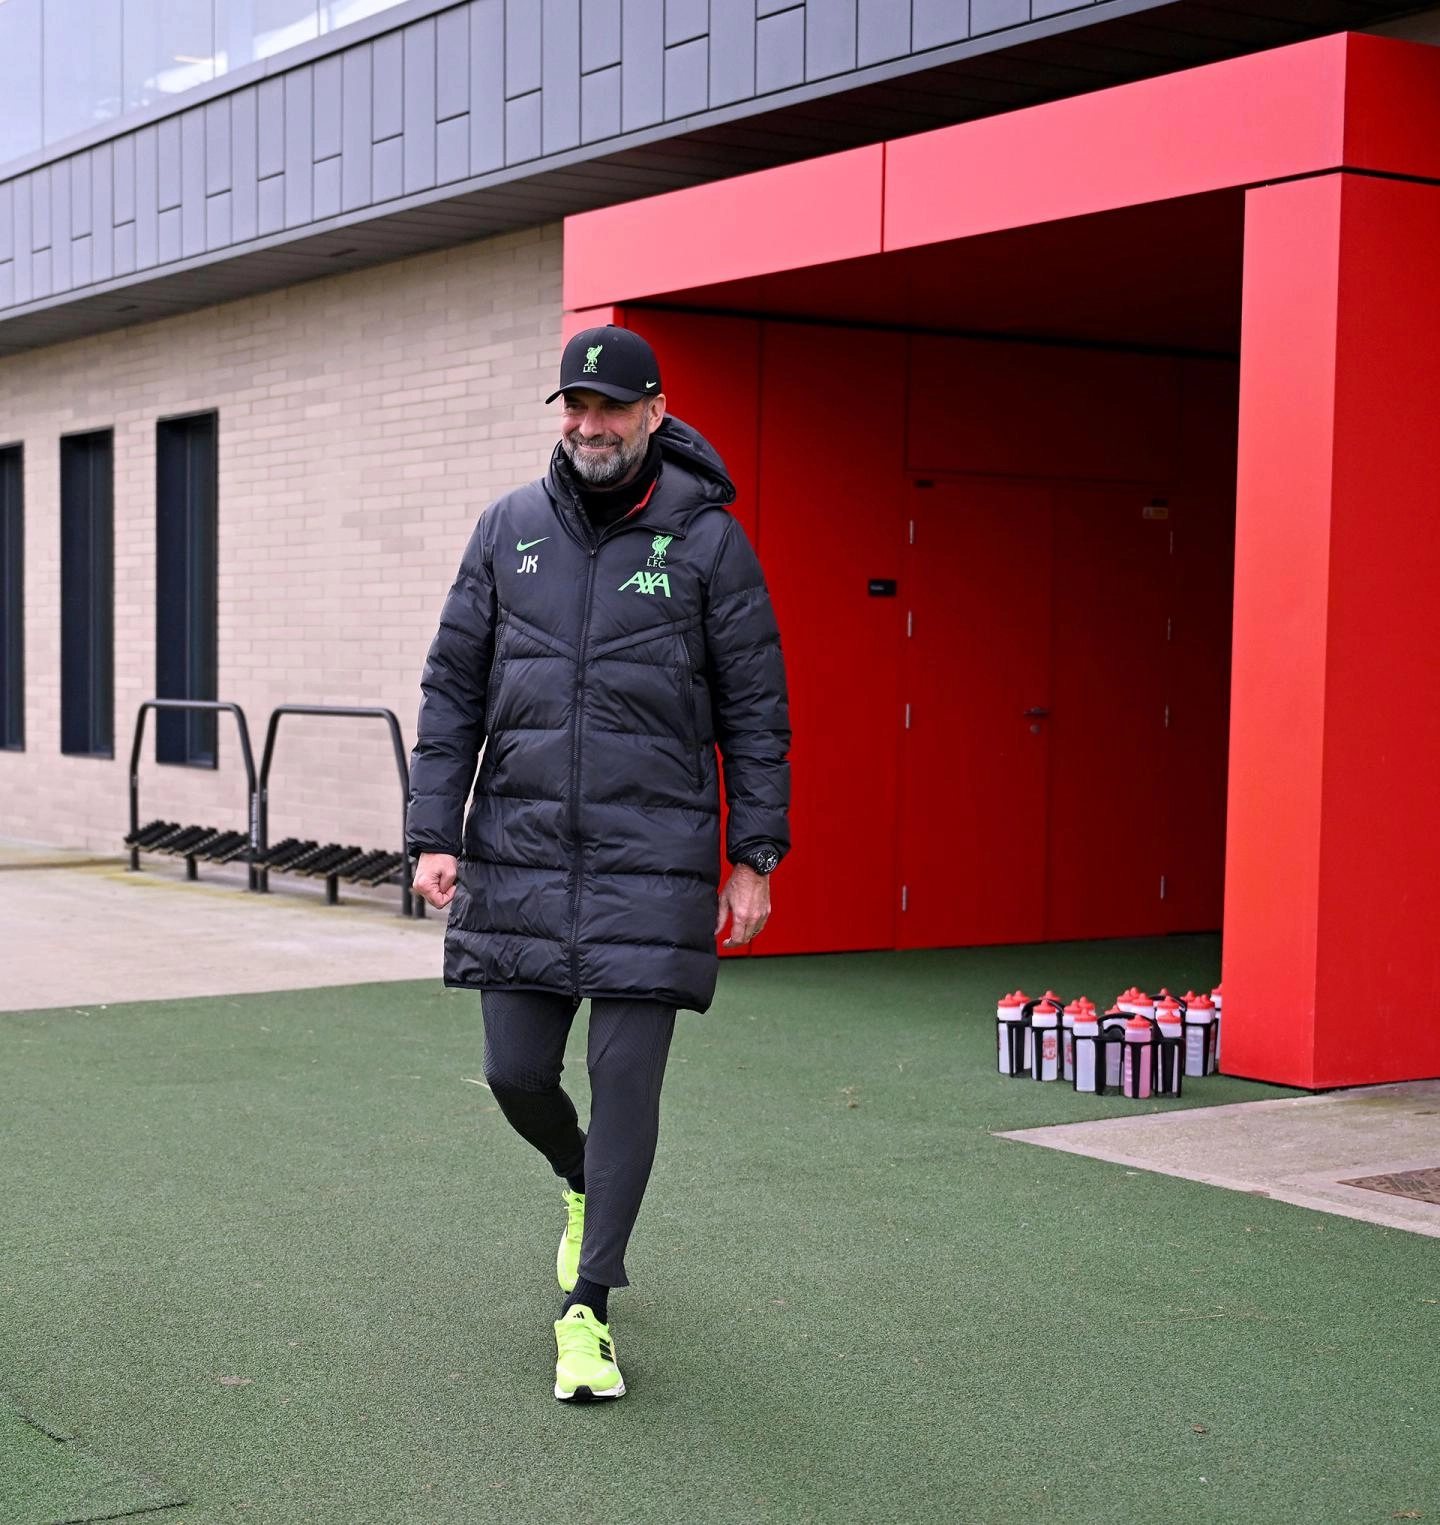
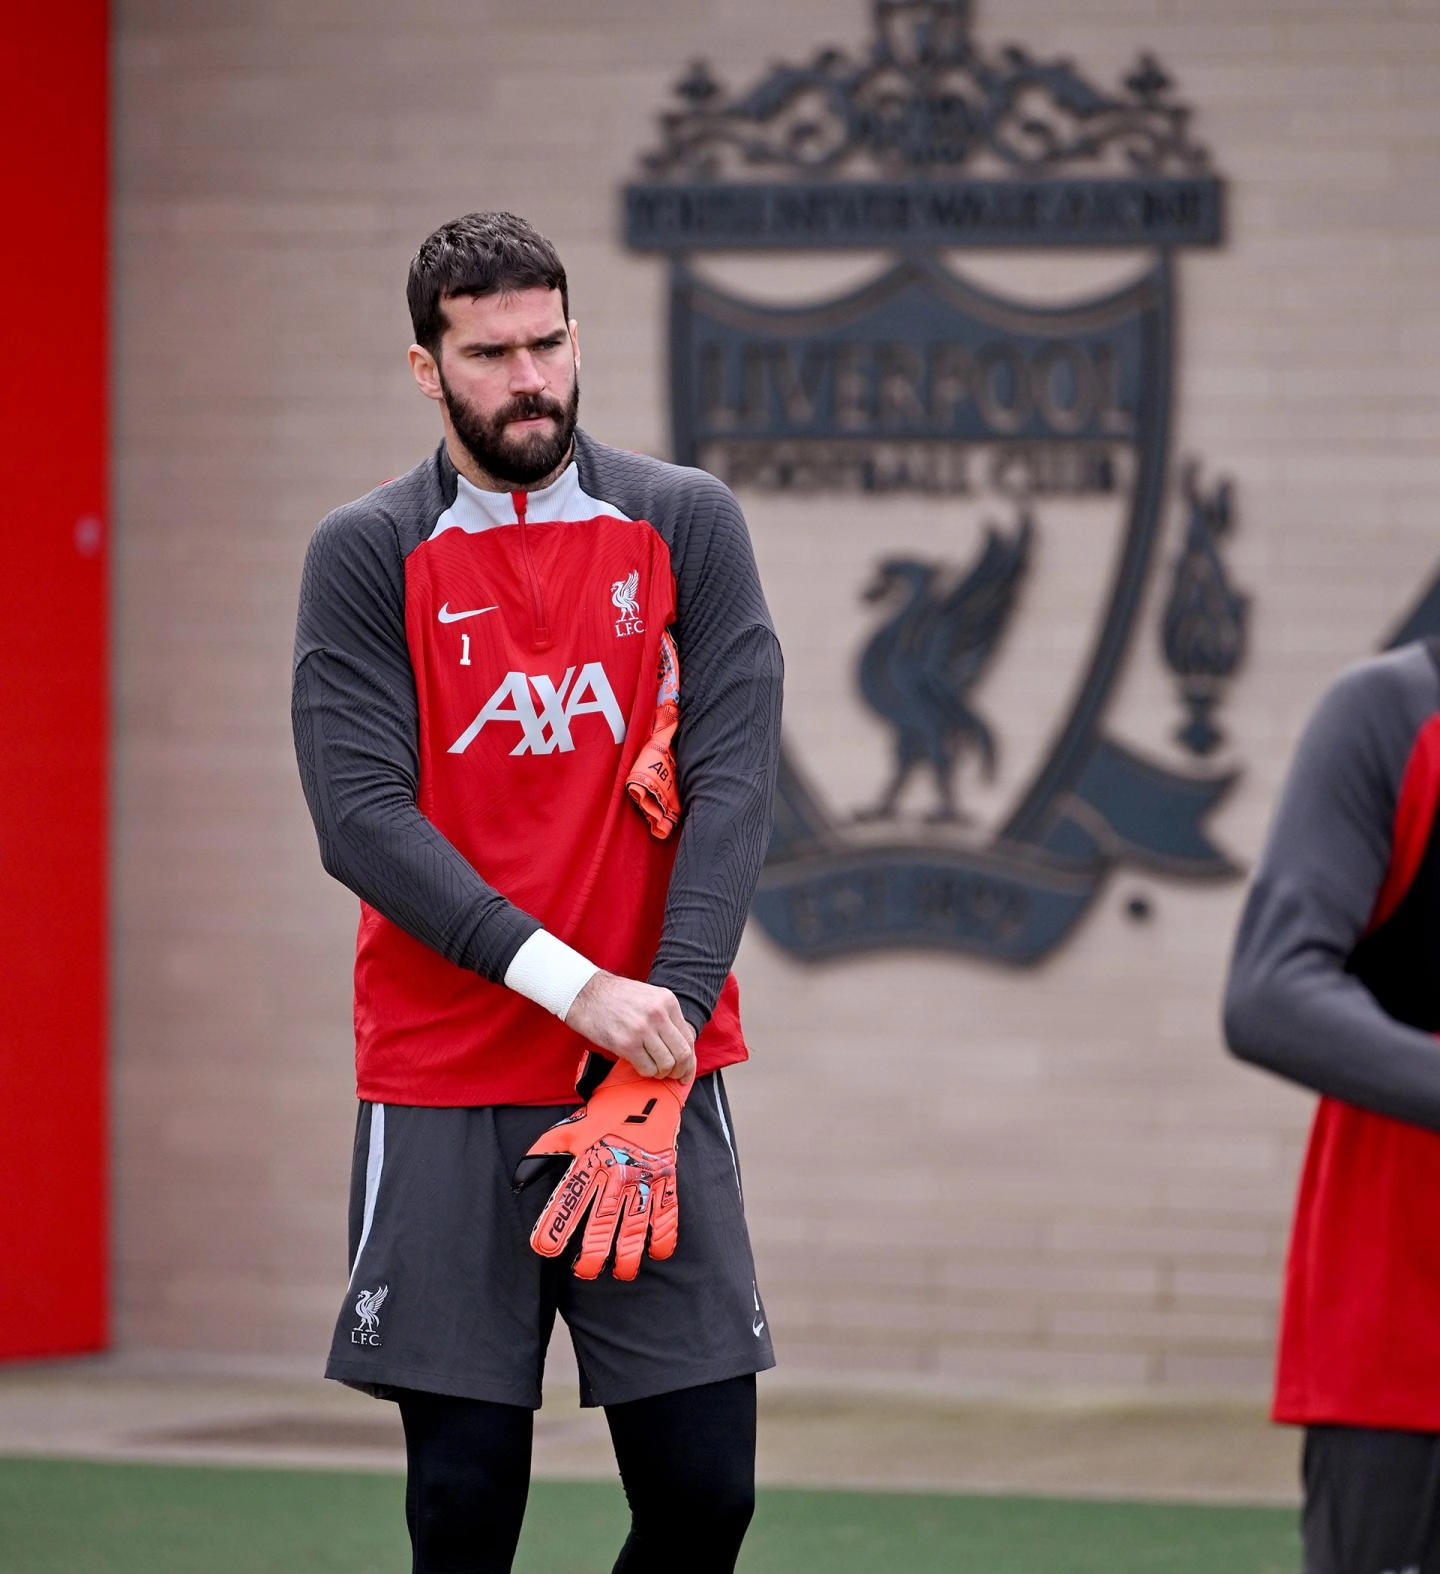
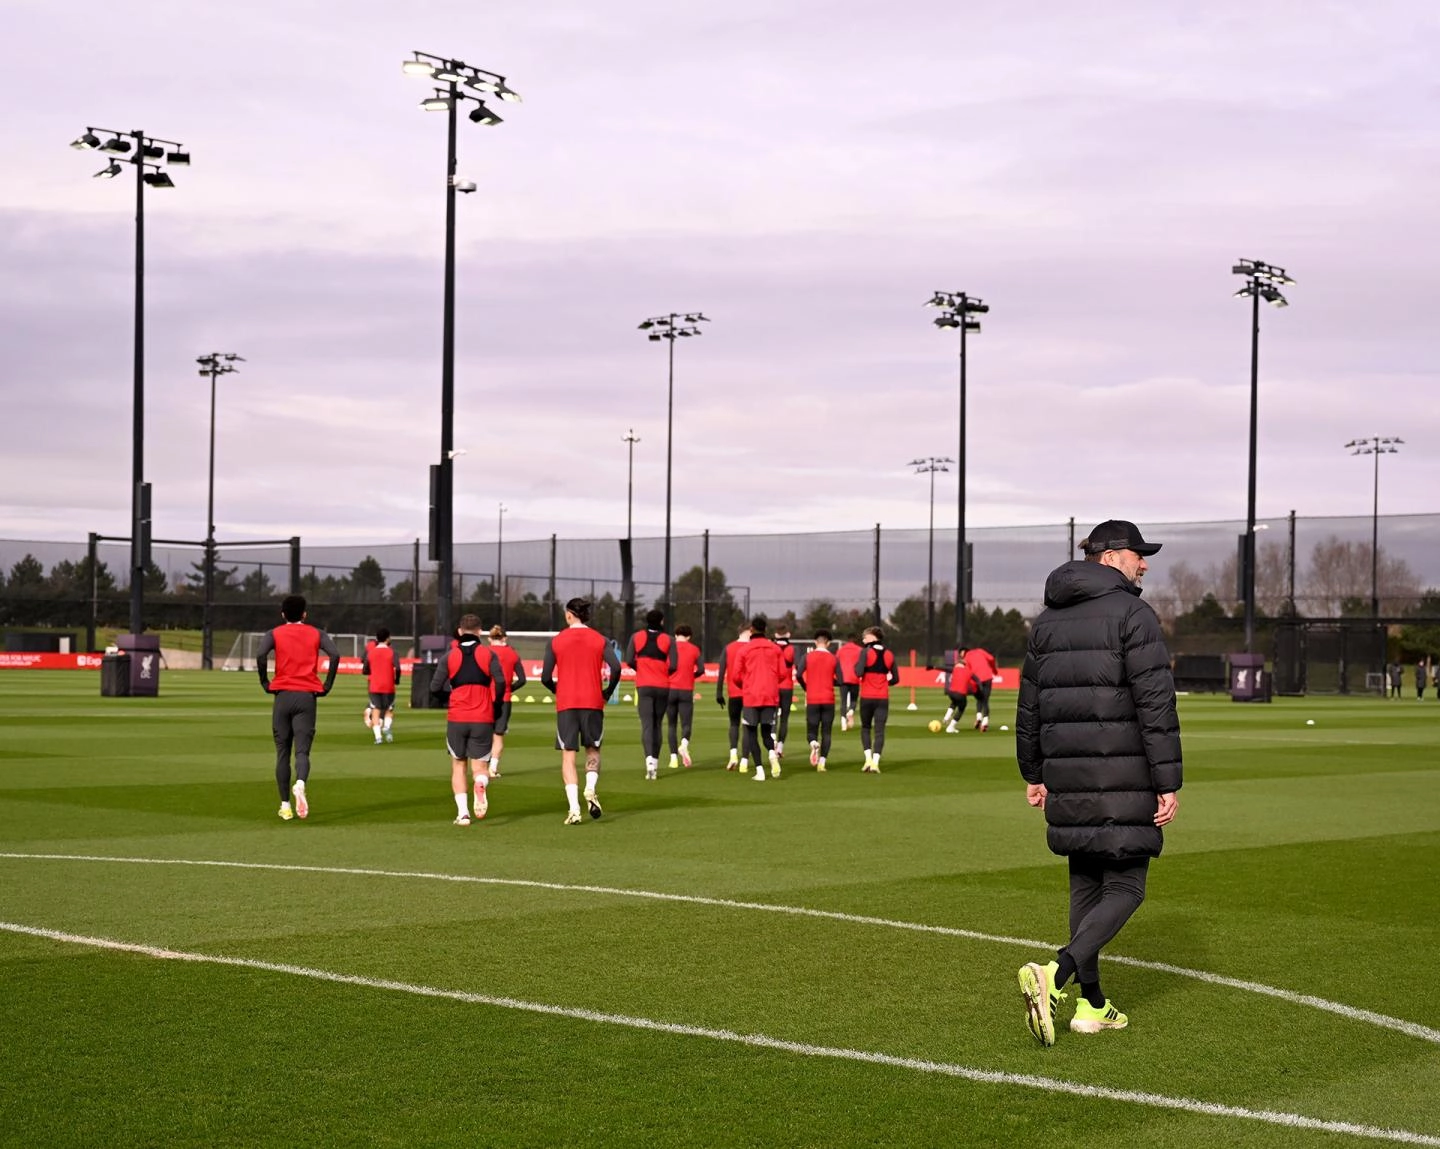
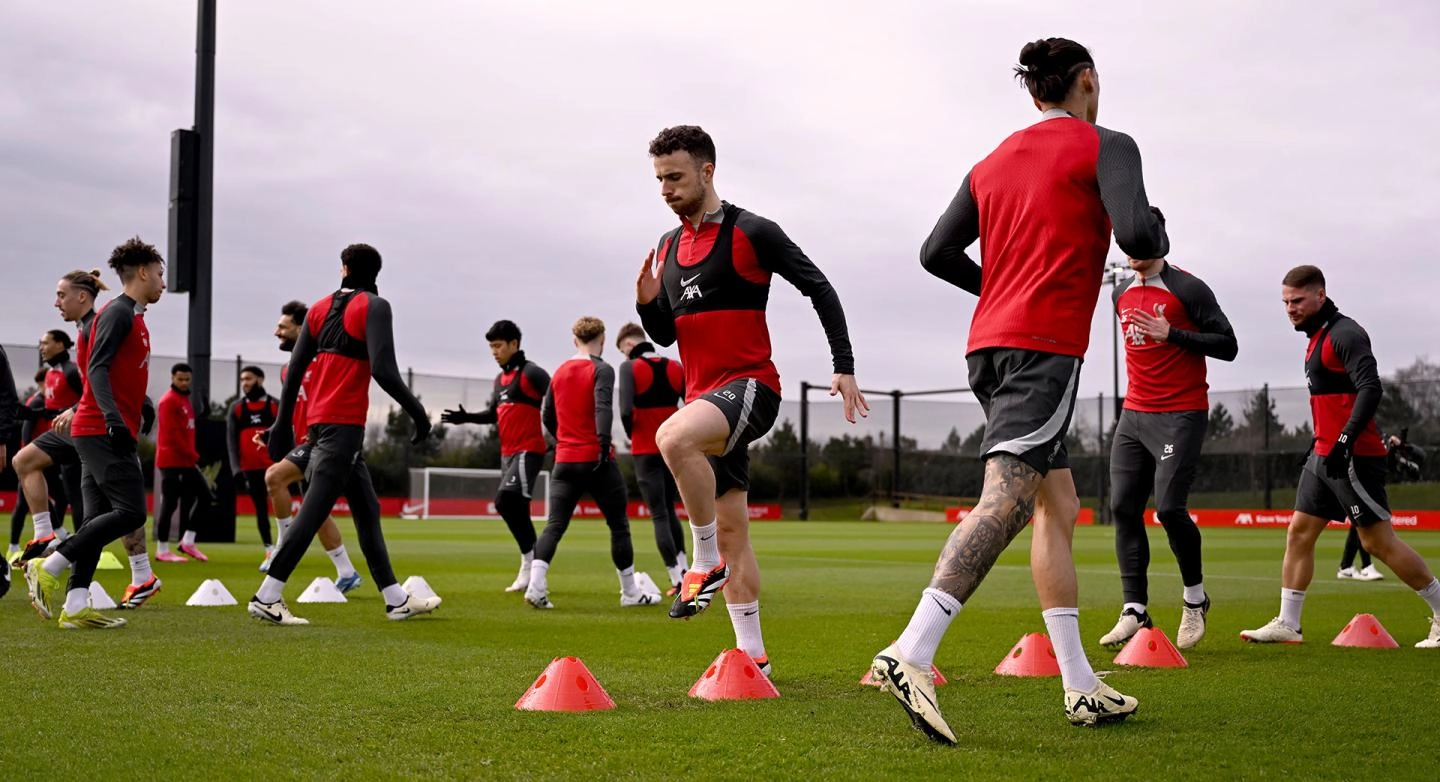
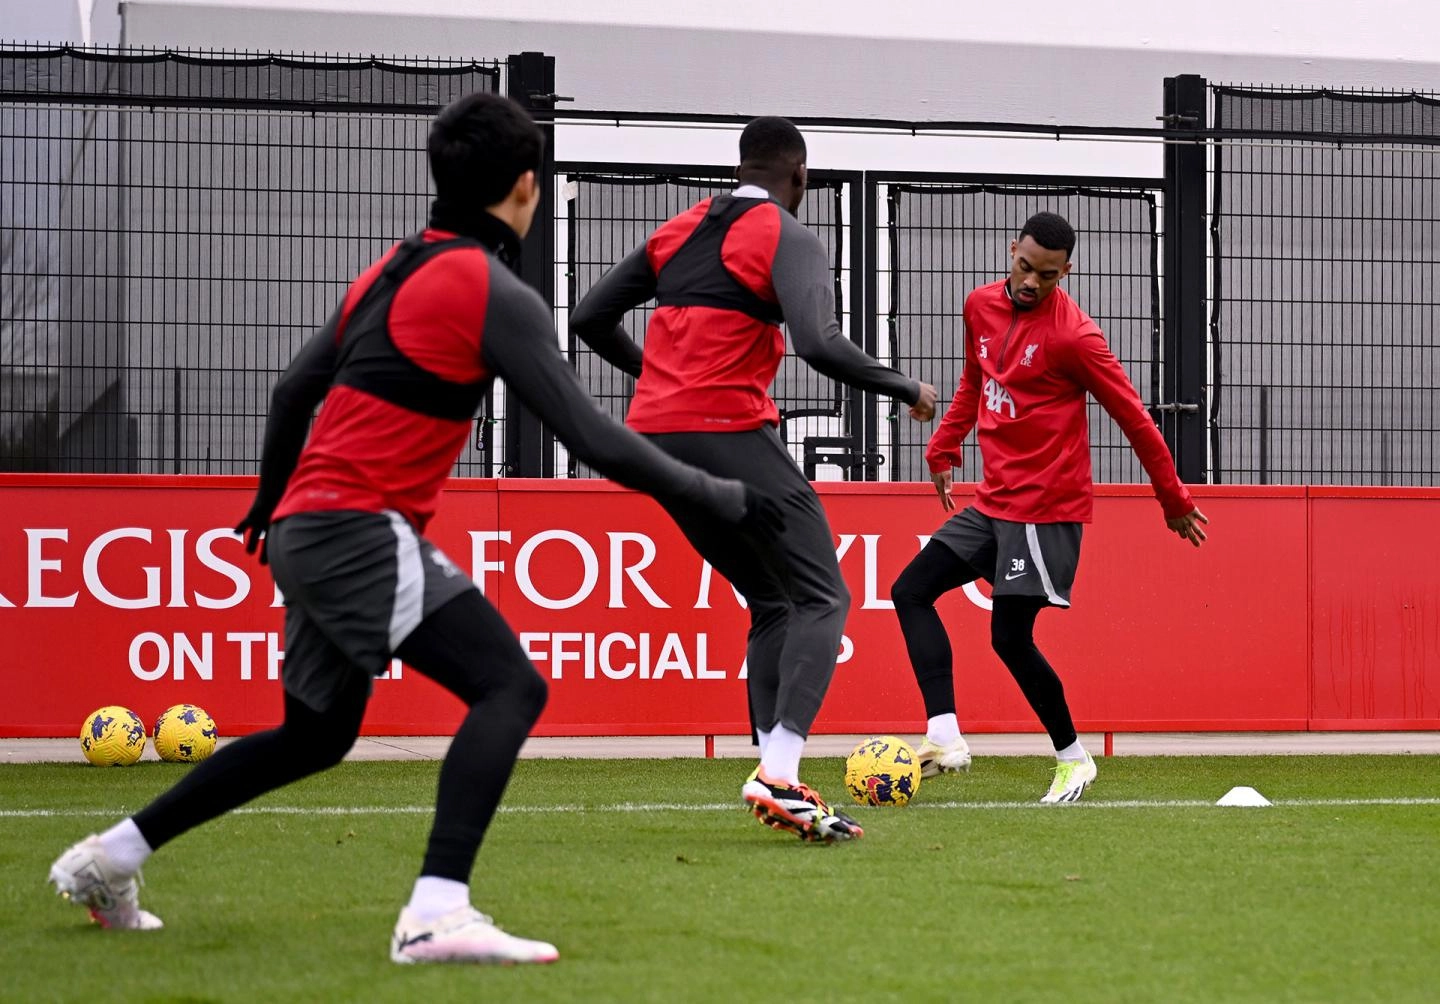
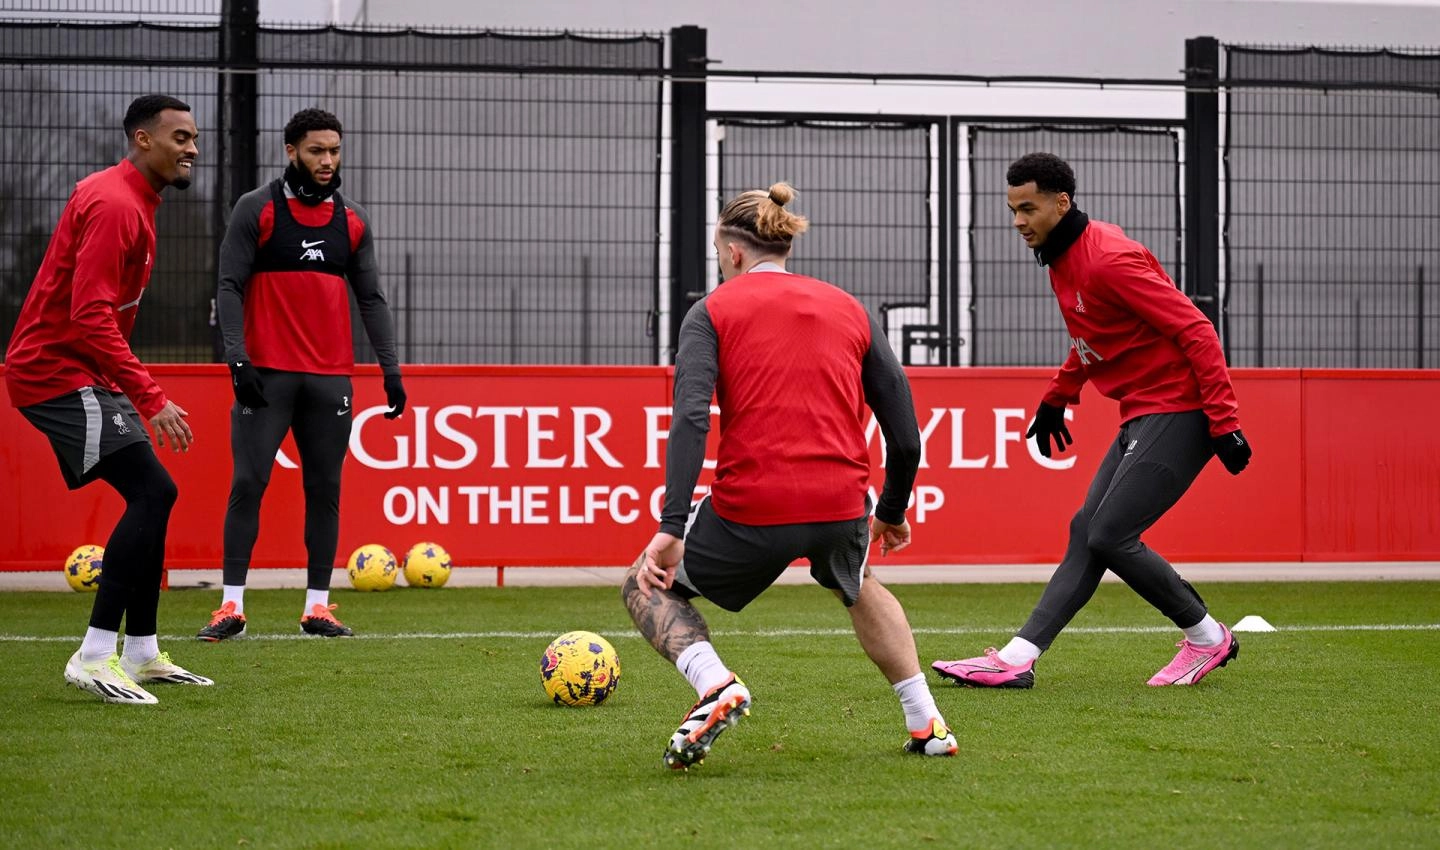
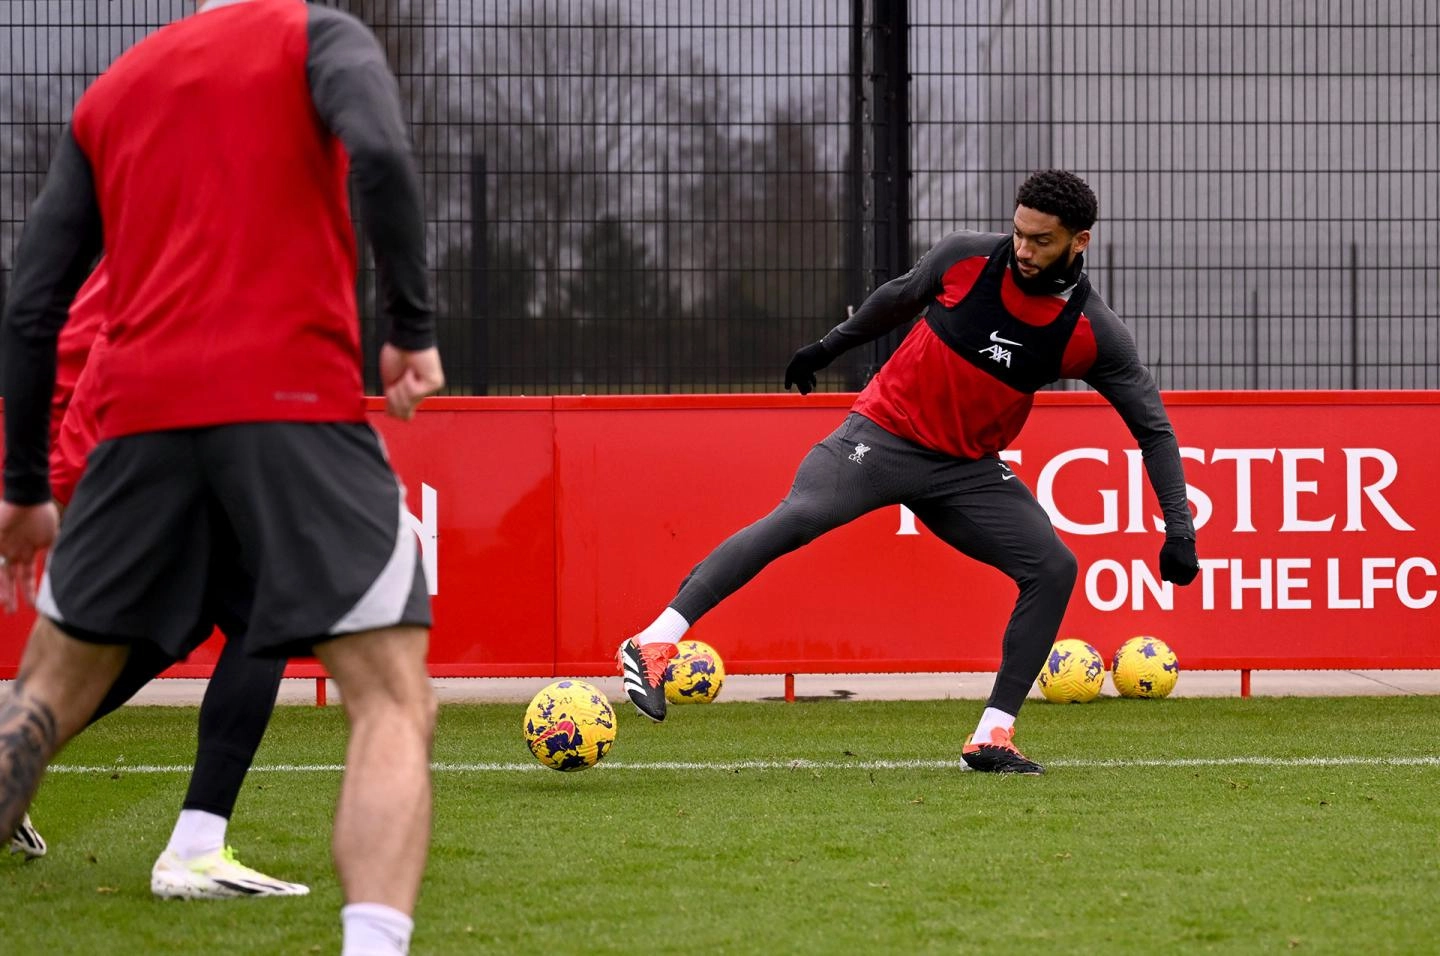
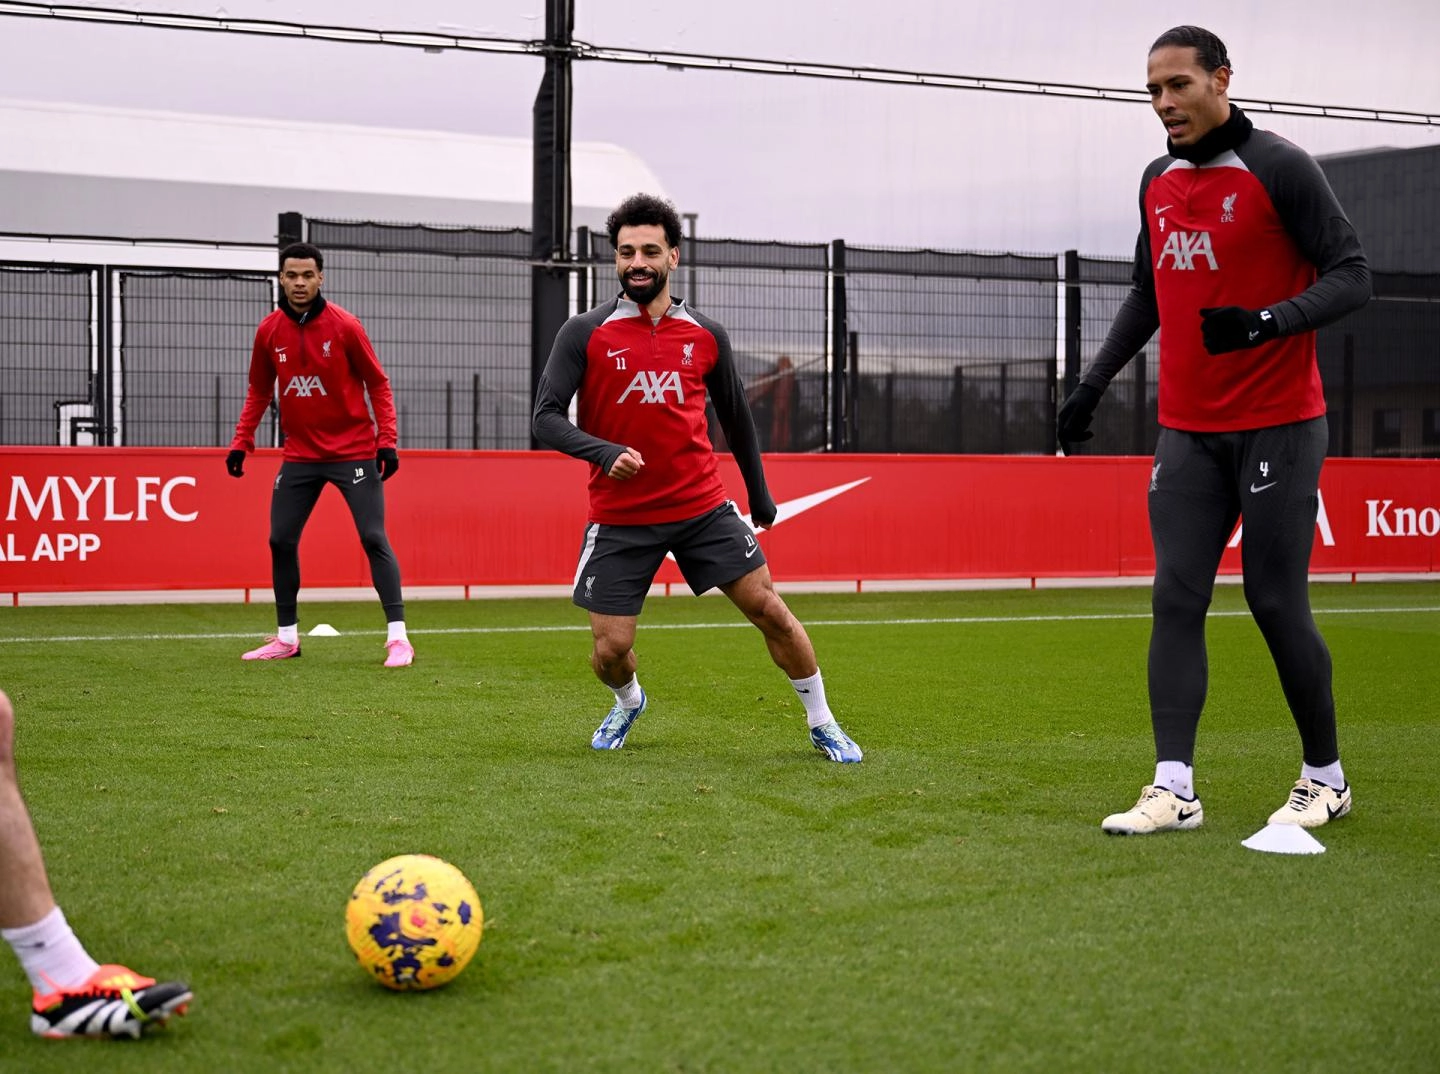
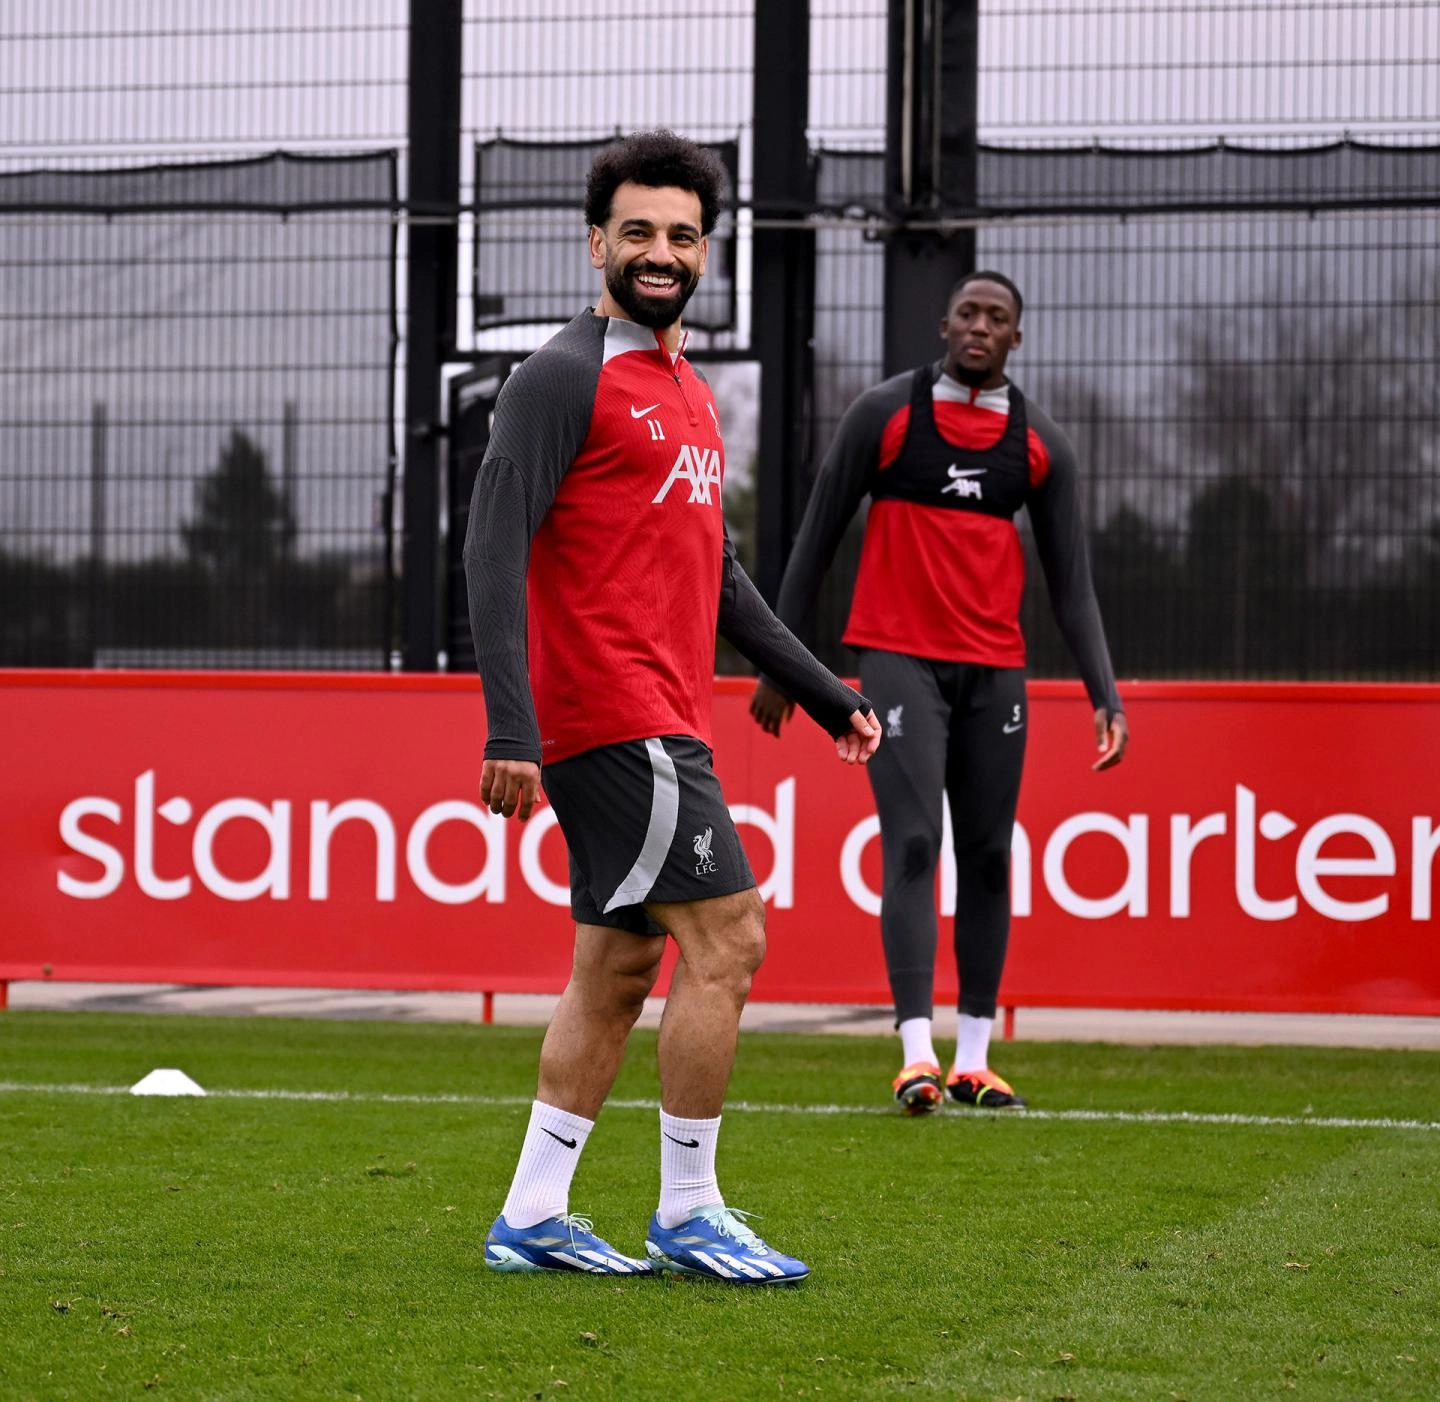
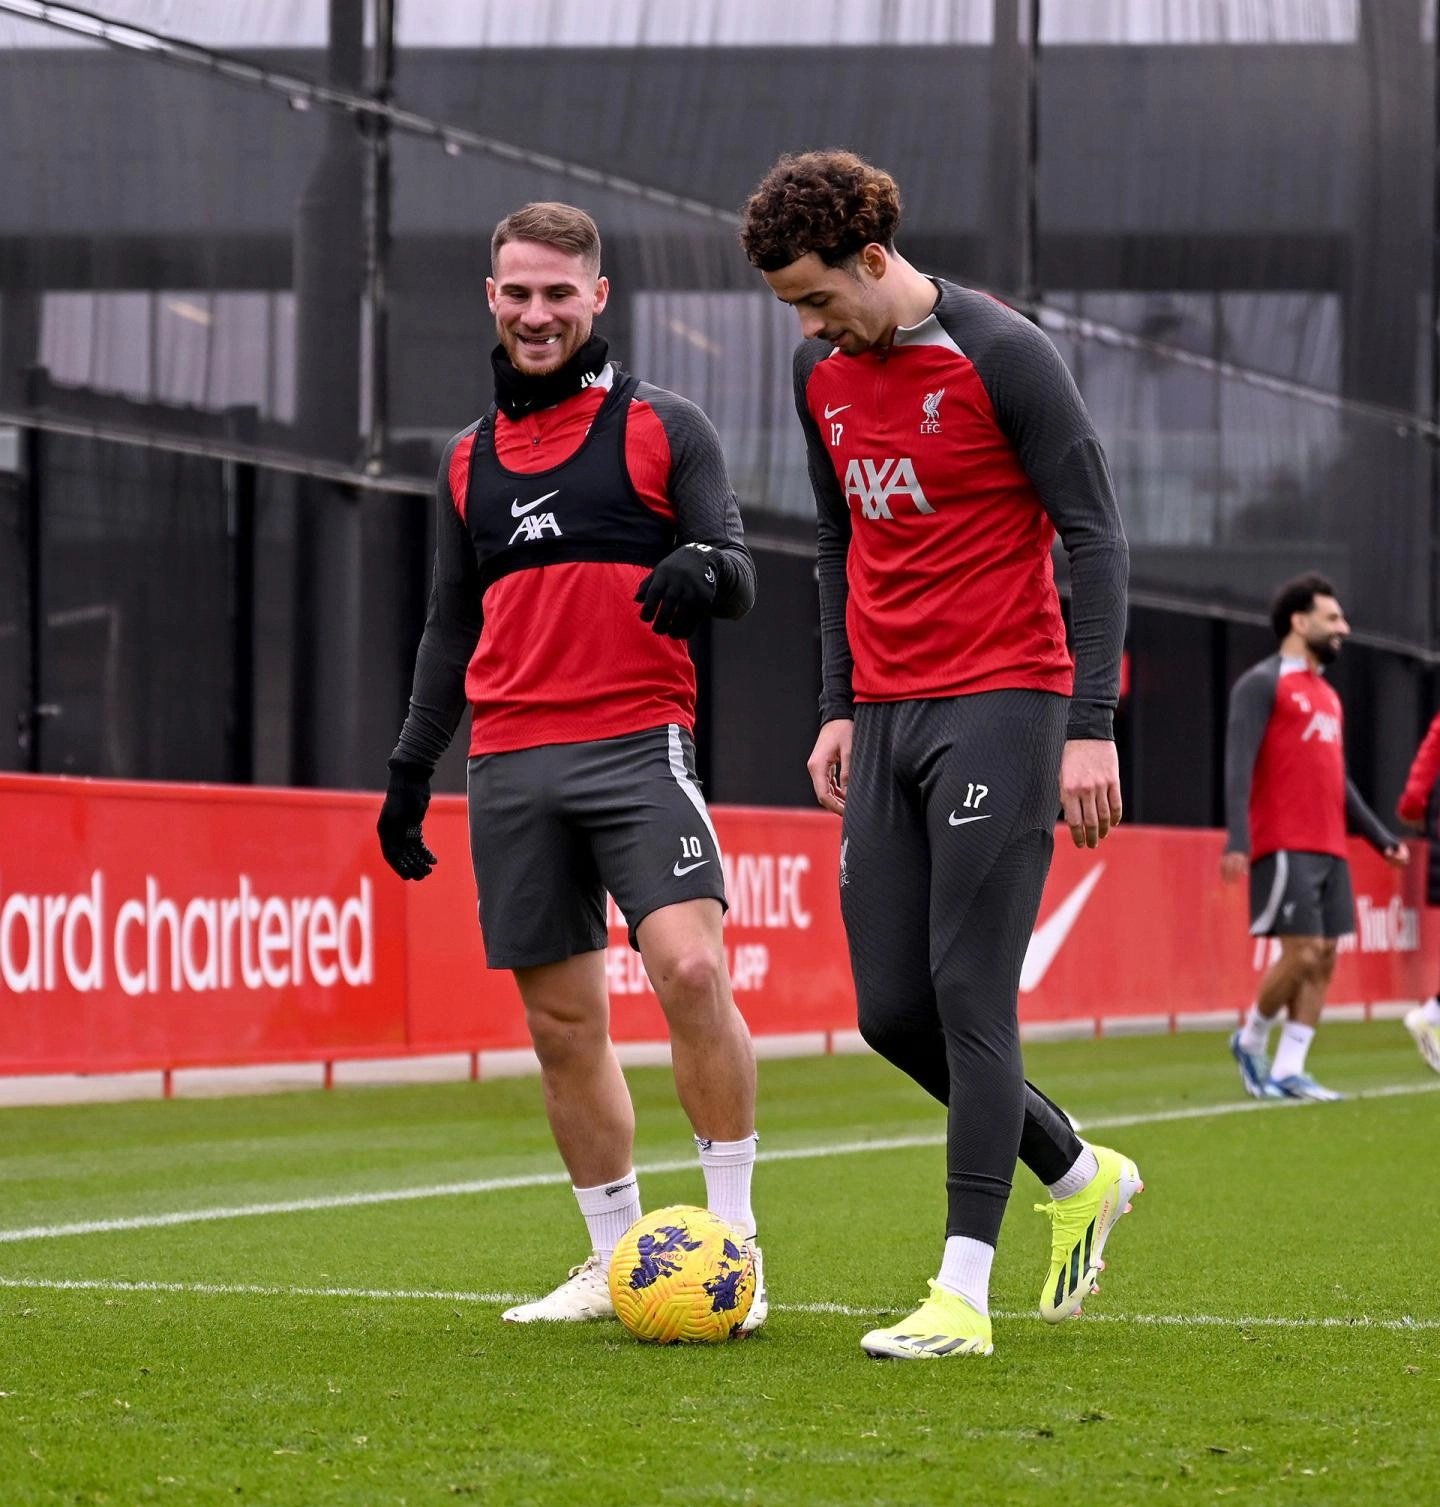
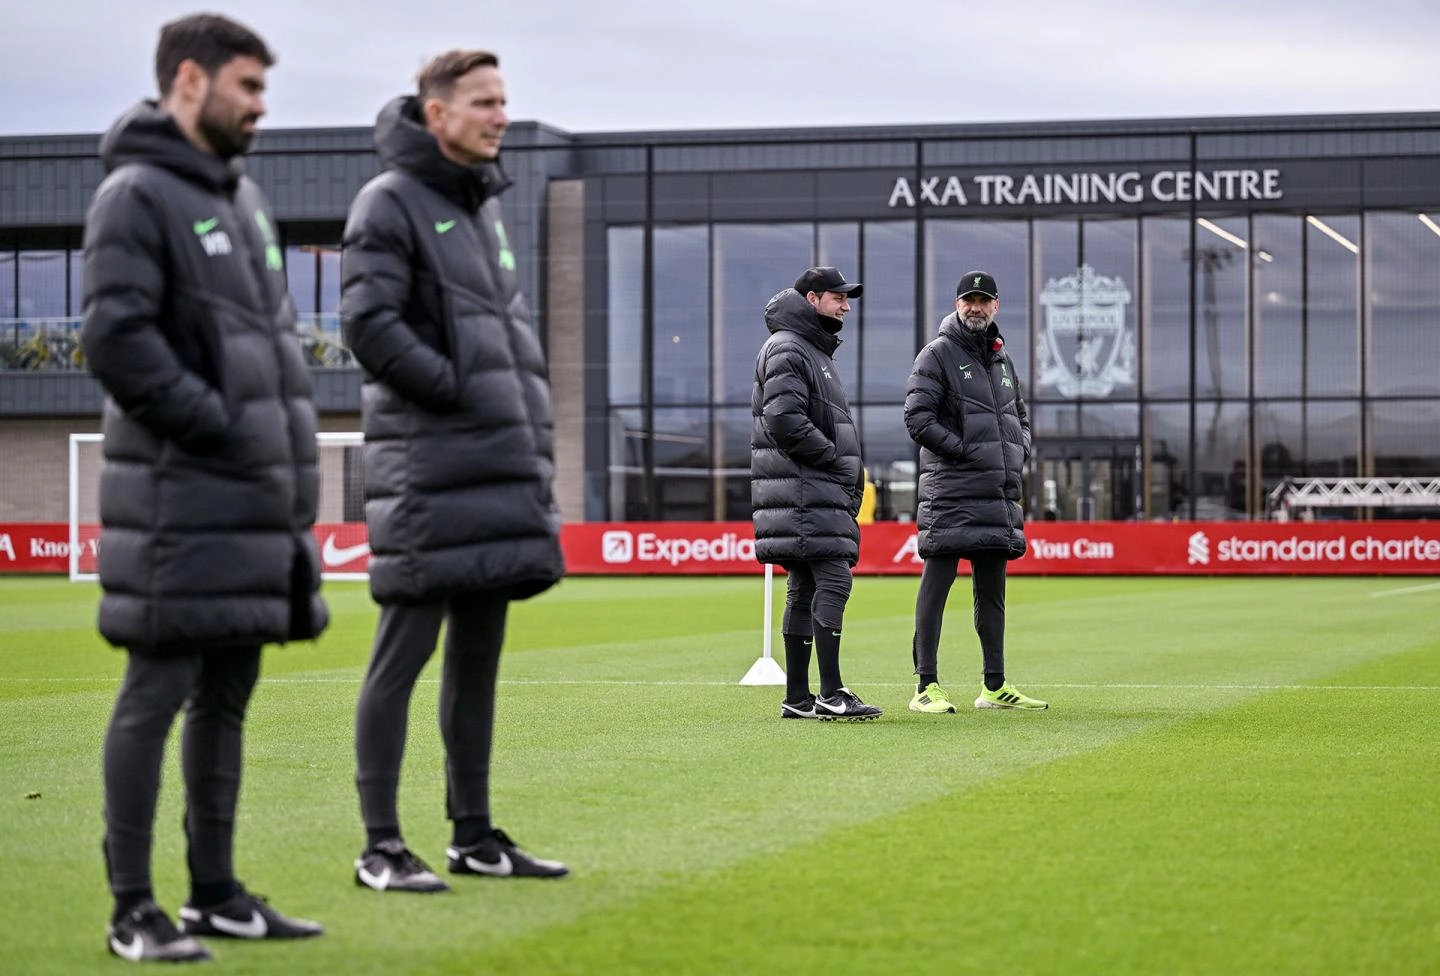
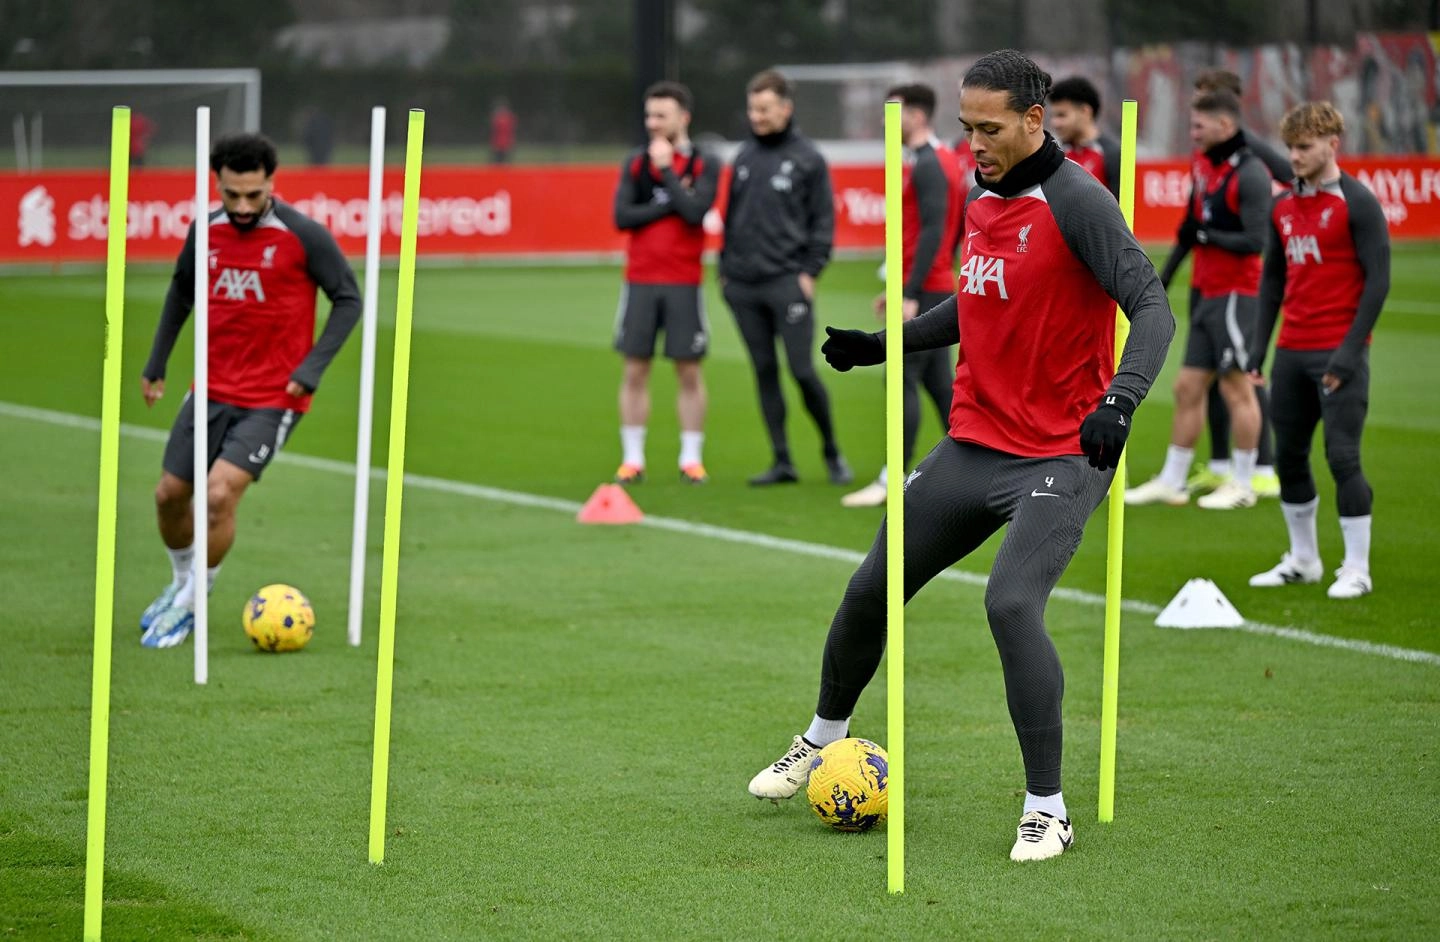
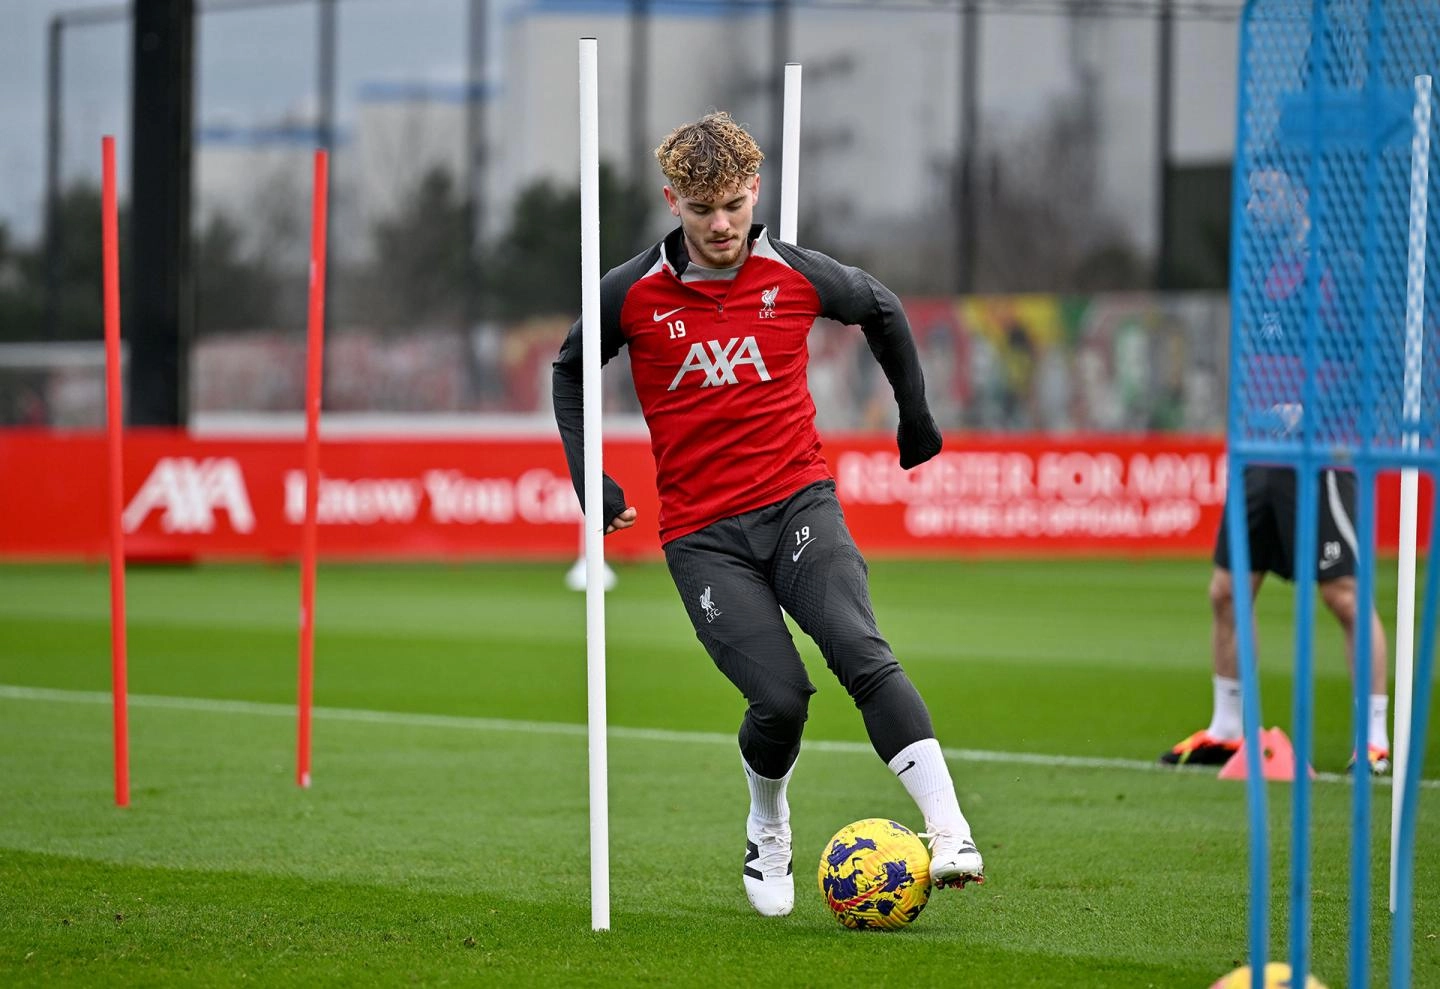
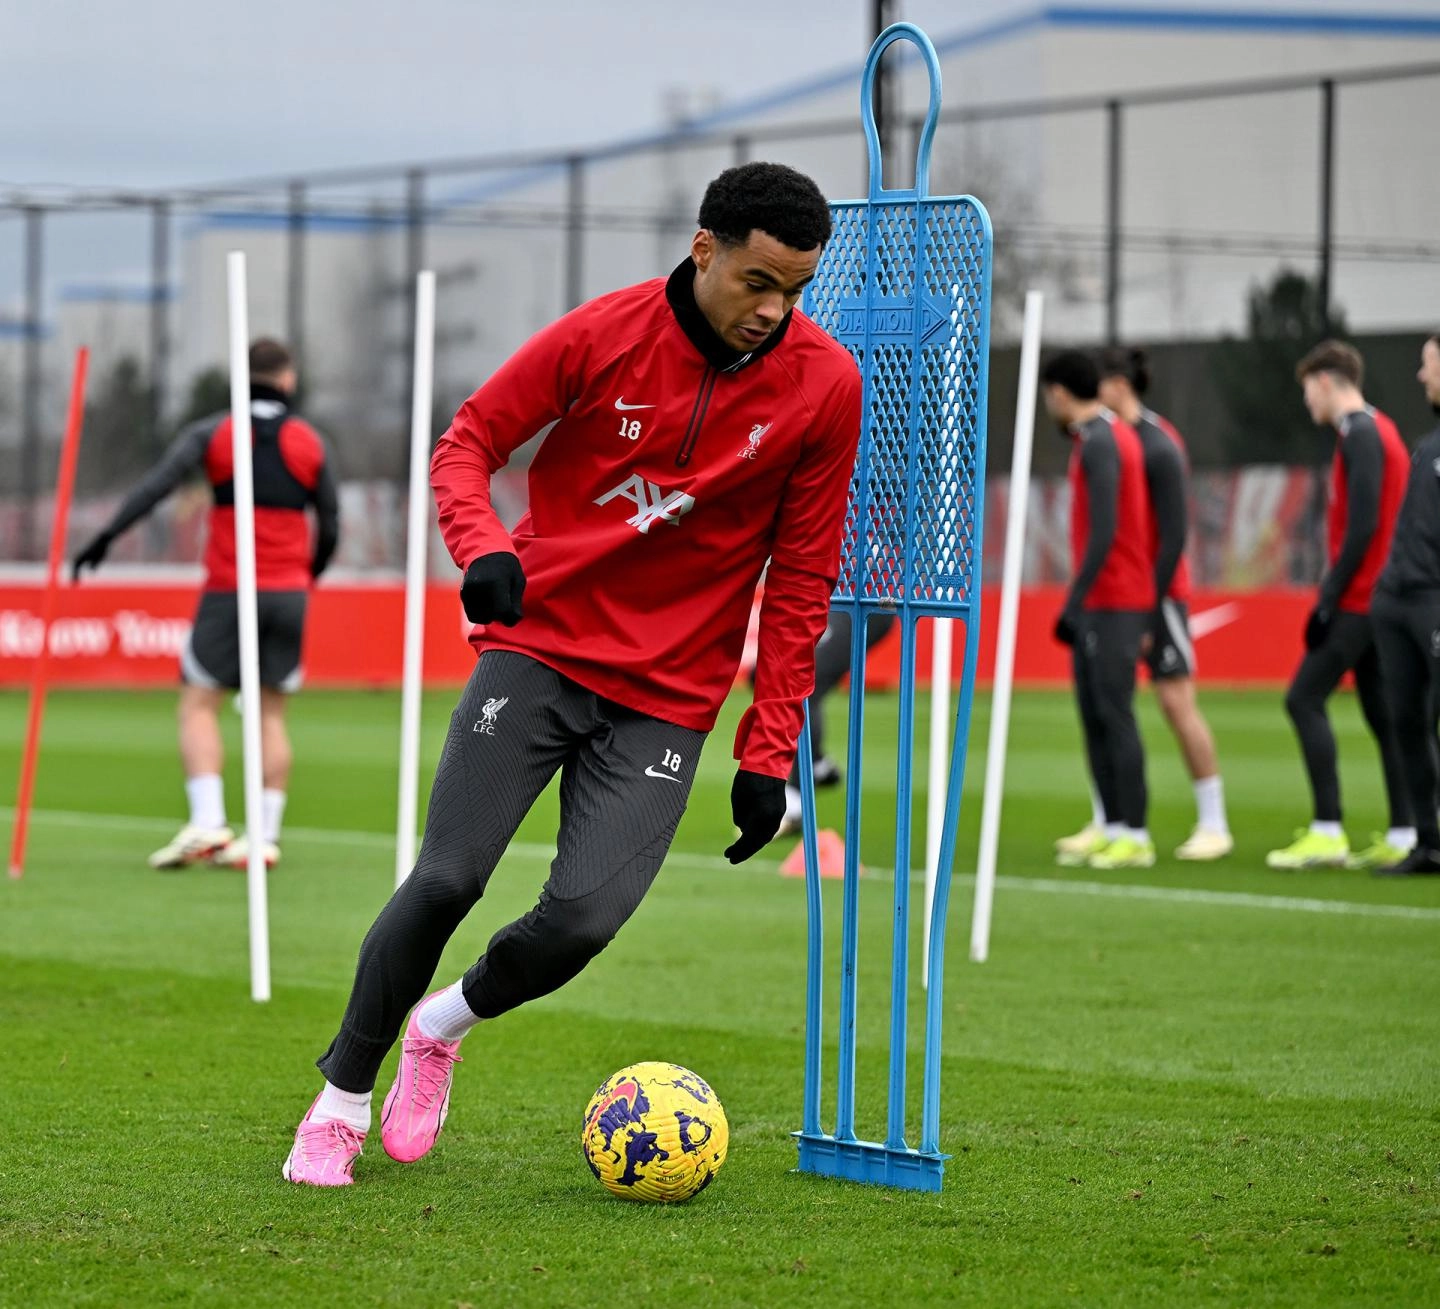
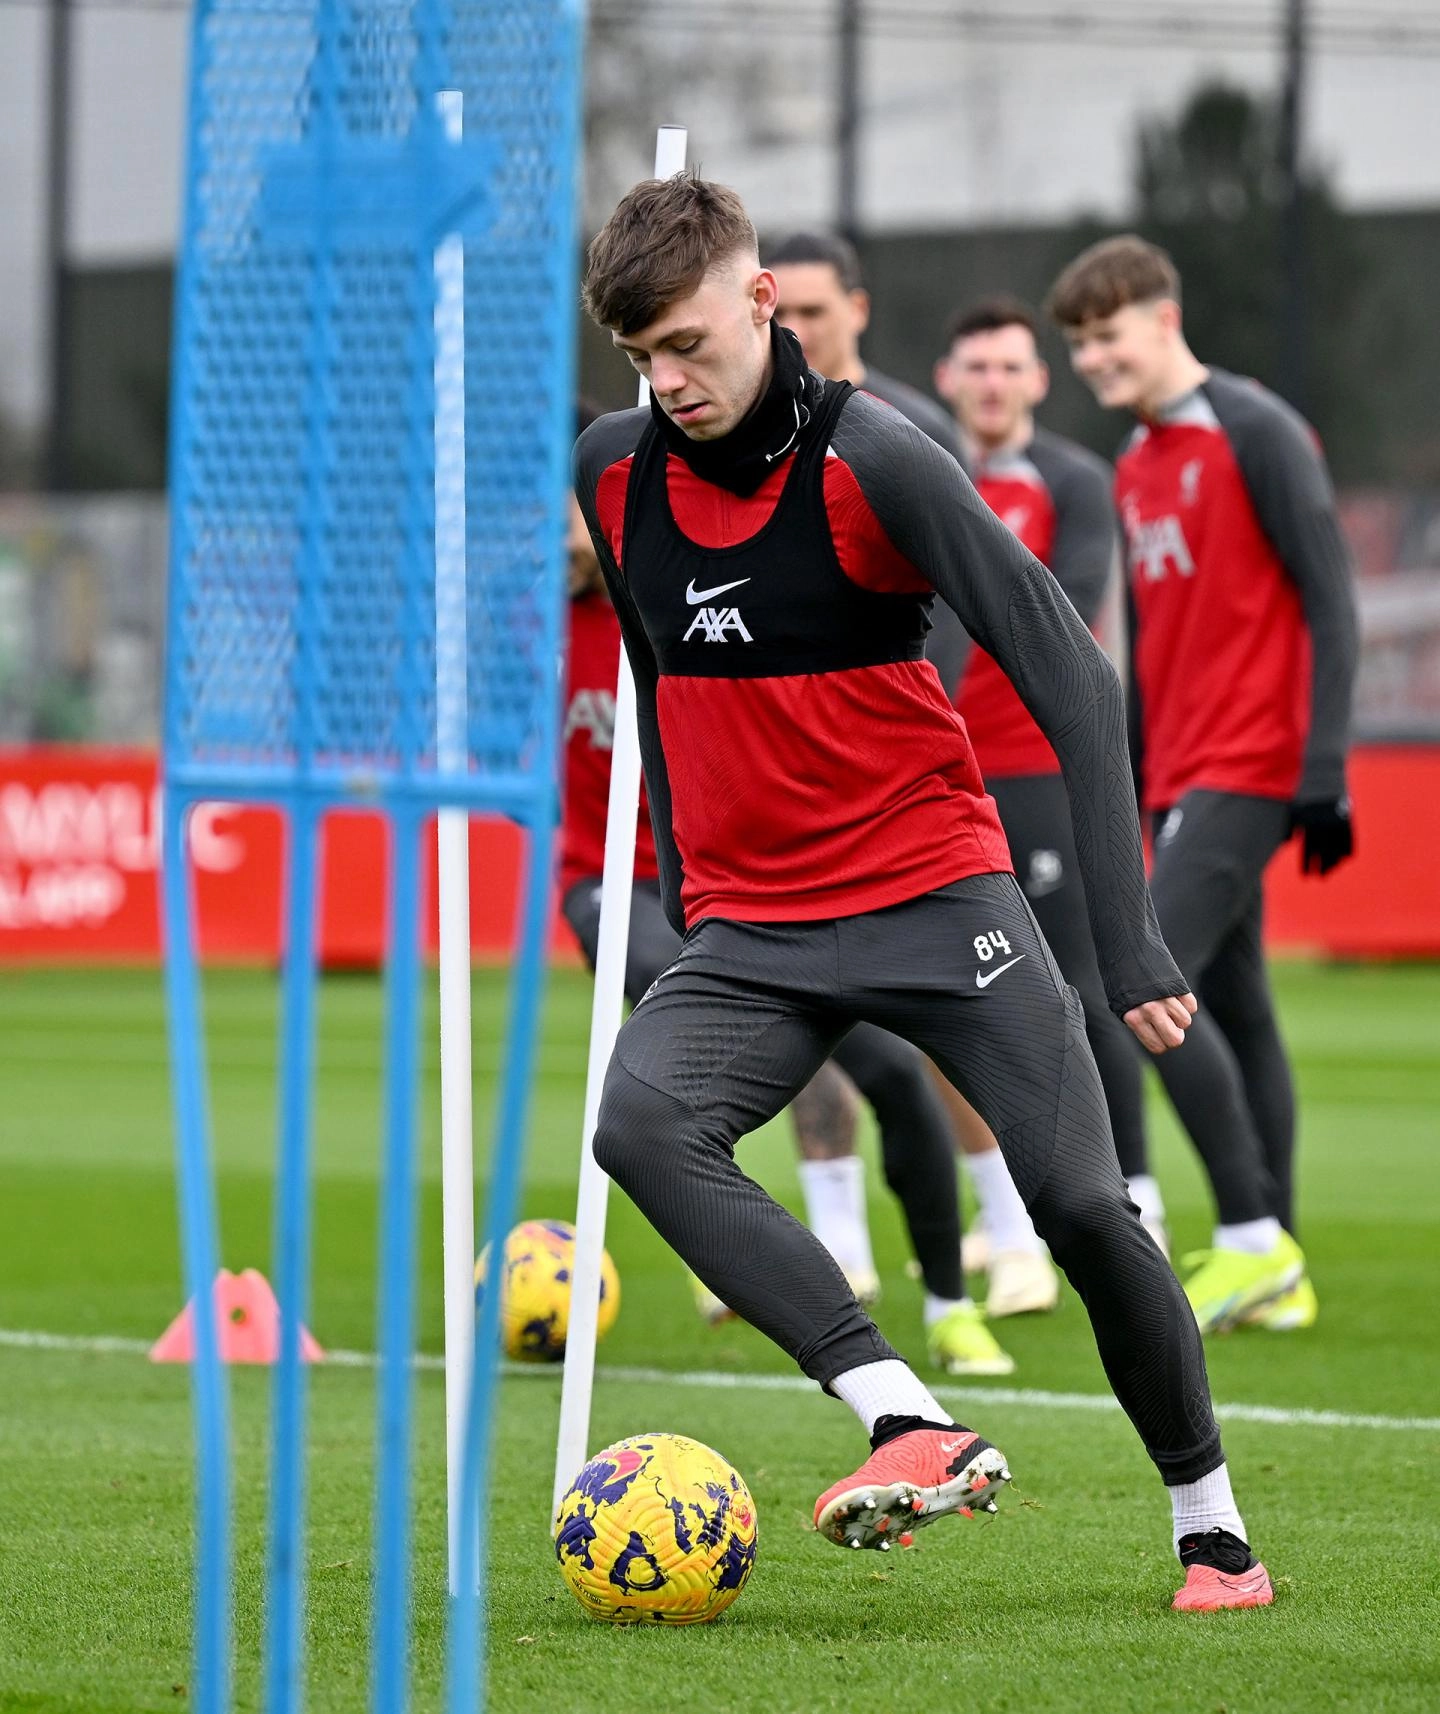
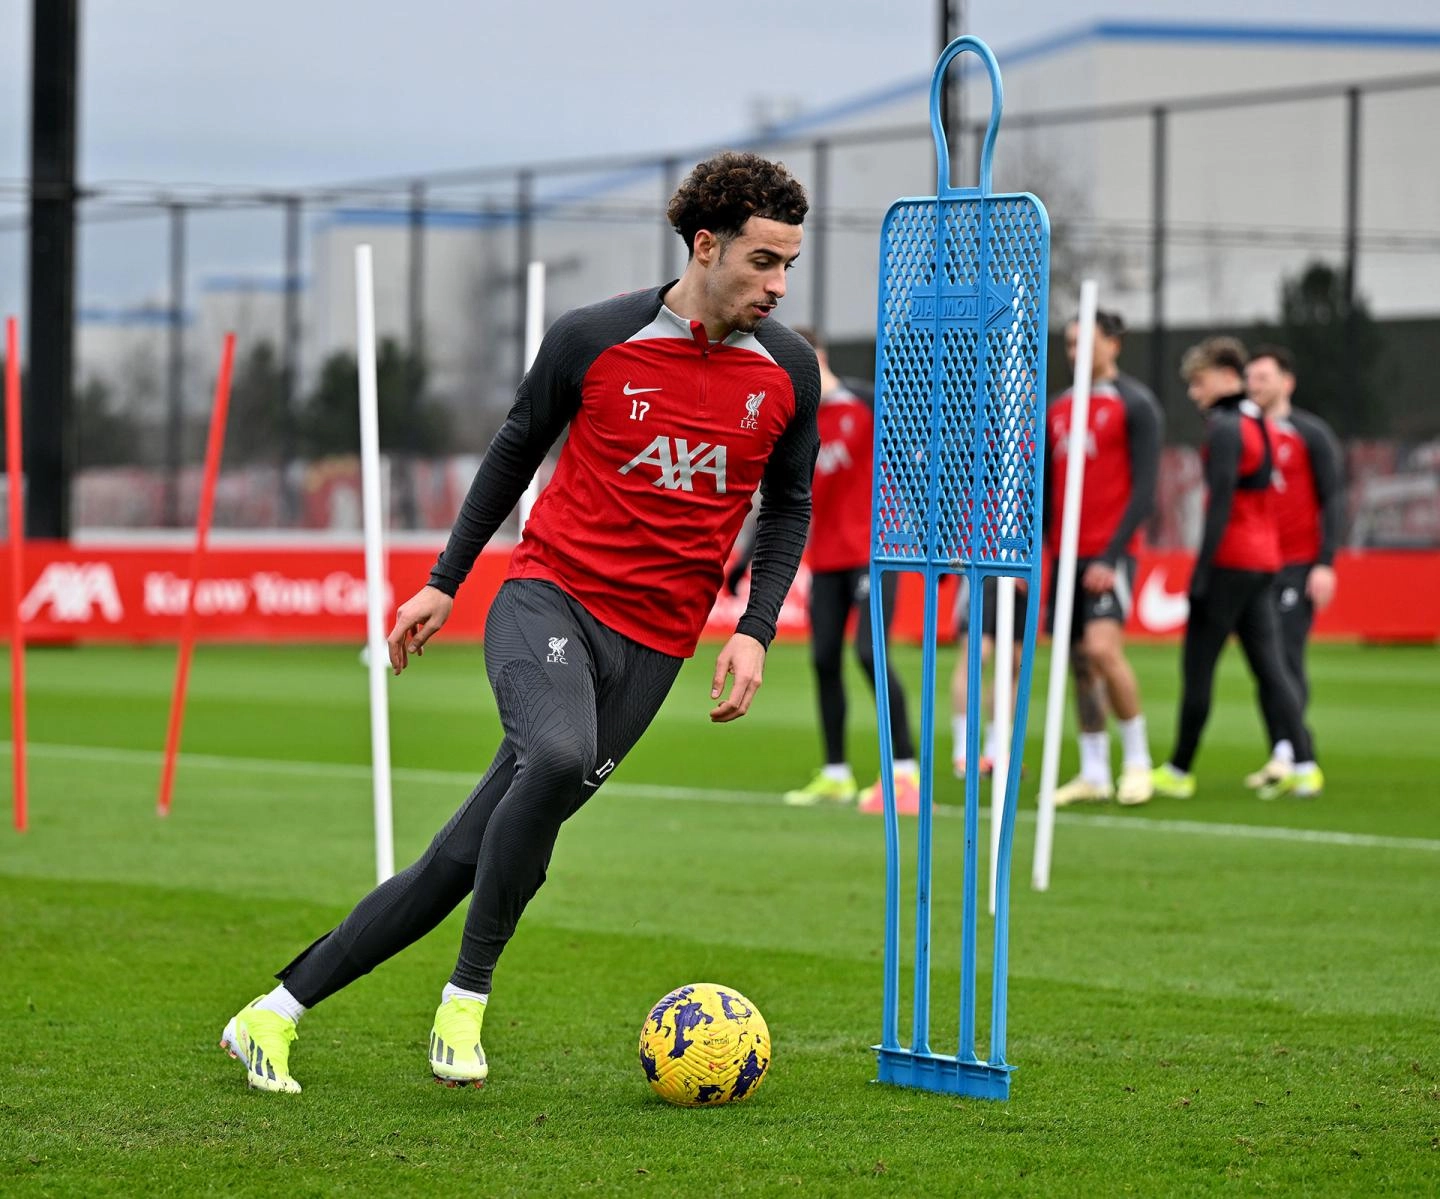
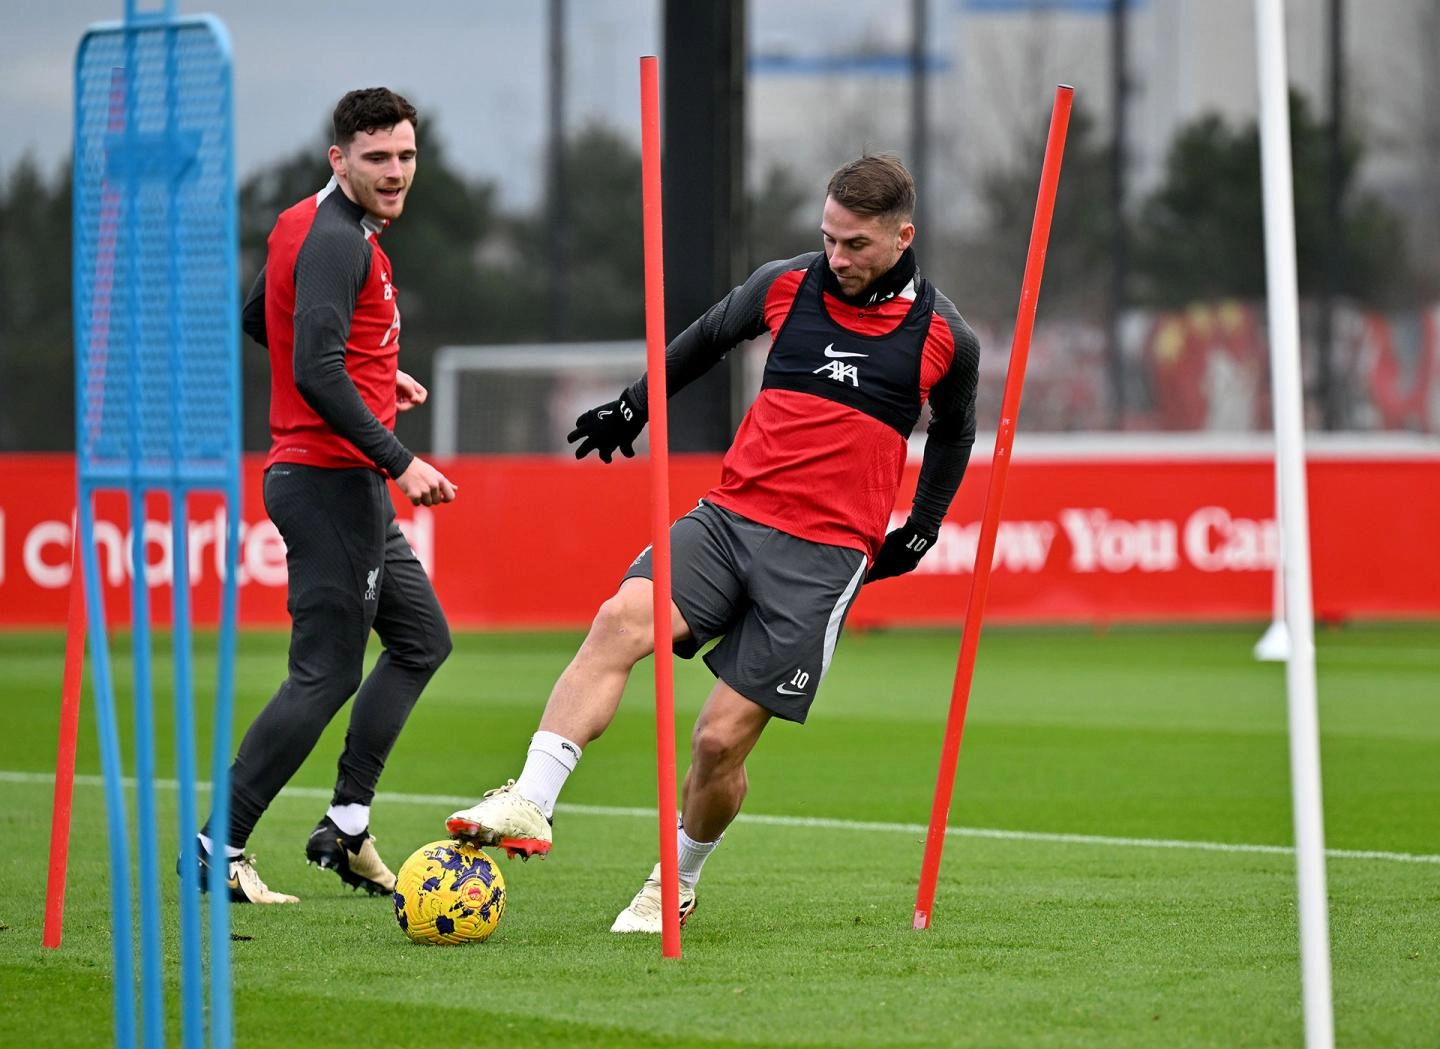
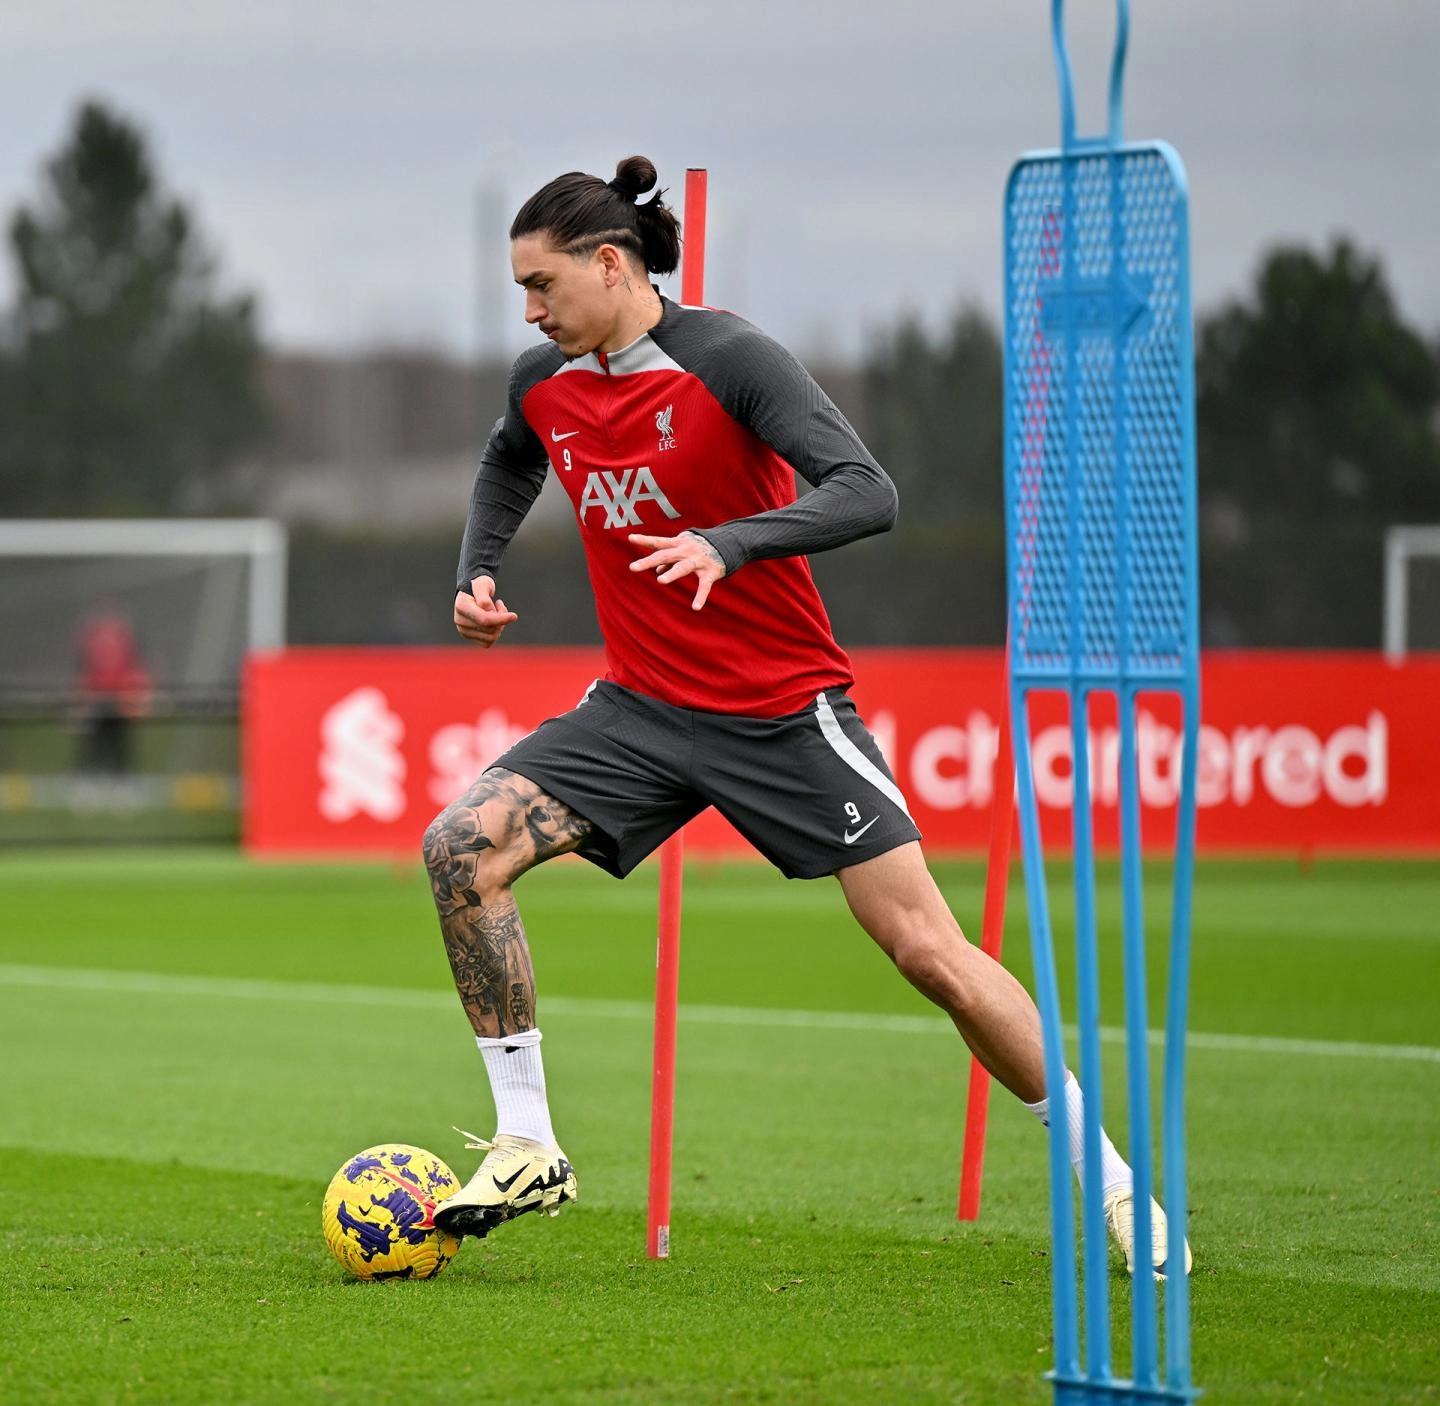
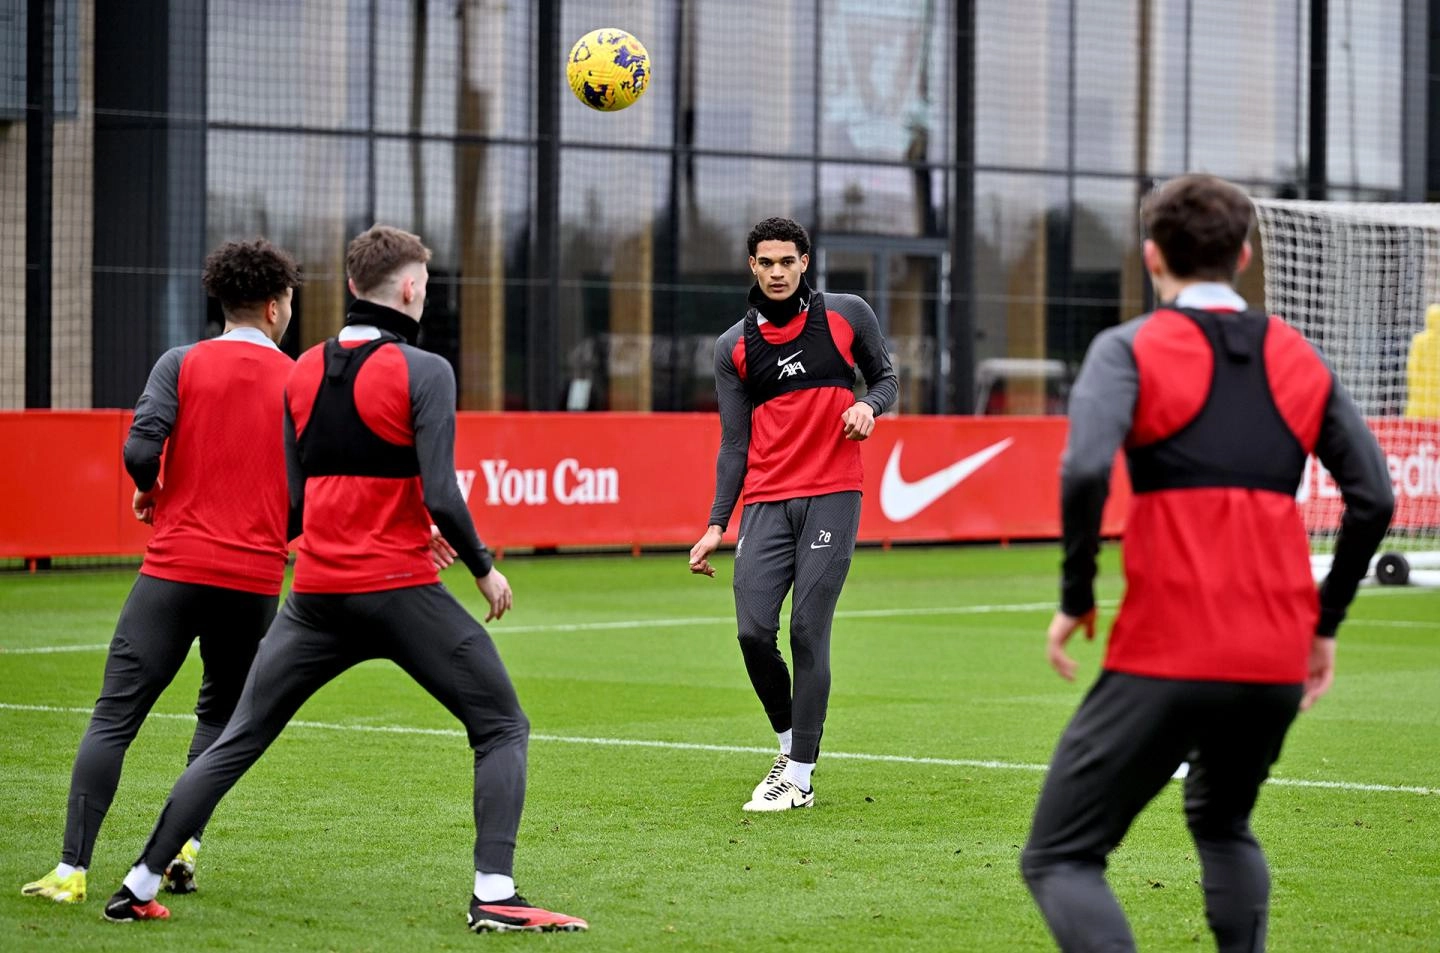
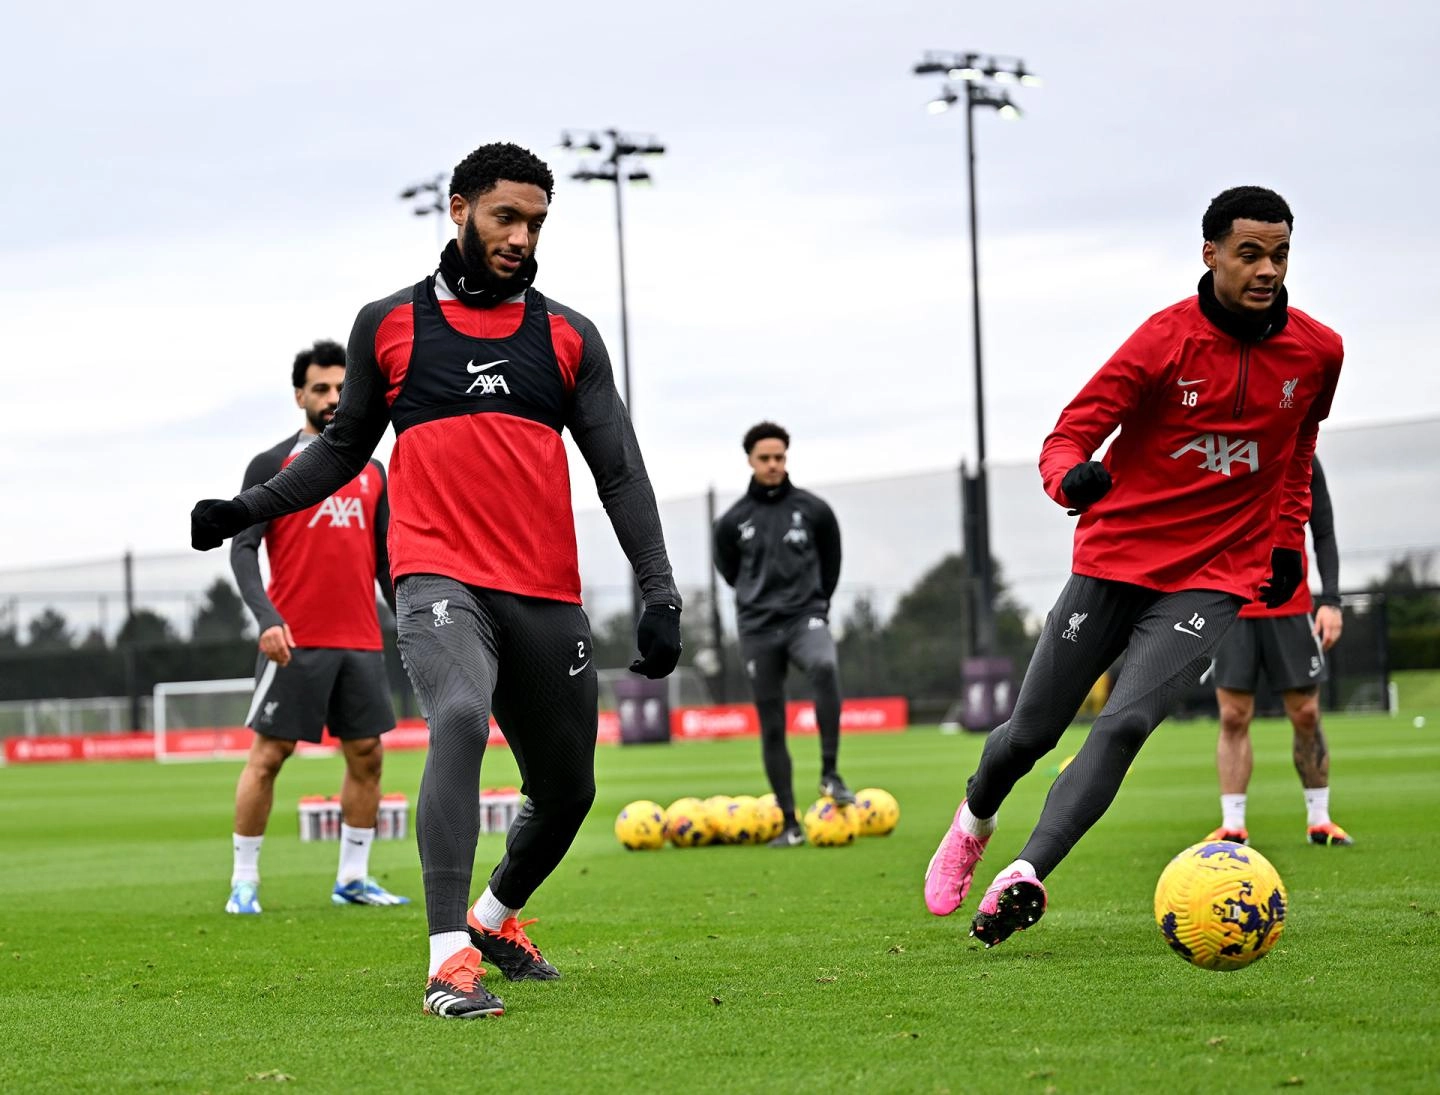
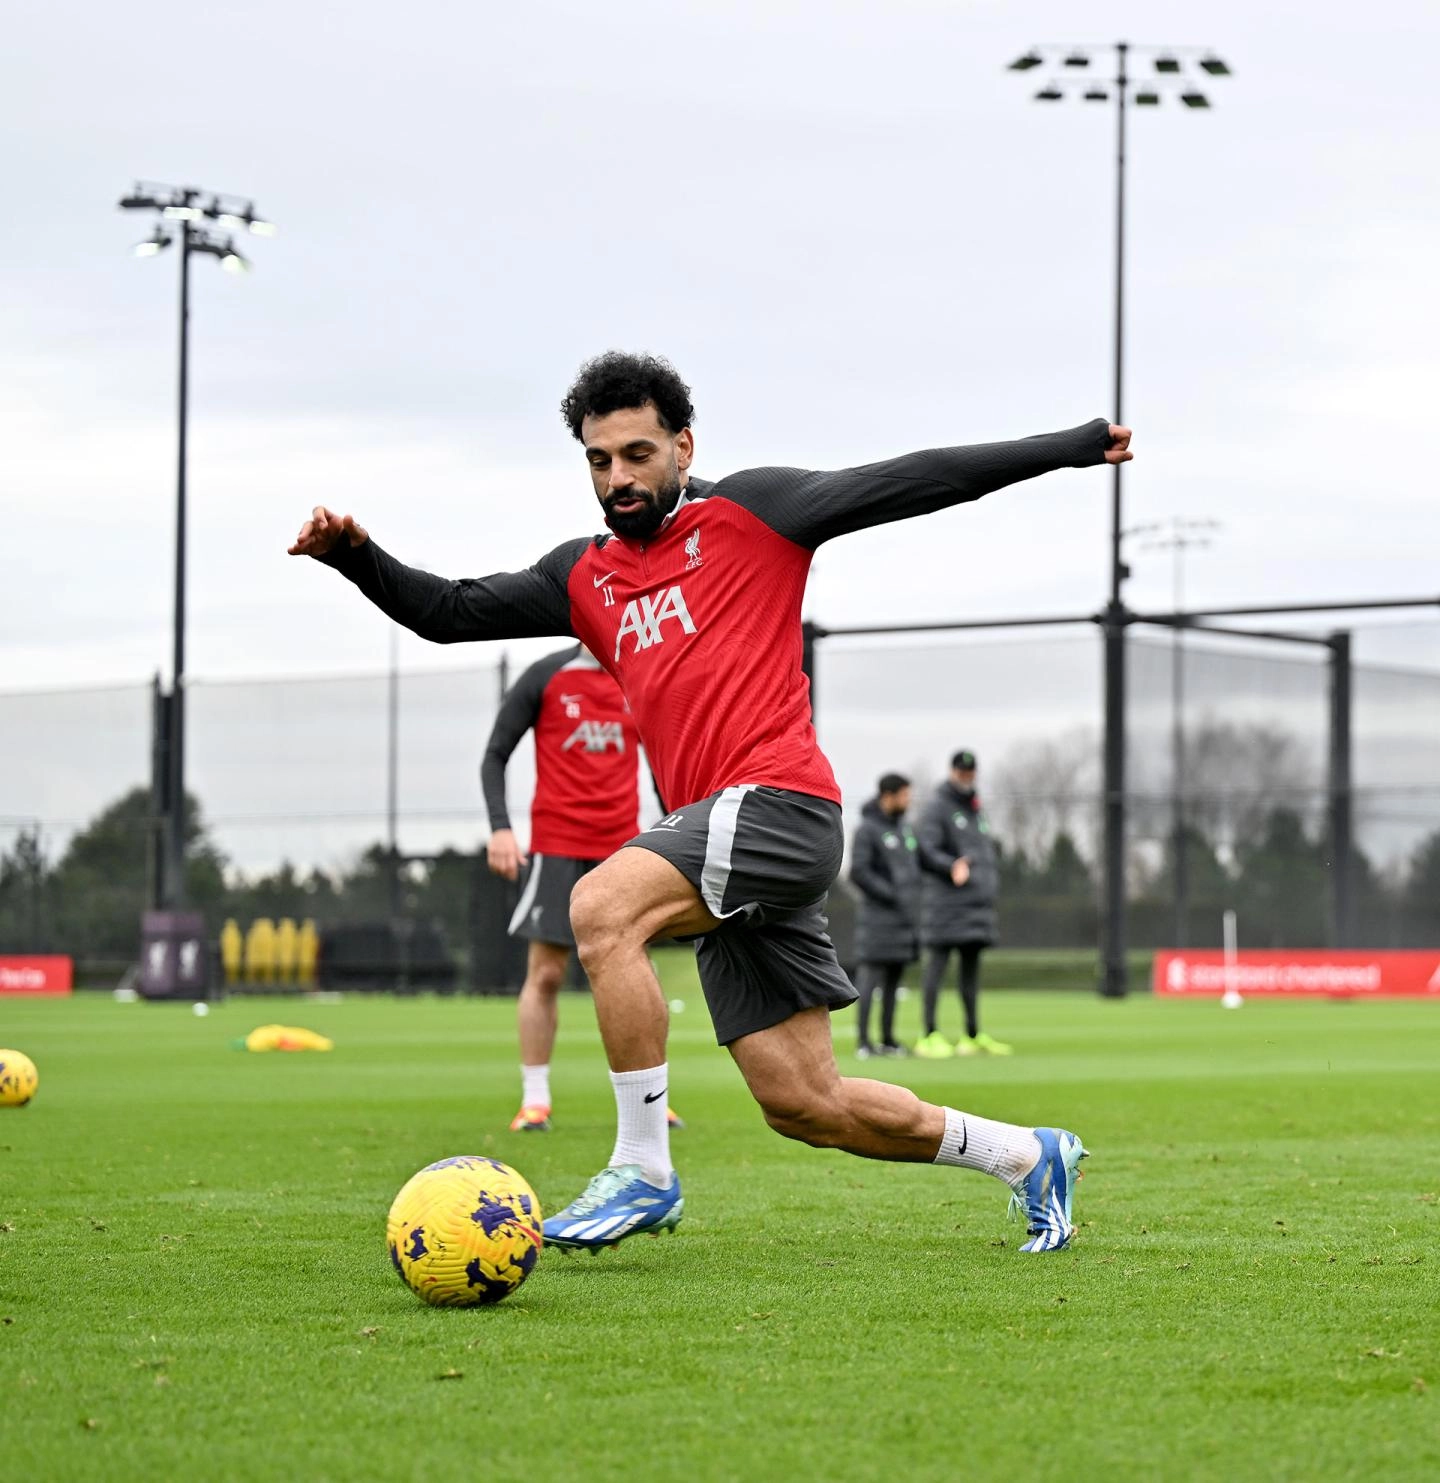
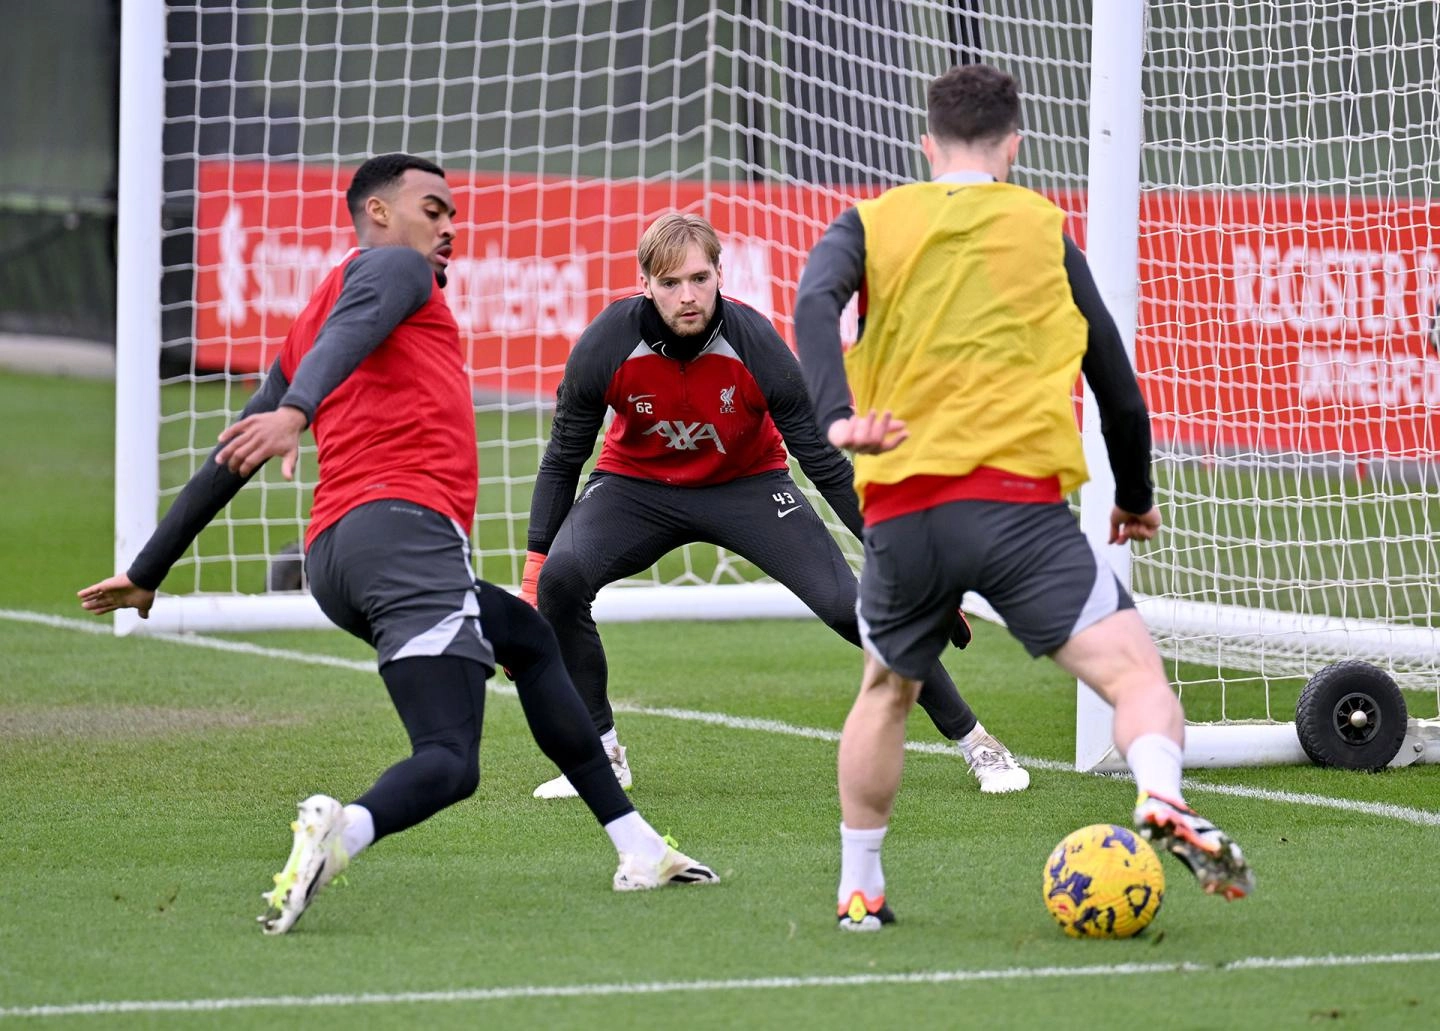
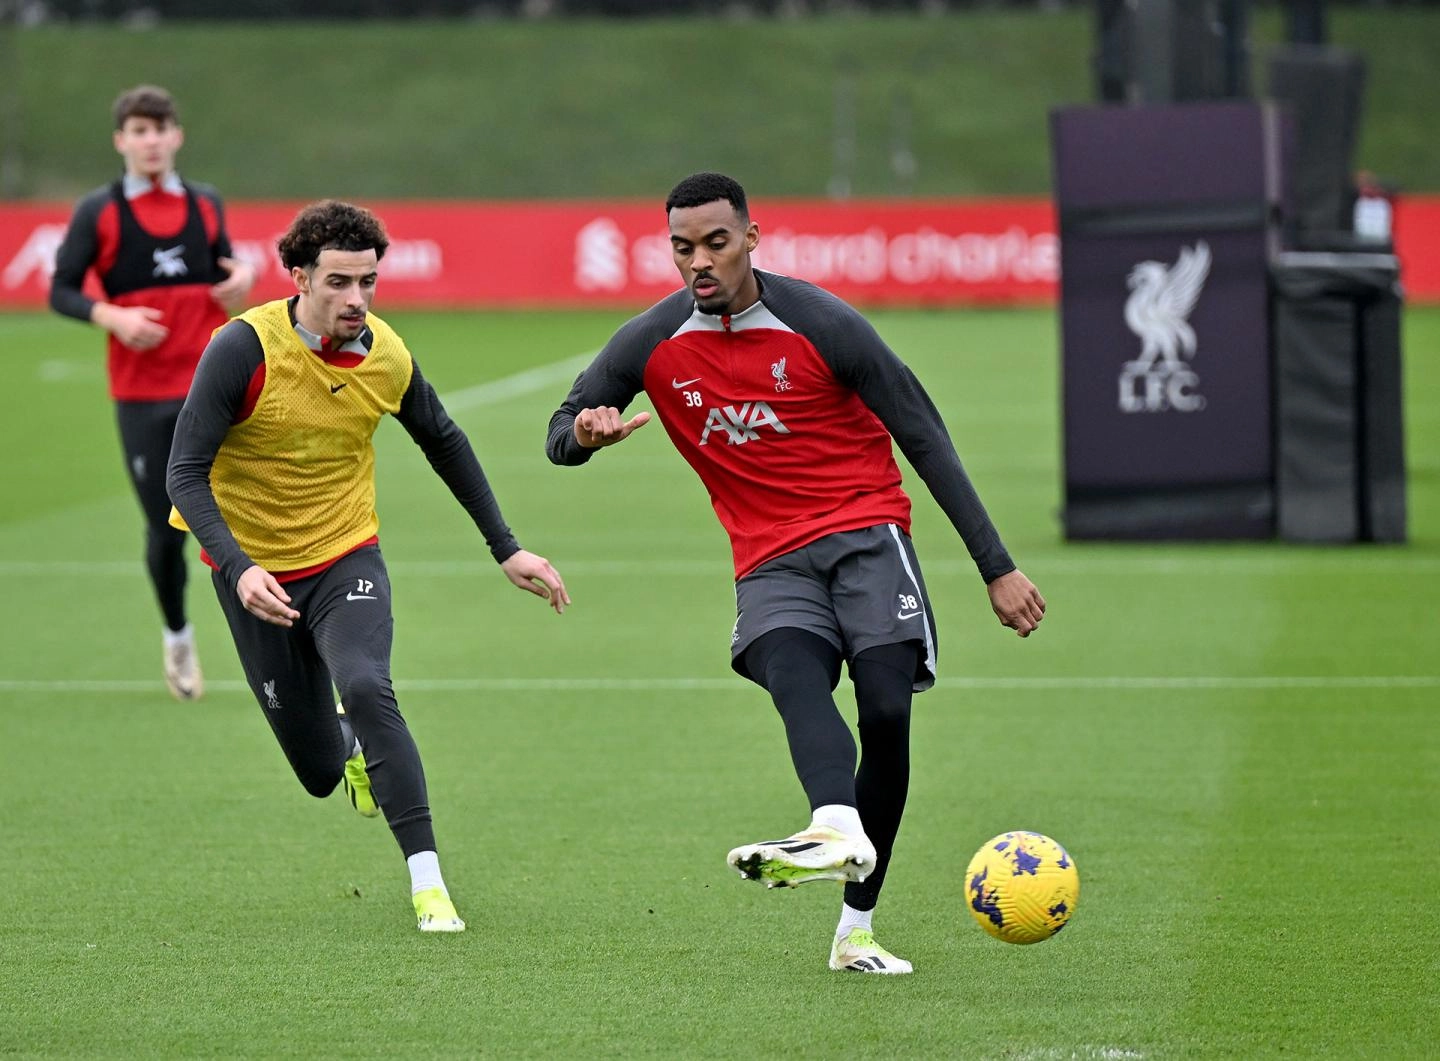
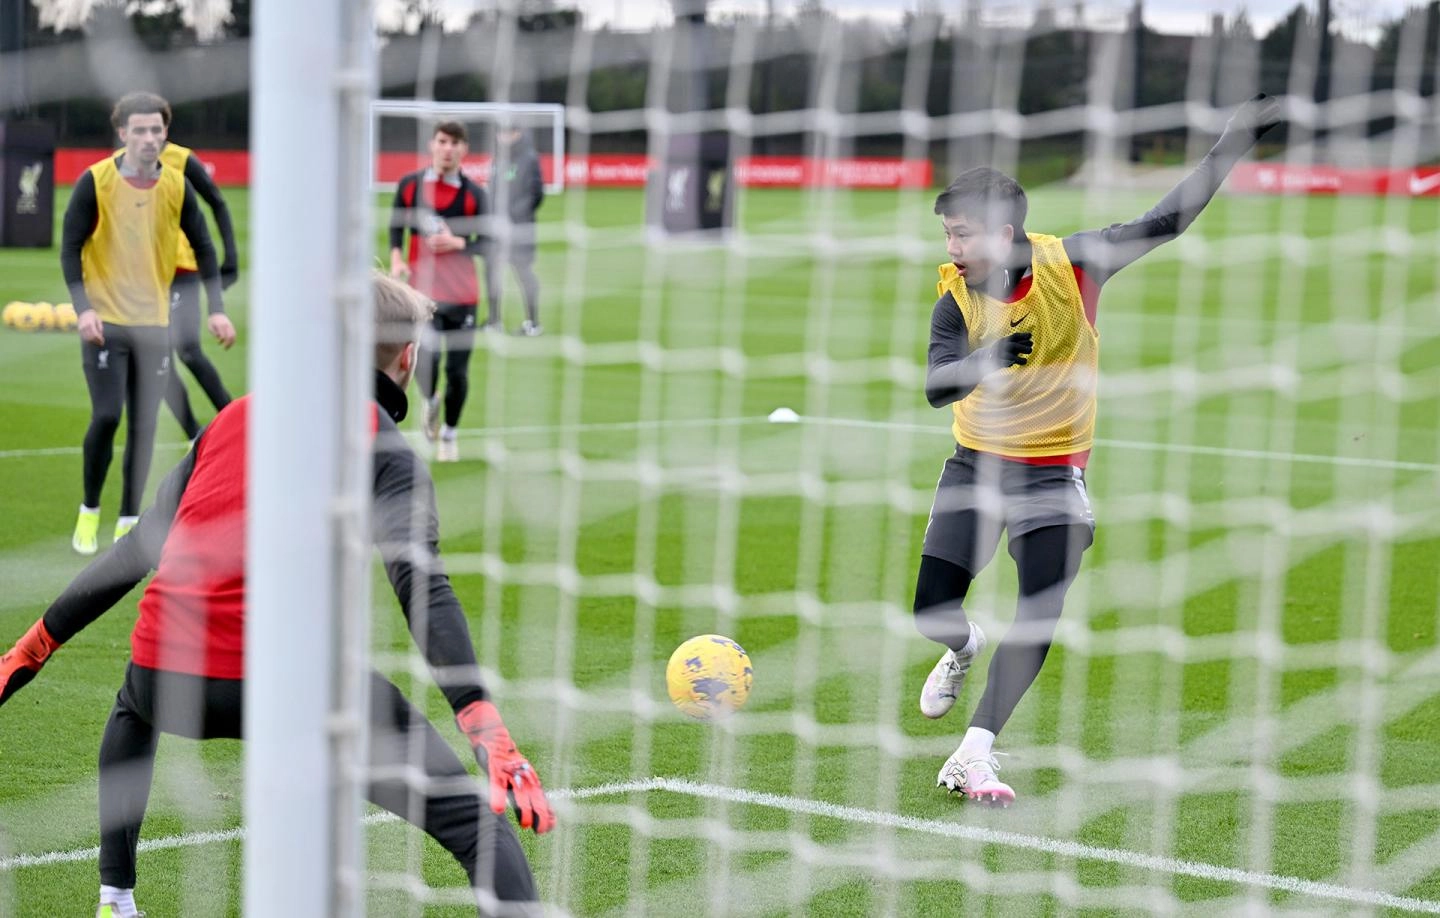
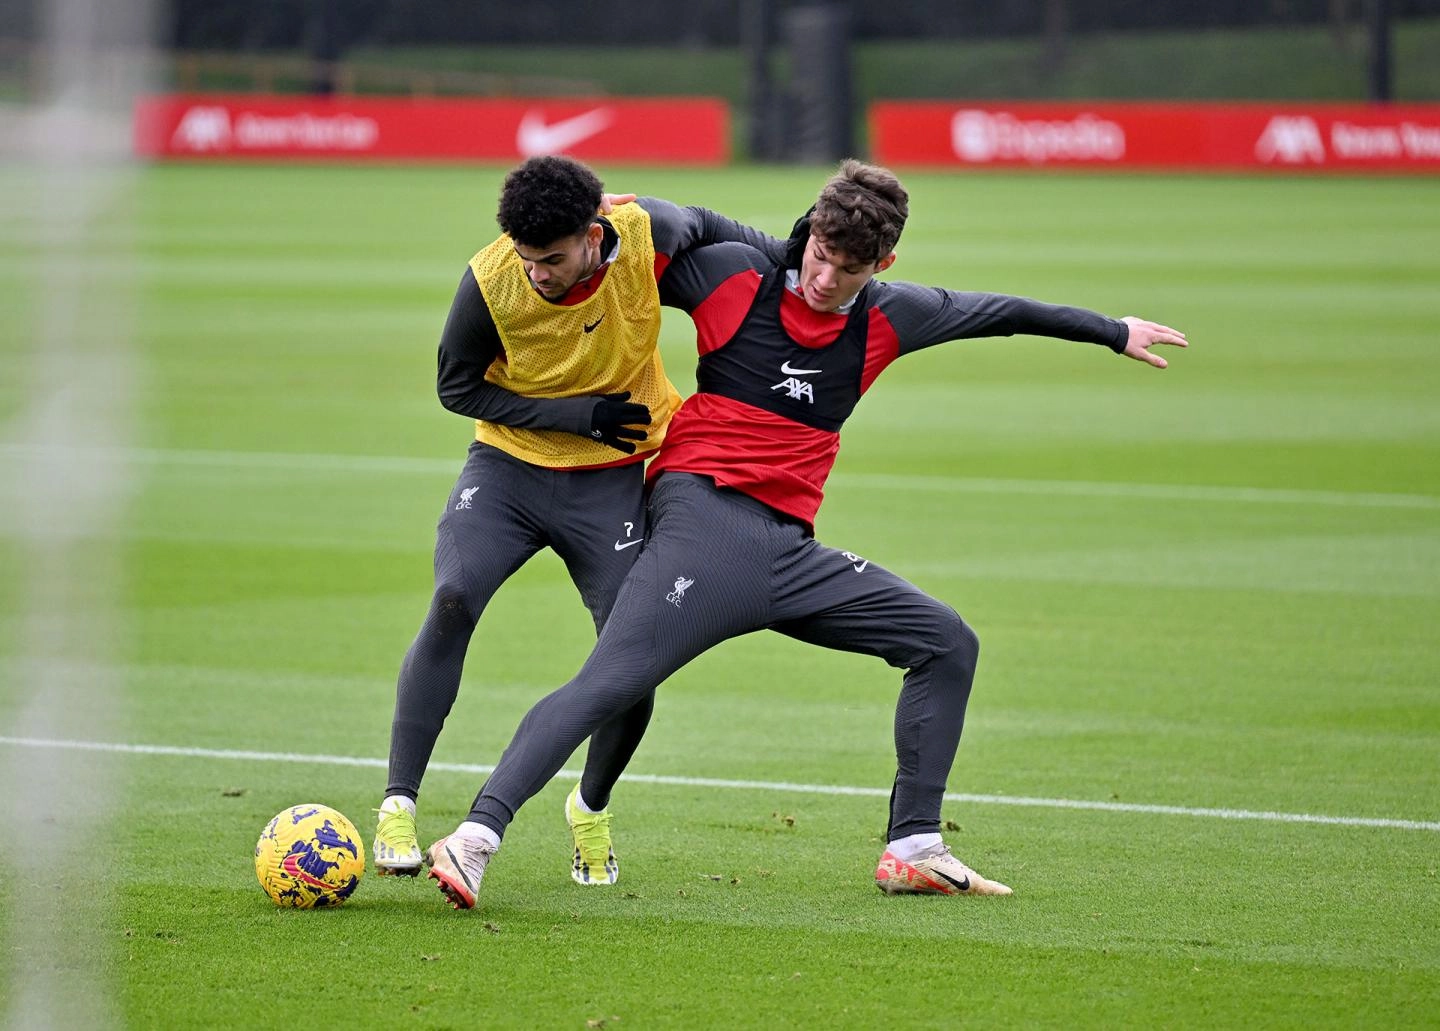
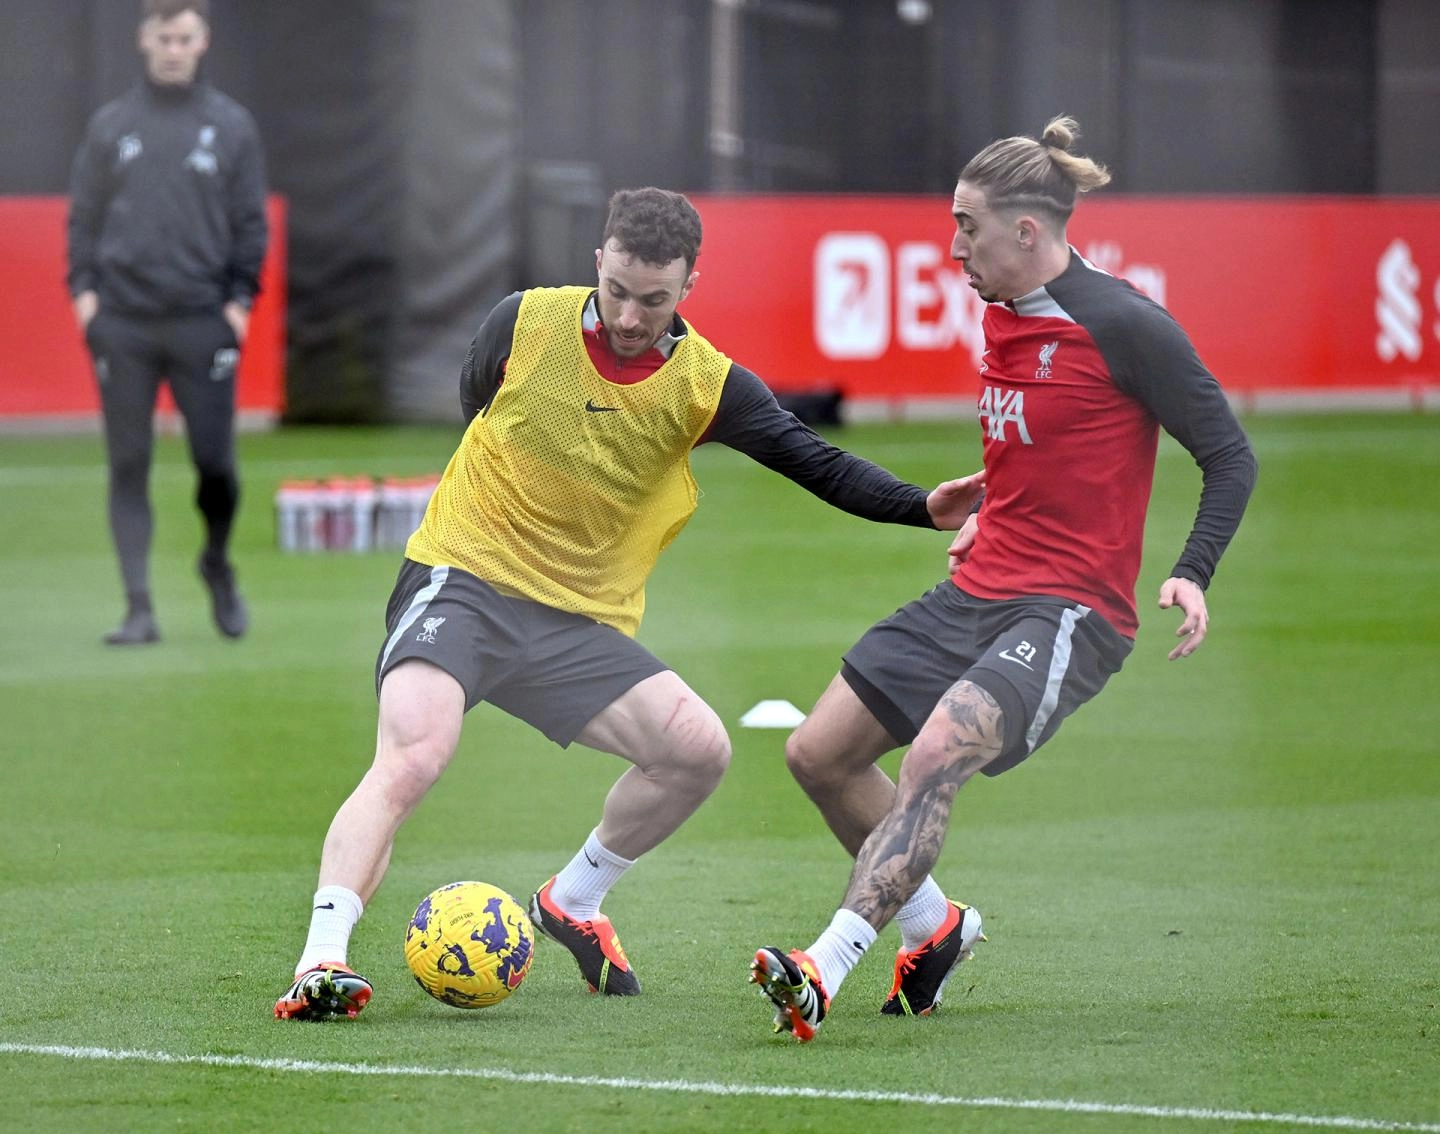
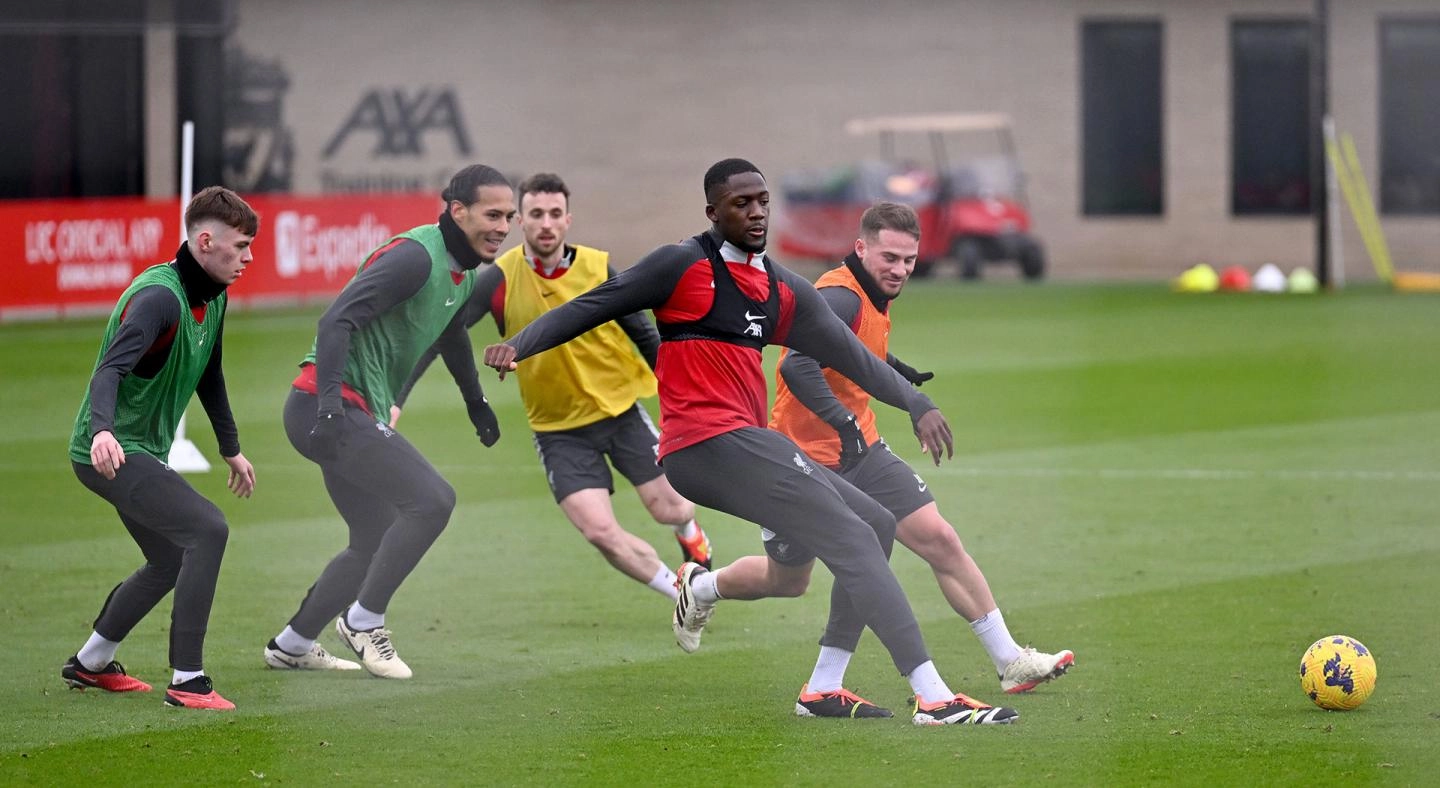
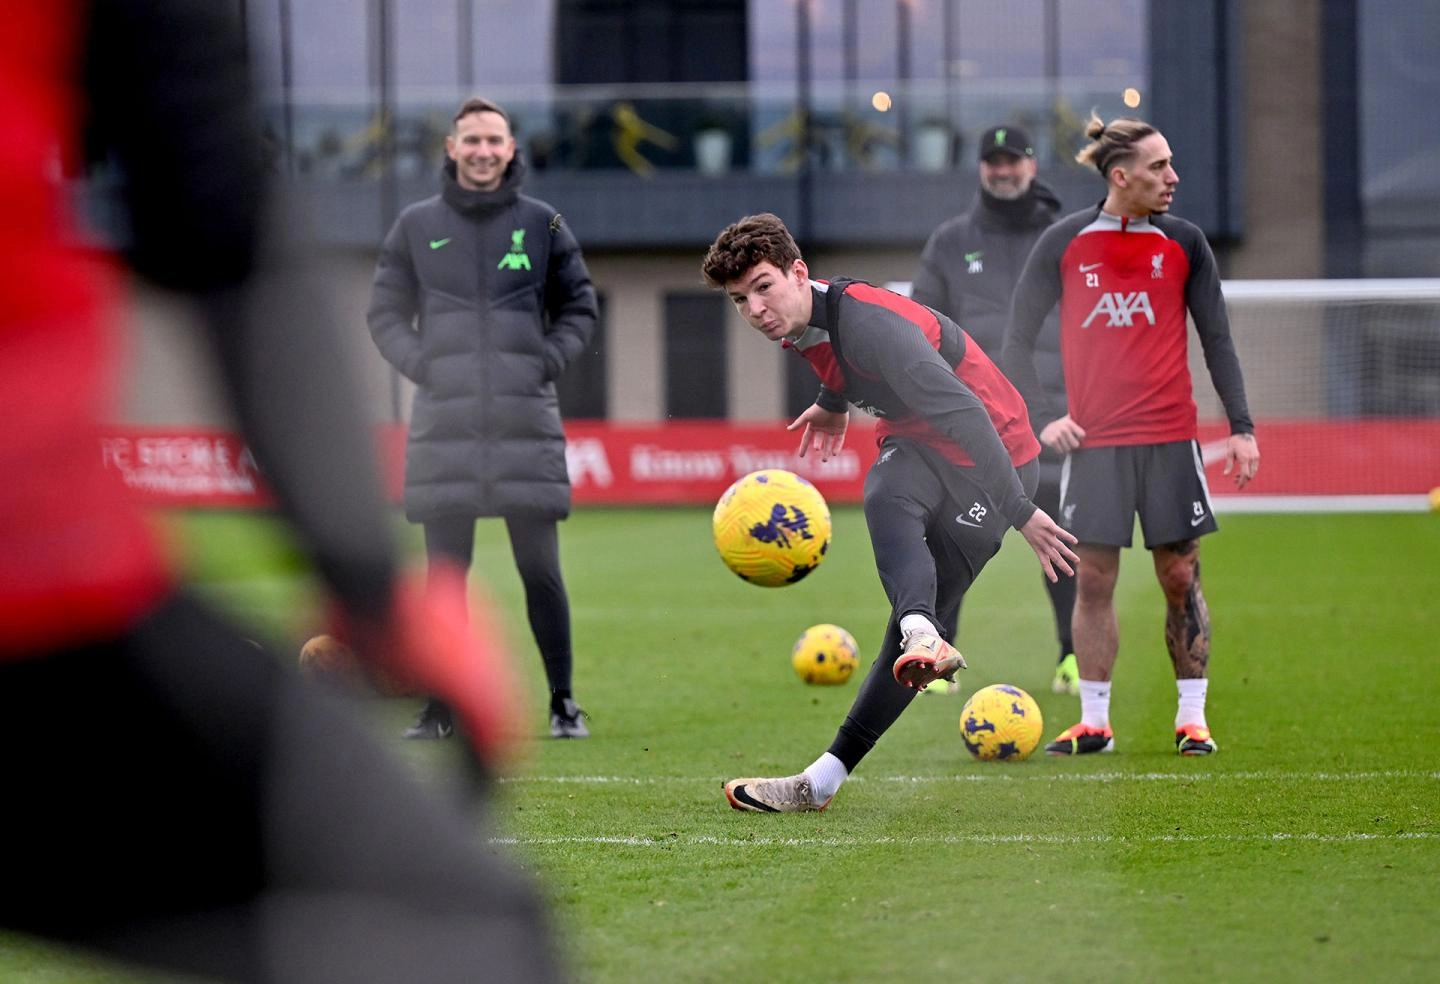
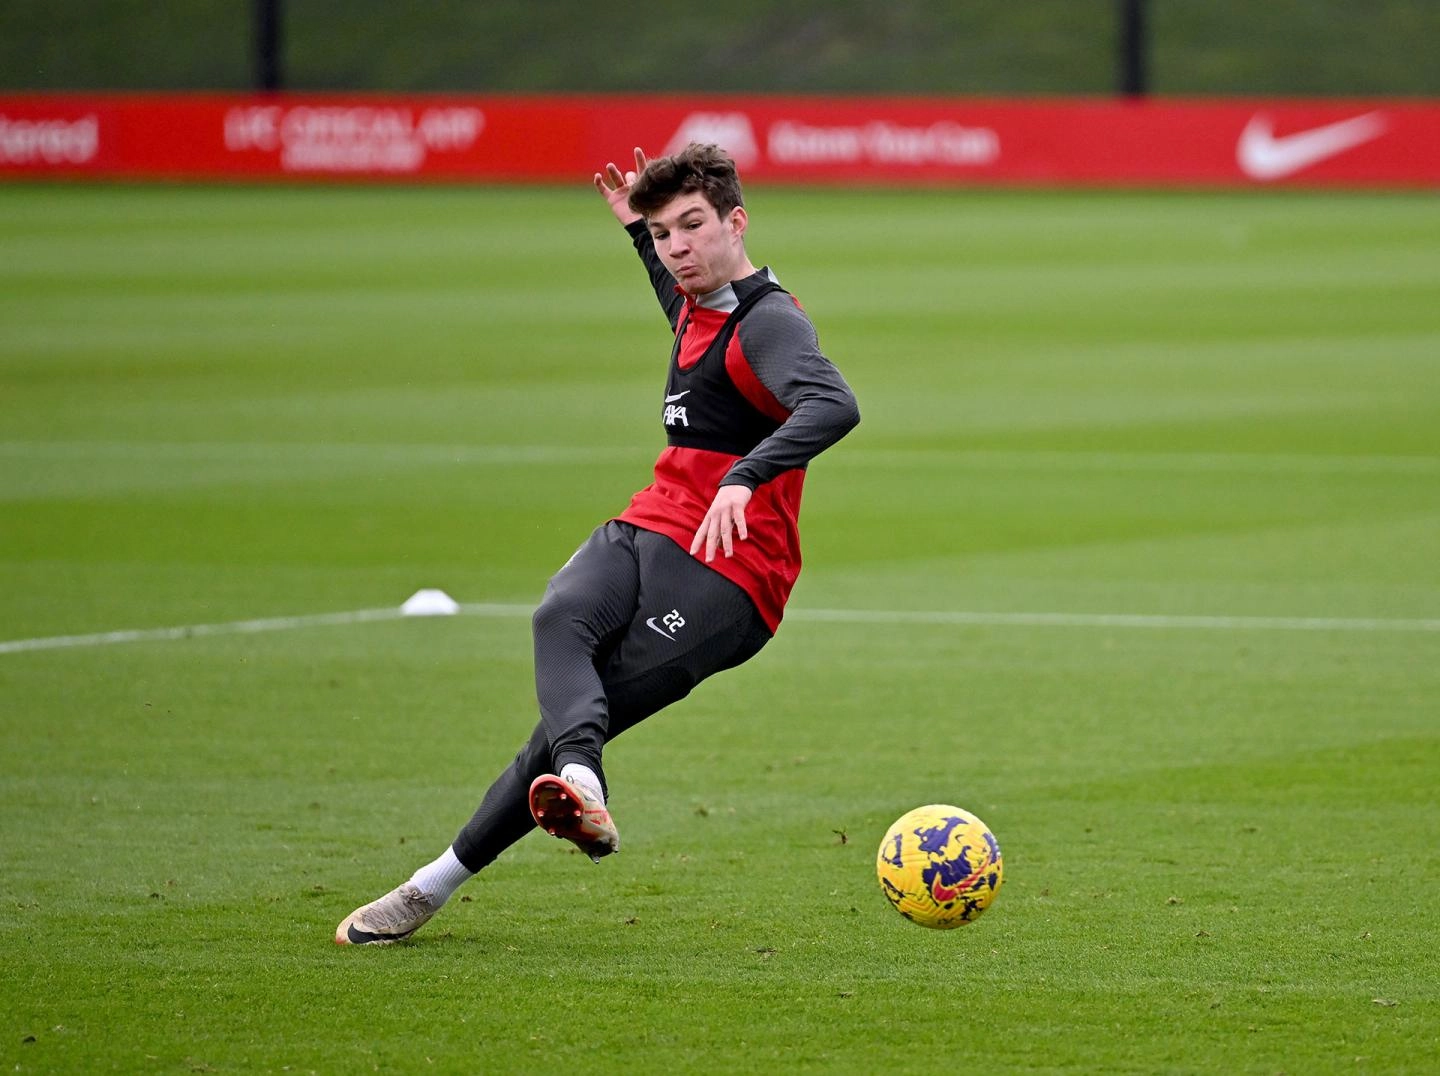
Po poniedziałkowym dniu wolnym od futbolu, zawodnicy Liverpoolu wrócili dziś do Kirkby, gdzie rozpoczęli przygotowania do sobotniego meczu Premier League z Brentford.
Poniżej prezentujemy Państwu najciekawsze zdjęcia z dzisiejszych zajęć w AXA Training Centre.
![](https://backend.liverpoolfc.com/sites/default/files/styles/lg/public/2024-02/training-arrivals-13022024-2.webp?itok=EyDDuSAK&width=1680)
![](https://backend.liverpoolfc.com/sites/default/files/styles/lg/public/2024-02/training-arrivals-13022024-3.webp?itok=tV4WeT3P&width=1680)
![](https://backend.liverpoolfc.com/sites/default/files/styles/lg/public/2024-02/training-arrivals-13022024-4.webp?itok=dIq1Uq0z&width=1680)
![](https://backend.liverpoolfc.com/sites/default/files/styles/lg/public/2024-02/training-arrivals-13022024-5.webp?itok=28WKwxBN&width=1680)
![](https://backend.liverpoolfc.com/sites/default/files/styles/lg/public/2024-02/training-arrivals-13022024-6.webp?itok=BXuouDCd&width=1680)
![](https://backend.liverpoolfc.com/sites/default/files/styles/lg/public/2024-02/training-arrivals-13022024-7.webp?itok=44OsSkE2&width=1680)
![](https://backend.liverpoolfc.com/sites/default/files/styles/lg/public/2024-02/training-arrivals-13022024-8.webp?itok=S8gAO9bq&width=1680)
![](https://backend.liverpoolfc.com/sites/default/files/styles/lg/public/2024-02/training-arrivals-13022024-9.webp?itok=VUMQstve&width=1680)
![](https://backend.liverpoolfc.com/sites/default/files/styles/lg/public/2024-02/training-arrivals-13022024-10.webp?itok=CddlJr-4&width=1680)
![](https://backend.liverpoolfc.com/sites/default/files/styles/lg/public/2024-02/training-arrivals-13022024-11.webp?itok=hvg1J5XN&width=1680)
![](https://backend.liverpoolfc.com/sites/default/files/styles/lg/public/2024-02/gym-gallery-13022024-1.webp?itok=Cd0V2bLs&width=1680)
![](https://backend.liverpoolfc.com/sites/default/files/styles/lg/public/2024-02/gym-gallery-13022024-2.webp?itok=8S7FCh0S&width=1680)
![](https://backend.liverpoolfc.com/sites/default/files/styles/lg/public/2024-02/gym-gallery-13022024-2a.webp?itok=B4uTutU_&width=1680)
![](https://backend.liverpoolfc.com/sites/default/files/styles/lg/public/2024-02/gym-gallery-13022024-2b.webp?itok=SzEVG8_b&width=1680)
![](https://backend.liverpoolfc.com/sites/default/files/styles/lg/public/2024-02/gym-gallery-13022024-3.webp?itok=rEhTLShk&width=1680)
![](https://backend.liverpoolfc.com/sites/default/files/styles/lg/public/2024-02/gym-gallery-13022024-4.webp?itok=EI3pVL8q&width=1680)
![](https://backend.liverpoolfc.com/sites/default/files/styles/lg/public/2024-02/gym-gallery-13022024-5.webp?itok=OMIXiMLQ&width=1680)
![](https://backend.liverpoolfc.com/sites/default/files/styles/lg/public/2024-02/gym-gallery-13022024-6.webp?itok=RFNCwUQT&width=1680)
![](https://backend.liverpoolfc.com/sites/default/files/styles/lg/public/2024-02/gym-gallery-13022024-7.webp?itok=inbnDeCQ&width=1680)
![](https://backend.liverpoolfc.com/sites/default/files/styles/lg/public/2024-02/gym-gallery-13022024-8.webp?itok=ssxyf_K7&width=1680)
![](https://backend.liverpoolfc.com/sites/default/files/styles/lg/public/2024-02/gym-gallery-13022024-9.webp?itok=gxyk8Jma&width=1680)
![](https://backend.liverpoolfc.com/sites/default/files/styles/lg/public/2024-02/gym-gallery-13022024-10.webp?itok=AoiZIKVq&width=1680)
![](https://backend.liverpoolfc.com/sites/default/files/styles/lg/public/2024-02/gym-gallery-13022024-13.webp?itok=TF5zaRQX&width=1680)
![](https://backend.liverpoolfc.com/sites/default/files/styles/lg/public/2024-02/gym-gallery-13022024-14.webp?itok=mEVQBNmO&width=1680)
![](https://backend.liverpoolfc.com/sites/default/files/styles/lg/public/2024-02/gym-gallery-13022024-15.webp?itok=IgevCjTr&width=1680)
![](https://backend.liverpoolfc.com/sites/default/files/styles/lg/public/2024-02/gym-gallery-13022024-16.webp?itok=IaDGoQ5q&width=1680)
![](https://backend.liverpoolfc.com/sites/default/files/styles/lg/public/2024-02/gym-gallery-13022024-17.webp?itok=9MU9BMEM&width=1680)
![](https://backend.liverpoolfc.com/sites/default/files/styles/lg/public/2024-02/gym-gallery-13022024-18.webp?itok=pw_DS2mI&width=1680)
![](https://backend.liverpoolfc.com/sites/default/files/styles/lg/public/2024-02/gym-gallery-13022024-19.webp?itok=_ckSmsbV&width=1680)
![](https://backend.liverpoolfc.com/sites/default/files/styles/lg/public/2024-02/gym-gallery-13022024-20.webp?itok=0X6KvRj8&width=1680)
![](https://backend.liverpoolfc.com/sites/default/files/styles/lg/public/2024-02/gym-gallery-13022024-21.webp?itok=d3yIvkbc&width=1680)
![](https://backend.liverpoolfc.com/sites/default/files/styles/lg/public/2024-02/gym-gallery-13022024-22.webp?itok=9HE8wciX&width=1680)
![](https://backend.liverpoolfc.com/sites/default/files/styles/lg/public/2024-02/gym-gallery-13022024-23.webp?itok=a00EoiLf&width=1680)
![](https://backend.liverpoolfc.com/sites/default/files/styles/lg/public/2024-02/gym-gallery-13022024-24.webp?itok=p7pBD9fq&width=1680)
![](https://backend.liverpoolfc.com/sites/default/files/styles/lg/public/2024-02/training-gallery-13022024-1.webp?itok=373CJ-2N&width=1680)
![](https://backend.liverpoolfc.com/sites/default/files/styles/lg/public/2024-02/training-gallery-13022024-13.webp?itok=iRuR3eZh&width=1680)
![](https://backend.liverpoolfc.com/sites/default/files/styles/lg/public/2024-02/training-gallery-13022024-2.webp?itok=KaYWO-RL&width=1680)
![](https://backend.liverpoolfc.com/sites/default/files/styles/lg/public/2024-02/training-gallery-13022024-3.webp?itok=XIq0gcrO&width=1680)
![](https://backend.liverpoolfc.com/sites/default/files/styles/lg/public/2024-02/training-gallery-13022024-4.webp?itok=1d6uDiaf&width=1680)
![](https://backend.liverpoolfc.com/sites/default/files/styles/lg/public/2024-02/training-gallery-13022024-5.webp?itok=1Gs647iO&width=1680)
![](https://backend.liverpoolfc.com/sites/default/files/styles/lg/public/2024-02/training-gallery-13022024-6.webp?itok=aT_wrboW&width=1680)
![](https://backend.liverpoolfc.com/sites/default/files/styles/lg/public/2024-02/training-gallery-13022024-7.webp?itok=dkWkFzIq&width=1680)
![](https://backend.liverpoolfc.com/sites/default/files/styles/lg/public/2024-02/training-gallery-13022024-8.webp?itok=IMuDPAmB&width=1680)
![](https://backend.liverpoolfc.com/sites/default/files/styles/lg/public/2024-02/training-gallery-13022024-9.webp?itok=NNd2xUg-&width=1680)
![](https://backend.liverpoolfc.com/sites/default/files/styles/lg/public/2024-02/training-gallery-13022024-10.webp?itok=0H5zNxVY&width=1680)
![](https://backend.liverpoolfc.com/sites/default/files/styles/lg/public/2024-02/training-gallery-13022024-11.webp?itok=w4kVFiB8&width=1680)
![](https://backend.liverpoolfc.com/sites/default/files/styles/lg/public/2024-02/training-gallery-13022024-12.webp?itok=wxE7iL4M&width=1680)
![](https://backend.liverpoolfc.com/sites/default/files/styles/lg/public/2024-02/training-gallery-13022024-14.webp?itok=cgWkehK8&width=1680)
![](https://backend.liverpoolfc.com/sites/default/files/styles/lg/public/2024-02/training-gallery-13022024-15.webp?itok=35di7ymE&width=1680)
![](https://backend.liverpoolfc.com/sites/default/files/styles/lg/public/2024-02/training-gallery-13022024-16.webp?itok=V4FGmXuV&width=1680)
![](https://backend.liverpoolfc.com/sites/default/files/styles/lg/public/2024-02/training-gallery-13022024-17.webp?itok=eLtMv5Y0&width=1680)
![](https://backend.liverpoolfc.com/sites/default/files/styles/lg/public/2024-02/training-gallery-13022024-18.webp?itok=zFgJJmrE&width=1680)
![](https://backend.liverpoolfc.com/sites/default/files/styles/lg/public/2024-02/training-gallery-13022024-19.webp?itok=ynFGcVm9&width=1680)
![](https://backend.liverpoolfc.com/sites/default/files/styles/lg/public/2024-02/training-gallery-13022024-20.webp?itok=vJ4MZn3O&width=1680)
![](https://backend.liverpoolfc.com/sites/default/files/styles/lg/public/2024-02/training-gallery-13022024-21.webp?itok=cx9uHLnf&width=1680)
![](https://backend.liverpoolfc.com/sites/default/files/styles/lg/public/2024-02/training-gallery-13022024-22.webp?itok=2IWSBrw2&width=1680)
![](https://backend.liverpoolfc.com/sites/default/files/styles/lg/public/2024-02/training-gallery-13022024-23.webp?itok=rcuMHpvZ&width=1680)
![](https://backend.liverpoolfc.com/sites/default/files/styles/lg/public/2024-02/training-gallery-13022024-24.webp?itok=xacdjBoW&width=1680)
![](https://backend.liverpoolfc.com/sites/default/files/styles/lg/public/2024-02/training-gallery-13022024-25.webp?itok=U7c4v14g&width=1680)
![](https://backend.liverpoolfc.com/sites/default/files/styles/lg/public/2024-02/training-gallery-13022024-26.webp?itok=FVevNwhH&width=1680)
![](https://backend.liverpoolfc.com/sites/default/files/styles/lg/public/2024-02/training-gallery-13022024-27.webp?itok=lmiwoe4a&width=1680)
![](https://backend.liverpoolfc.com/sites/default/files/styles/lg/public/2024-02/training-gallery-13022024-28.webp?itok=VjIFoA7E&width=1680)
![](https://backend.liverpoolfc.com/sites/default/files/styles/lg/public/2024-02/training-gallery-13022024-29.webp?itok=YPixTHIU&width=1680)
![](https://backend.liverpoolfc.com/sites/default/files/styles/lg/public/2024-02/training-gallery-13022024-30.webp?itok=jfIzbhoS&width=1680)
![](https://backend.liverpoolfc.com/sites/default/files/styles/lg/public/2024-02/training-gallery-13022024-31.webp?itok=29RNH-7Y&width=1680)
![](https://backend.liverpoolfc.com/sites/default/files/styles/lg/public/2024-02/training-gallery-13022024-32.webp?itok=VSr5POmh&width=1680)
![](https://backend.liverpoolfc.com/sites/default/files/styles/lg/public/2024-02/training-gallery-13022024-33.webp?itok=zboeRe_M&width=1680)
![](https://backend.liverpoolfc.com/sites/default/files/styles/lg/public/2024-02/training-gallery-13022024-34.webp?itok=_208ec09&width=1680)
![](https://backend.liverpoolfc.com/sites/default/files/styles/lg/public/2024-02/training-gallery-13022024-35.webp?itok=_5okWJzD&width=1680)
![](https://backend.liverpoolfc.com/sites/default/files/styles/lg/public/2024-02/training-gallery-13022024-36.webp?itok=EG-q9gzG&width=1680)
Komentarze (1)